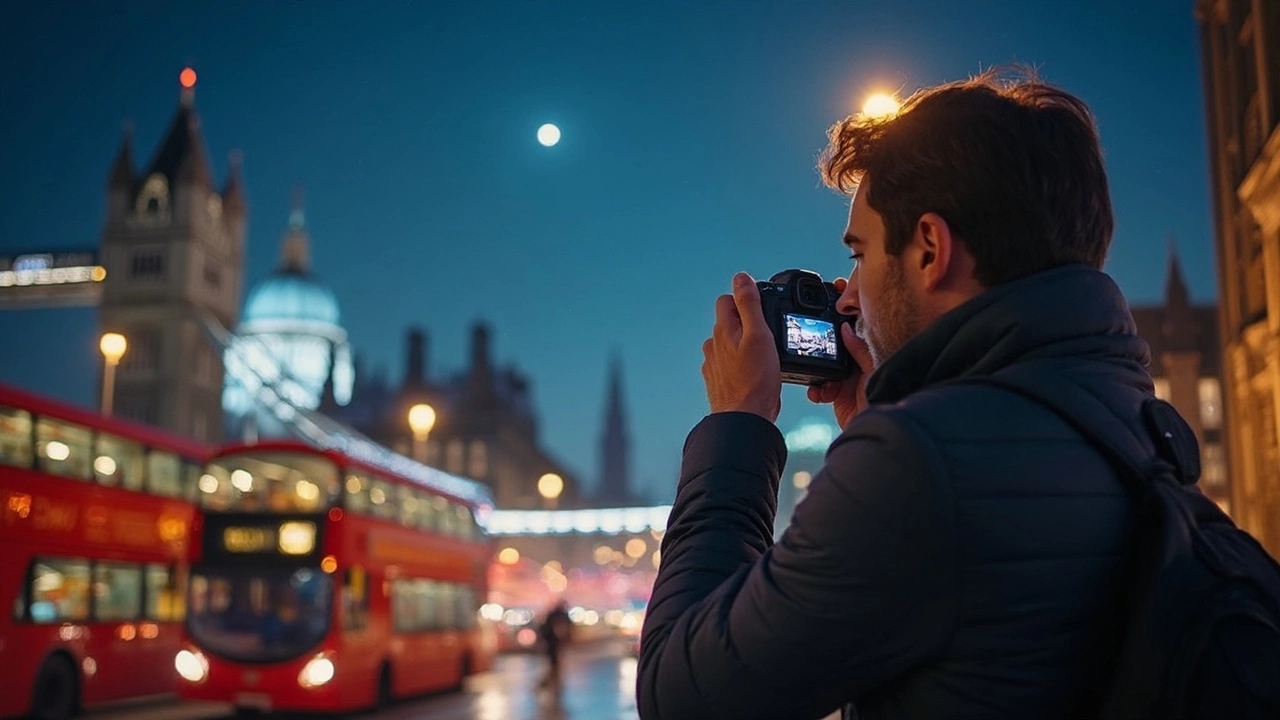
If you've ever tried to take pictures in low-light settings and ended up with a murky mess, you're not alone. Getting decent shots when the sun goes down can be tough unless you know how to tweak your camera's night vision abilities. Let's break it down so you can start capturing those magical night-time moments without all the frustration.
First, understanding your camera's ISO setting is like unlocking a hidden power. Cranking up the ISO makes your camera more sensitive to light, which is a game-changer after dark. But beware: too high, and you'll invite unwelcome grain into your shots. Play around with it to find that sweet spot where clarity meets detail.
- Understanding Night Vision Basics
- Key Camera Settings for Low-Light
- External Tools and Accessories
- The Role of Lenses in Night Photography
- Regular Maintenance Tips
- Innovative Apps and Tech Solutions
Understanding Night Vision Basics
So, what's the deal with cameras and night vision anyway? In simple terms, cameras struggle in the dark because there's less light hitting the sensor. Cameras use either traditional optical methods or digital enhancements to improve image quality in low-light settings.
Night vision technology often relies on infrared light. Unlike visible light, infrared is invisible to our eyes but can be detected by specialized sensors in certain night vision cameras. These sensors convert the invisible light into images we can see. Have you ever noticed how some security cameras display weird green footage at night? That's infrared at work!
"Night vision is not just about adding light but understanding how your camera processes it," says Jane Stevens, editor of Camera World Magazine.
But it's not only about tech. An often overlooked factor is your camera's settings. You can't just expect great shots out of the box. You have to tweak some settings to make the magic happen. This involves mastering things like ISO, aperture, and shutter speed.
Here's a quick look at what each setting does:
- ISO: Controls your camera's sensitivity to light. Higher ISO means more sensitivity, but be aware of potential noise in the image.
- Aperture: A wider aperture lets in more light, crucial for night scenes. Think of it like opening a door wider to let in more light.
- Shutter Speed: A slower shutter speed means your sensor has more time to capture light. Just remember, the slower it is, the greater the chance of blur from any movement.
In many cases, combining these settings effectively can make a huge difference between a dark, blurry picture and a clear nighttime masterpiece. Get comfortable with them, and you're halfway there to mastering low-light photography.
Key Camera Settings for Low-Light
Alright, let's get into the nitty-gritty of settings that will give your night vision cameras an actual edge when the lights dim. These tweaks can transform the dark photos you might usually get into something great.
One of the first things you'll want to play with is the aperture. Picture it like your camera's eyelid. The wider it opens, the more light it lets in. Low aperture numbers like f/1.8 or f/2.8 are your pals in low light; they let in lots of light, which is what you need. Go too high, and you'll be back to shadowy photos.
Next up, shutter speed. To capture more light, slow it down—like letting your camera savor those precious rays. A longer shutter speed means more light hits the sensor, but there's a catch: any movement can blur your photo. Steady hands or a tripod can be life-savers here.
And don't forget about the ISO setting we mentioned earlier. It's a balancing act—too low, and your photos stay dark. Too high, and the image gets grainy. Most cameras these days can handle a moderate ISO boost without too much trouble, so test your limits.
White balance is the often-overlooked gem in your camera's settings. When shooting under streetlights or weird-colored bulbs, adjusting the white balance helps your photos not look like they were dipped in an orange or blue filter bath. Set it manually for accuracy.
For those who love visual aids, here's a quick reference table on typical settings:
| Setting | Low-Light Recommendation |
|---|---|
| Aperture | f/1.8 to f/2.8 |
| Shutter Speed | 1/30 sec or slower |
| ISO | 800 to 1600 |
| White Balance | Custom settings |
As with anything tech-related, practice makes perfect. So next time you're out at night, maybe walking your dog, Rex, give these settings a spin. With these adjustments, you'll be snapping sharp, vivid memories even after dark.
External Tools and Accessories
When your camera's built-in settings aren't cutting it for night vision, it's time to think about some external helpers. These gadgets can seriously level up your low-light photography game.
First on the list are external flashes and lighting. Yeah, your camera might have its own flash, but sometimes it's just not strong enough to light up the night. Portable LED lights or even reflectors can make a world of difference. You can often find compact and powerful LED panels that attach right to your camera or tripod. Keep the lighting adjustable so you can dial it in just right.
Tripods are another must-have. Shaky hands and low light are a recipe for blurry photos. A sturdy tripod stabilizes your shots, giving you the freedom to use longer exposure times without worrying about motion blur.
Investing in a remote shutter release can also be a lifesaver. It lets you snap pics without physically touching the camera, cutting down on shake even more. Some come with features like timers and intervals, perfect for capturing time-lapses at night.
“You don’t have to break the bank to improve your low-light shots—simple investments in gear can produce dramatic improvements,” says Michelle Simmons, a seasoned low-light photographer.
Another nifty gadget is the night vision lens adapter. They fit onto your existing lens and can transform your camera into a night vision powerhouse. Though some are pricier, they can be a worthy investment if night photography is your jam.
Let's not forget about apps that can aid your camera's night vision. Apps like Camera+ or Lightroom Mobile come with manual controls that sometimes outperform native camera software in low-light conditions. They're like having a mini photo studio right in your phone or tablet.
Here's a quick look at the difference some of these tools can make:
| Tool | Average Brightness Improvement (%) |
|---|---|
| External LED Light | 45% |
| Night Vision Lens Adapter | 60% |
| Tripod | Improves stability, not brightness |
Incorporating a few of these tools and accessories can turn your nighttime photography from "meh" to "wow" in no time. Explore what's out there, test them out, and see which combo suits your style best.
The Role of Lenses in Night Photography
Lenses are the unsung heroes in the world of night vision cameras. Picking the right lens can be the difference between a blurry mess and a stunning masterpiece. So, how do you choose the right one for night photography?
First off, you want a lens with a wide aperture. If you're seeing numbers like f/1.8 or f/1.4, you're on the right track. These numbers mean the lens can open wide to let in more light, which is exactly what you need when things get dark.
Another thing to keep in mind is the focal length. While large numbers like 200mm can really zoom in, they might not be the best for low-light conditions. Instead, consider something in the 35mm to 50mm range, which typically offers more flexibility and better light gathering.
Low-light photography can get a serious boost from prime lenses. These fixed focal length lenses usually open wider than zoom lenses, making them fantastic for capturing light in dim settings.
Here's a quick look at some lens features and what they mean for night photography:
| Feature | Benefit for Night Photography |
|---|---|
| Wide Aperture (f/1.8, f/1.4) | Allows more light to hit the sensor, essential for dark environments |
| Prime Lens | Better light capture, typically sharper images |
| 35mm-50mm Focal Length | Versatile, good balance between detail and light |
Remember to keep your lens clean too. Dust or fingerprints might not seem like a big deal until you notice those specs ruining your captures. Got a protective filter on your lens? Make sure it's spotless because anything on it can mess with your image quality, especially in low-light settings.
In the end, choosing the right lens involves a bit of experimentation and understanding your unique needs. But with a few thoughtful choices, you can transform your night photography game completely.
Regular Maintenance Tips
Keeping your night vision camera in top shape doesn’t just extend its lifespan; it ensures you get the best night vision possible. Consistent care can prevent those pesky moments when you're ready to shoot but the camera isn't cooperating.
First up, cleaning the lens is a must. Dust and smudges are like kryptonite to your clarity. Use a microfiber cloth and lens cleaning solution. Make it a habit after every shoot to quickly wipe down the lens and the body for optimal performance every time.
Check your camera firmware. Manufacturers often release updates that can improve low-light performance or fix bugs. Regularly updating ensures you're not missing out on any silent upgrades that could boost those night shots.
Battery care is another pivotal but overlooked aspect. Cold environments, common in nighttime photography, can drain batteries faster. Keep them warm and carry extras, so you don’t miss a shot because of a dead battery.
- Always store your camera in a dry place. Moisture is the enemy of electronics.
- Use lens caps and bags to protect from physical damage when not in use.
- Consider desiccant packs in your camera bag to ward off humidity.
| Maintenance Task | Frequency | Why It Matters |
|---|---|---|
| Clean Lens | After Each Use | Ensures Clear Images |
| Firmware Updates | Monthly | Enhances Performance |
| Battery Charge/Swap | Pre-Shoot | Prevents Power Loss |
These regular maintenance steps might seem basic, but they form the backbone of a reliable setup. By keeping your camera in tip-top condition, you’re setting yourself up for success when capturing those stunning night vision shots.
Innovative Apps and Tech Solutions
Ever thought your phone could up your night photography game? Yep, there's an app for that. Actually, there are several. Today, innovative apps are doing some pretty neat things to bolster your camera's night vision without you having to splurge on new gear.
One standout is NightCap Camera, an app designed to bump up your phone's low-light capabilities. It lets you manually tweak ISO settings and shutter speed, kind of like those hefty DSLR cameras. It's a feast for anyone who loves control over their photos.
If you're a bit more adventurous and into long exposures, Slow Shutter Cam is your buddy. It opens up more light to the camera sensor, capturing those stunning star trails or flowing water effects in low light.
For those who can't get enough of tech mods, there's the FLIR ONE Pro, a thermal imaging camera that attaches to your phone. While it's primarily used for things like home inspections, it can spice up night photography and help you hunt those eerie heat differences in the dark, giving your shots a sci-fi edge.
Many apps, like Adobe Lightroom, also offer post-processing magic where you can boost shadows, clarity, and colors, making your night photos pop with just a few taps.
Here's a quick rundown of how some of these tech solutions compare:
| App/Device | Main Feature | Price |
|---|---|---|
| NightCap Camera | Manual ISO & shutter control | $2.99 |
| Slow Shutter Cam | Long exposure shots | $1.99 |
| FLIR ONE Pro | Thermal imaging attachment | $299.99 |
These apps and gadgets provide fresh avenues for creativity when working on your low-light photography and can be incredibly fun to experiment with. Whether you’re an iPhone photographer or toggling with Android devices, there's a tech solution waiting to enhance your nighttime adventures.