How to Connect Your CCTV System in Simple Steps
If you’ve bought a new CCTV kit, the hardest part is getting the cameras talking to the recorder. You don’t need a tech degree – just a few tools, a bit of patience, and the right plan.
First, decide on the type of connection you want. Wired systems use coax or Ethernet cables and give the most reliable video. Wireless cameras run on Wi‑Fi and are easy to place, but they need a strong signal. Power over Ethernet (PoE) combines power and data in one cable, cutting down on clutter.
Wired (Coax or Ethernet) Setup
Grab a screwdriver, a drill, and the right cable length. Run the cable from each camera to the DVR (digital video recorder) or NVR (network video recorder). If you use coax, you’ll need a BNC connector and a separate power supply for each camera. For Ethernet, plug the cable into a PoE switch or an NVR with built‑in PoE ports. Once everything is plugged in, power up the recorder and check each camera’s feed on the monitor.
Make sure the cable is protected from the elements. Use UV‑resistant outdoor cable or conduit for runs outside. A tight bend can damage the wire, so keep the radius gentle. Test the video quality before you seal any holes – a quick preview on the monitor tells you if the signal is strong.
Wireless and Wi‑Fi Connections
Wireless cameras need a stable Wi‑Fi network. Place your router close enough that the signal stays above -70 dBm at each camera spot. If the signal drops, add a range extender or a mesh node to boost coverage.
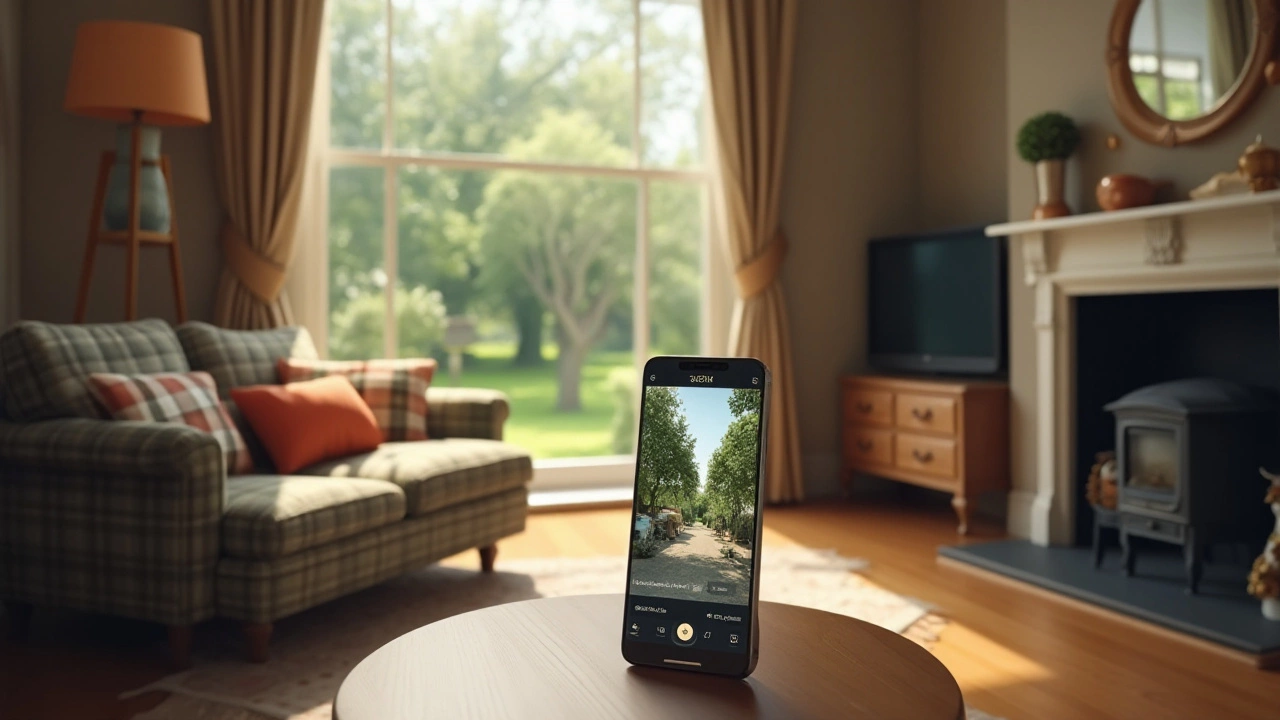
Install the camera mounts, then power each unit with its adapter. Open the camera’s app on your phone, follow the on‑screen steps to join the Wi‑Fi, and assign each camera a unique name. Once linked, you can view live video from the app or connect the cameras to a cloud storage plan.
Wireless setups are great for renters because they leave walls untouched. Just remember that a weak Wi‑Fi signal can cause lag or pixelated footage. If you notice that, either move the router, shift the camera, or consider a wired backhaul for that particular camera.
Regardless of the method, always secure your connection. Change default passwords, enable two‑factor authentication on the recorder, and keep firmware up to date. A secured system stops intruders from hijacking your video feed.
Finally, check the recording schedule. Most DVRs let you set motion‑triggered recording to save space. Adjust the motion zones so you aren’t recording empty garden walls. After you’re satisfied, label each cable or camera in the recorder’s interface – it makes future troubleshooting a breeze.
With the right connection type, a few basic tools, and a quick test, your CCTV system will be up and running in a day. You’ll have clear video, reliable storage, and peace of mind knowing your home is watched over 24/7.


