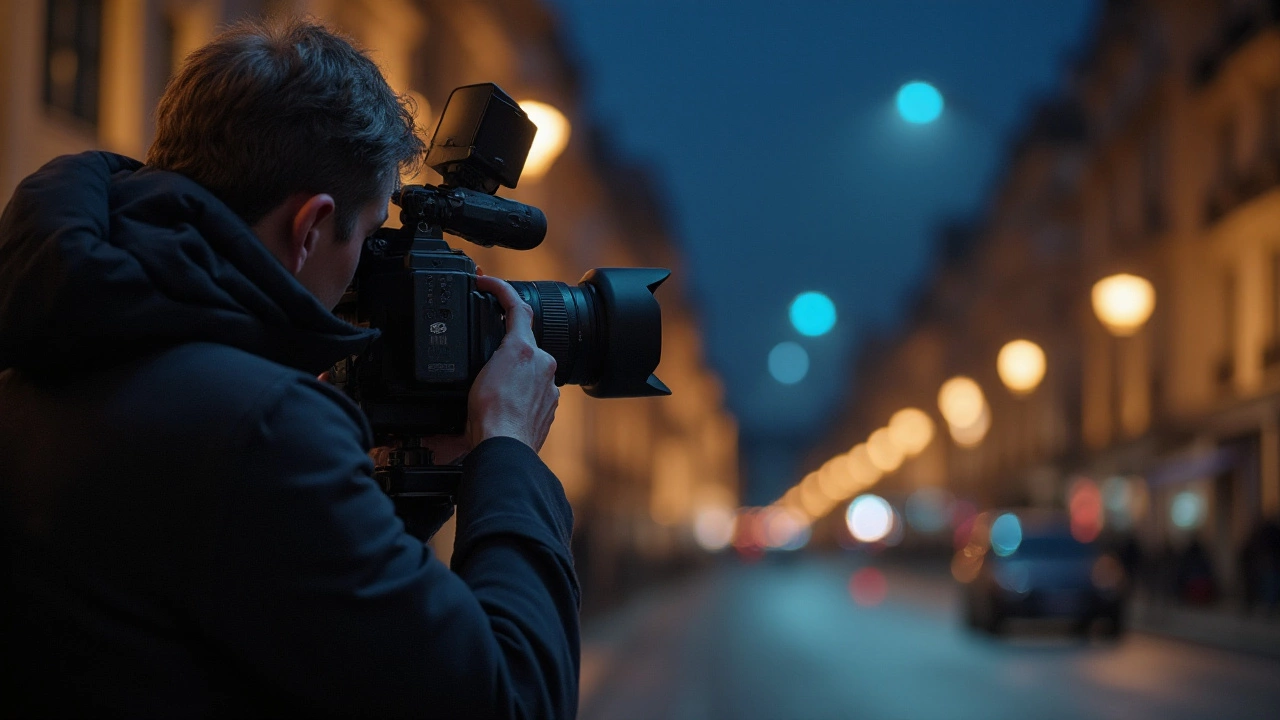
Night Photography Made Simple: Tips for Stunning Low‑Light Shots
Taking photos after the sun goes down can feel tricky, but with a few basics you can get great results. You don’t need the most expensive gear – just understand what your camera can do and how to use light wisely.
Gear and Settings You Need
Start with a camera that lets you change the ISO, aperture, and shutter speed. Most DSLRs, mirrorless bodies, and even some advanced smartphones have these controls. Set the ISO as low as you can while still getting a bright enough image – 800 to 1600 is a good range for many night scenes. A wider aperture (small f‑number) lets more light in, so lenses with f/2.8 or lower work best.
Use a sturdy tripod or a stable surface. Even a cheap phone holder can hold the camera steady for long exposures. When your camera stays still, you can use slower shutter speeds without blur. Aim for a shutter speed of 5‑30 seconds depending on how much light is available.
Techniques for Clear Night Images
Focus manually. In darkness the camera’s auto‑focus often hunts and misses. Switch to manual focus and set the focus to infinity or use live view to fine‑tune until the stars look sharp. Turn on the camera’s timer or remote release to avoid shaking the camera when you press the shutter.
Consider using the “bulb” mode for very long exposures. This lets you keep the shutter open as long as you hold down a button, perfect for capturing fireworks or star trails. If you’re shooting city lights, try a shorter exposure (around 1‑2 seconds) to freeze traffic and keep the image bright.
Watch the white balance. Auto‑white‑balance can make night scenes look too orange or blue. Try the “tungsten” preset for street lamps or set a custom Kelvin temperature (around 3200‑4000K) for a natural look.
Experiment with light painting. Grab a flashlight and move it around the subject during a long exposure. This adds a creative glow and can highlight details you’d otherwise miss.
Don’t forget to shoot in RAW if your camera supports it. RAW files keep all the data, so you can recover highlights and shadows later without losing quality.
When you’re done, edit lightly. Boost contrast a bit, reduce noise if needed, and adjust the hue to keep colors true. Simple tweaks can turn a good night shot into a great one.
Practice is key. Start with easy scenes like a lit street, a park bench under a lamp, or a skyline. As you get comfortable, move on to more challenging subjects like star fields or moving car lights.
Night photography doesn’t have to be a mystery. With the right settings, a steady tripod, and a bit of patience, you’ll be capturing beautiful low‑light images in no time.