Wi-Fi Network Requirements Calculator
Security Camera Network Check
Calculate if your Wi-Fi network meets the requirements for your security camera. Your camera needs proper bandwidth to stream video without lag or disconnections.
What you need before you start
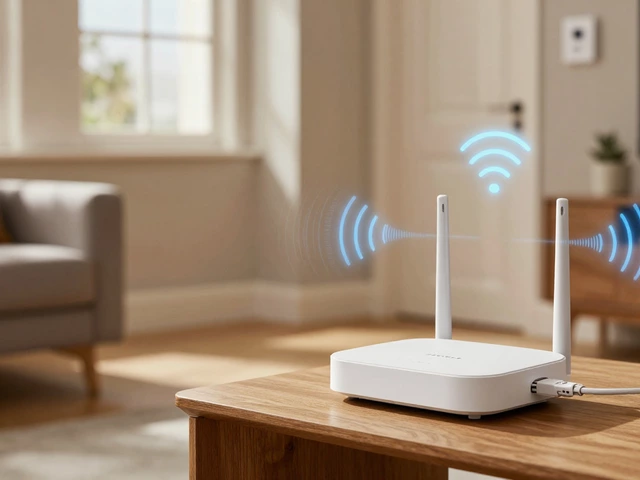
Before you try to connect security camera to phone, gather the basics. You’ll need a Security Camera is a wireless surveillance device that streams video over a home Wi‑Fi network, a Smartphone is a handheld device (Android or iOS) that runs the camera’s companion app, a stable Wi‑Fi Router is the hub that links all devices to the internet, and the camera’s power supply (usually a Power Adapter is a wall‑plug that provides 5V or 12V DC). Make sure your router is on the 2.4GHz band - most budget cameras can’t handle 5GHz.
Download the official mobile app from the App Store or Google Play. Most brands have separate Android and iOS versions, so choose the one that matches your device’s OS (Android is Google’s mobile platform, while iOS is Apple’s operating system).
Step 1 - Power up the camera
Plug the Power Adapter into an outlet and connect the cable to the camera. Wait for the LED indicator to turn solid green (or flash blue, depending on model). This tells you the unit has booted and is ready for network setup.
Step 2 - Put the camera in pairing mode
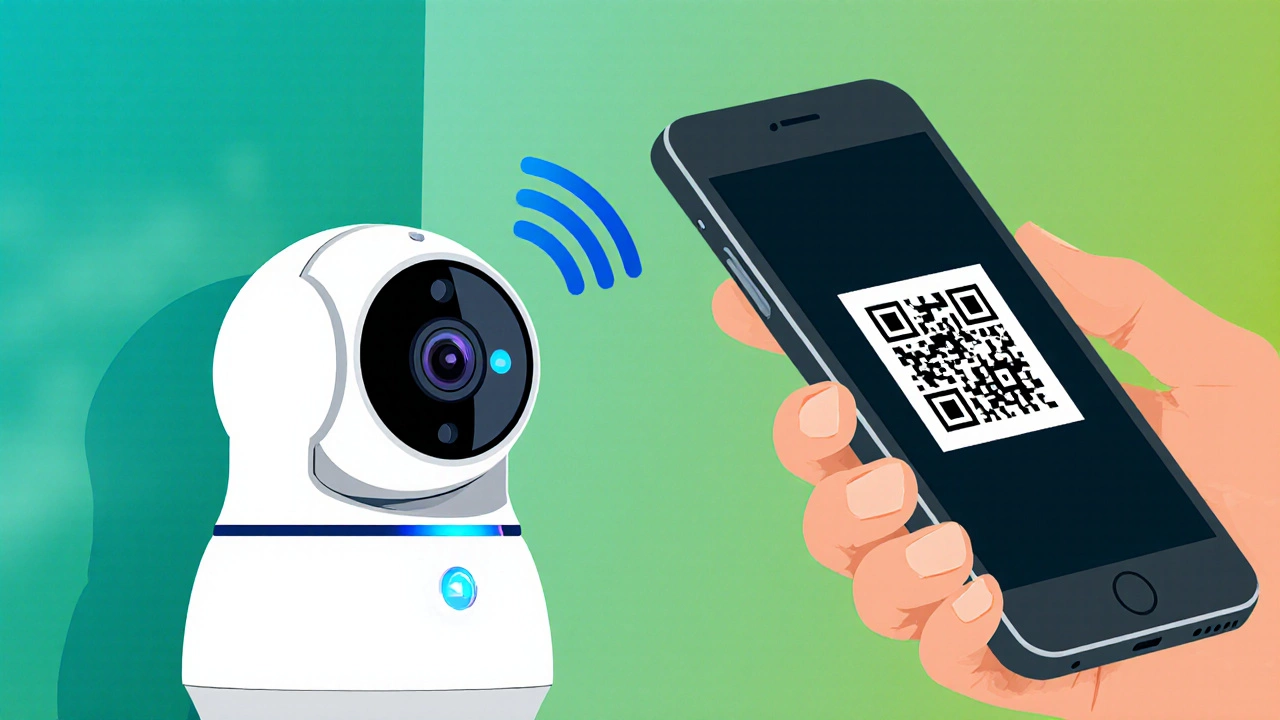
Most wireless CCTV kits use a QR code printed on the back of the unit or in the quick‑start booklet. Scan the code with the companion app; the app reads the QR Code is a matrix barcode that stores the camera’s default Wi‑Fi credentials and device ID. If your model doesn’t have a QR code, you’ll need to press the reset button for three seconds until the LED starts blinking rapidly.
Step 3 - Connect the camera to your home network
Open the app, select “Add New Device”, and follow the on‑screen prompts. You’ll be asked to choose a Wi‑Fi network and enter the password. The app temporarily creates a direct Bluetooth link between your phone and the camera to hand over the Wi‑Fi credentials. Once the camera confirms it’s on the network (usually a short beep), the app will display the device’s IP Address is the unique numerical label that lets other devices locate it on the local network.
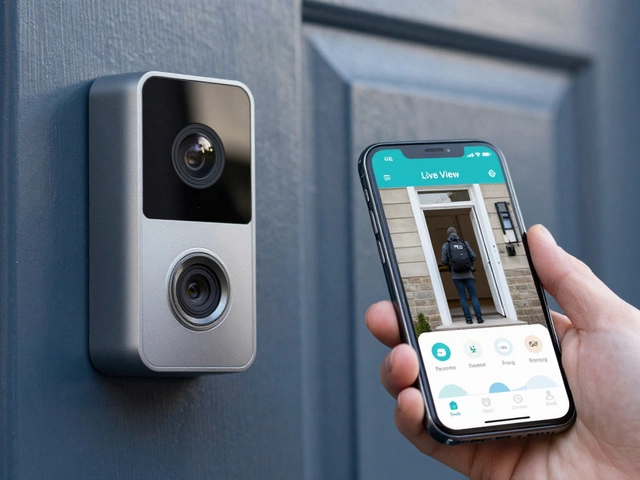
Step 4 - Verify the live feed
Back in the app, tap the thumbnail of the newly added camera. You should see a live video stream within a few seconds. If the picture is grainy or freezes, check the signal strength indicator in the app - weak Wi‑Fi is the most common cause of poor video quality.
Step 5 - Set up cloud storage and alerts
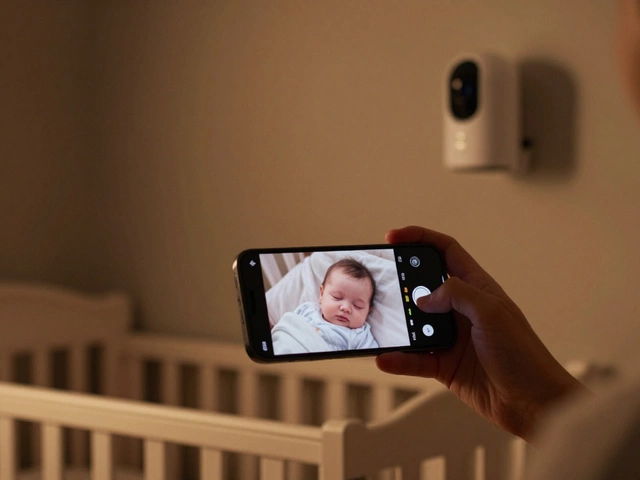
Most modern cameras offer optional cloud recording. Navigate to Settings → Cloud Storage, pick a plan, and link your payment method. Enable motion detection alerts so you get push notifications on your Smartphone whenever the camera detects movement. You can also configure zones within the camera’s field of view to ignore pets or passing cars.
Android vs iOS app - quick comparison
| Feature | Android | iOS |
|---|---|---|
| Background video playback | Supported on most devices | Limited - requires iOS 13+ |
| Push notification reliability | Google Firebase Cloud Messaging | Apple Push Notification Service |
| Local storage (SD card) | Yes, via app file manager | No - iOS blocks direct file system access |
| Battery optimization | Doze mode may pause background sync | App refresh limited to 30seconds |
| Voice assistant integration | Google Assistant | Siri Shortcuts |
Troubleshooting common issues
- No live view after pairing - Restart the camera, ensure the router’s 2.4GHz band is active, and double‑check the Wi‑Fi password.
- Camera drops off the network - Assign a static IP address in your router’s DHCP settings or enable “DMZ” for the camera’s MAC address.
- Push notifications don’t arrive - Verify that the app has background‑refresh rights and that Do Not Disturb isn’t blocking alerts.
- Video lag or stutter - Reduce the resolution in Settings → Video Quality, or move the router closer to the camera.
Performance‑boosting tips
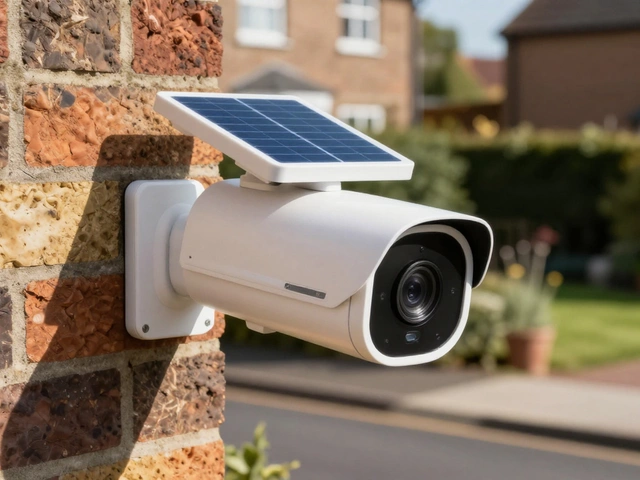
Place the Wi‑Fi Router on a high shelf and away from metal objects. If your house is large, consider a mesh Wi‑Fi system - the camera will stay linked even at the edge of the property. Use a power‑over‑Ethernet (PoE) injector only if your model supports it; PoE gives a more stable connection than wireless.
For outdoor units, protect the antenna from rain and foliage to keep signal loss to a minimum. And remember to keep firmware up to date - manufacturers usually push security patches that also improve reliability.
Quick checklist before you finish
- Power adapter plugged in and LED solid.
- Camera in pairing mode (QR code scanned or reset button held).
- Smartphone has the correct app installed (Android/iOS).
- Wi‑Fi network set to 2.4GHz and password entered.
- Live video visible in the app.
- Motion alerts enabled and test notification received.
- Cloud or local storage configured.
Frequently Asked Questions
Can I use the same camera with multiple phones?
Yes. Most apps let you add the device to any account. Simply log into the same cloud account on the second phone and the camera will appear automatically.
Do I need a strong internet connection for remote viewing?
Remote viewing uses the same bandwidth as any video stream. A 3‑Mbps upload speed is enough for 720p; for 1080p aim for at least 5Mbps.
What if my camera doesn’t have a QR code?
Enter the default SSID (often printed on the back) manually in the app, then provide your home Wi‑Fi credentials. Some apps also offer a “Wi‑Fi Direct” mode that bypasses the QR step.
Is it safe to expose my camera to the internet?
Modern cameras use TLS encryption for video streams. Keep the firmware up to date, use a strong router password, and enable two‑factor authentication on the cloud account if available.
Can I view the feed without the official app?
Many cameras support RTSP or ONVIF protocols, so third‑party apps or VLC can pull the stream using the camera’s IP Address. Check the manual for the exact URL format.