Improve Night Vision for Your Security Cameras – Quick, Practical Tips
When the sun goes down, a good camera should still see everything. Too many people think night vision is a magic setting you just flip, but real improvement comes from a few easy choices. Below you’ll get straight‑forward steps that actually make a difference, so you can trust your system even in pitch‑black conditions.
Choose the Right Infrared Light
Infrared (IR) LEDs are the workhorses of night‑vision cameras. Not all IR is created equal – a camera with weak LEDs will produce grainy, washed‑out footage. Look for models that list the IR range (usually 10‑30 meters) and the type of LEDs. Dual‑tone IR, which uses both 850nm and 940nm LEDs, gives you a balance: 850nm provides clearer images while still being mostly invisible, and 940nm stays hidden but may be a bit dimmer.
If your current setup feels dark, add external IR floodlights. They snap onto the camera or mount nearby and flood the area with extra light without glaring your neighbors. Make sure the floodlights match the camera’s IR spectrum – otherwise you’ll waste power and still get poor images.
For those who prefer a cleaner look, consider heat‑sensing cameras (thermal imaging). They don’t rely on IR at all; they detect temperature differences, giving you clear silhouettes even in total darkness. Thermal units are pricier, but they eliminate the glow that can tip off burglars.
Position Your Cameras for Maximum Clarity
Even the best IR lights can falter if the camera faces the wrong direction. Avoid pointing a camera straight into bright sources like street lamps or headlights – the glare will drown the IR and produce glare spots. Instead, aim the lens slightly away from the light and use the camera’s built‑in back‑light compensation if it has one.
Mount cameras at an angle that captures key entry points with as little foliage or obstacles as possible. Overhanging branches not only block IR but also create shadows that hide movement. Trim trees or choose a higher spot that looks down on the doorway; this reduces blind spots and lets the IR light bounce off surfaces, improving overall illumination.
Keep the camera lens clean. Dirt, spider webs, and dew are more noticeable at night because they catch the IR glow. A quick wipe with a microfiber cloth once a month can keep the image sharp. If you live in a humid area, consider a camera with a built‑in heater or a protective splash guard to prevent condensation.
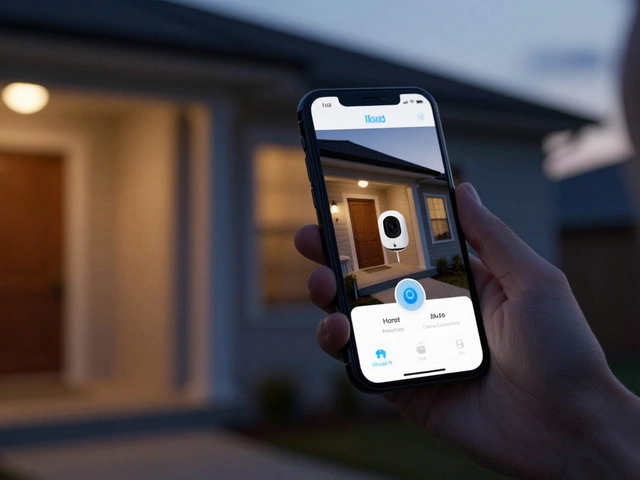
Finally, test your setup after any change. Most cameras let you view a live feed on a phone or monitor. Walk past the field of view, turn on a flashlight, and see how quickly the image clears. If you still get dark patches, add another IR light or adjust the angle until the whole zone is evenly lit.
Improving night vision isn’t about buying the most expensive gear; it’s about matching the right light, placement, and maintenance. Follow these steps, and you’ll have a camera that watches over your home confidently, day or night.


