Infrared Camera vs Night Vision: Which One Do You Actually Need?
Confused between infrared and night vision? Learn the key differences in how they work, their strengths in total darkness, and which one is best for your security needs.
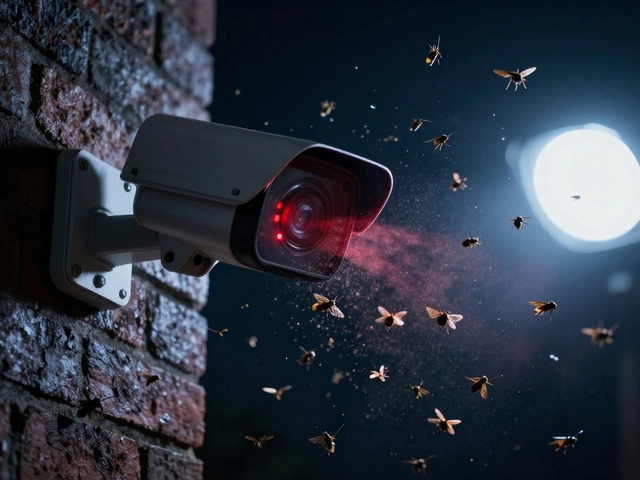
If you’ve ever wondered how security cameras keep an eye on things after sunset, the answer is often an infrared (IR) camera. These devices use invisible light to illuminate a scene, so you get a clear picture even when it’s pitch black. No need for streetlights or floodlights – the camera does the work for you.
Most IR cameras have built‑in LEDs that flash at a wavelength the human eye can’t see. When the sensor picks up that light, it turns the darkness into a grayscale image. That’s why you’ll see those spooky black‑and‑white frames on many home‑security feeds.
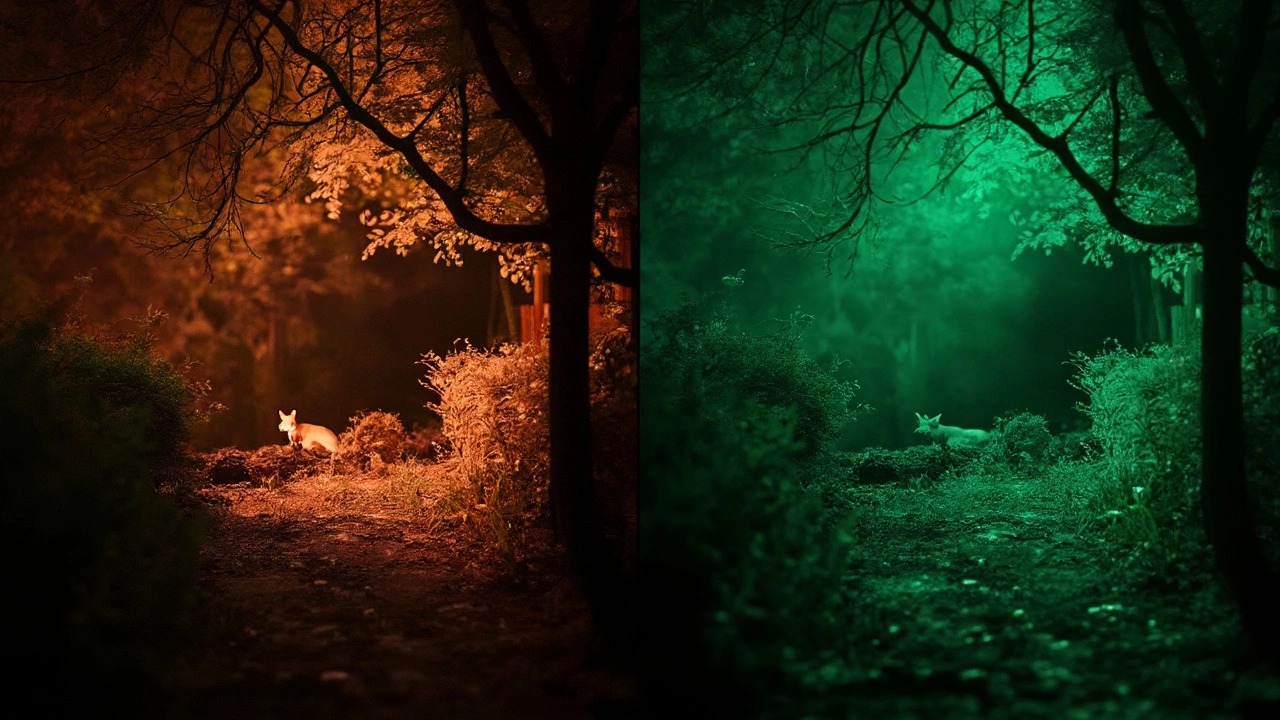
Regular cameras rely on visible light, so they go blind as soon as the sun sets. An IR camera, on the other hand, can see up to 30 metres (or more) in total darkness. The range depends on the LED power and the lens quality. Some models even offer “dual‑technology” – they switch between color during the day and IR at night, giving you a seamless view 24/7.
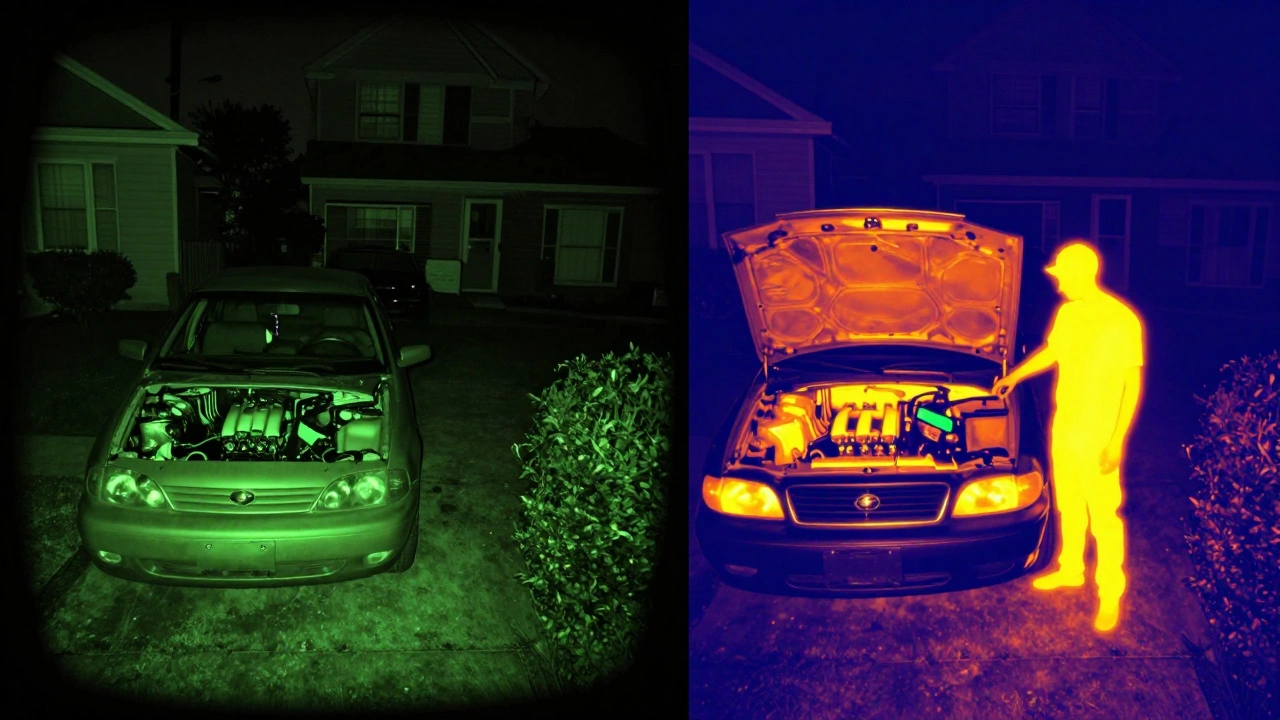
Another key difference is the type of IR used. Most budget cameras use near‑infrared (NIR), which is cheap and good for basic night‑vision. Higher‑end systems may use thermal imaging, which detects heat signatures instead of reflected light. Thermal cameras are great for spotting intruders behind foliage or in fog, but they cost a lot more.
Start by figuring out where you need coverage. Exterior doors, driveways and garages usually need the longest range, so look for a camera with at least 20‑30 m of IR reach. For indoor rooms, a shorter range is fine and you’ll save money.
Resolution matters, too. A 1080p camera will give you clear details on a person’s face or a license plate, while a 720p unit might be enough for a simple motion alert. Pair a higher resolution with a good field‑of‑view – wide‑angle lenses cover more area but can distort edges.
Don’t forget the power source. Some IR cameras run on PoE (Power over Ethernet), which means one cable does both data and electricity. Others are battery‑powered and can be placed anywhere, but you’ll need to replace or recharge them regularly.
Finally, look at storage and alerts. Cloud storage is convenient, but make sure the provider supports IR footage. Local micro‑SD cards work too, and many cameras let you set up instant push notifications when motion is detected at night.
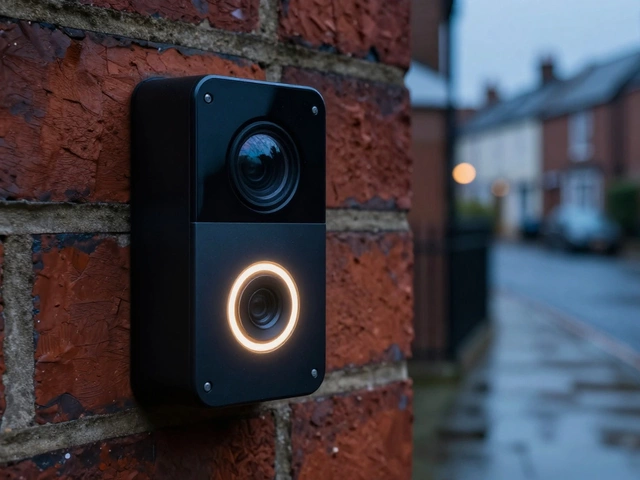
Once you’ve chosen a model, installation is usually a quick job. Mount the camera about 2.5‑3 m high, aim it where you want the darkest area covered, and make sure it’s angled to avoid direct sunlight during the day. Adjust the IR cut filter if the camera has one – this helps the camera switch cleanly between day and night modes.
After you’re up and running, test the night view. Walk in front of the lens and check the live feed on your phone or monitor. If the image looks too grainy, you might need a stronger IR LED or a camera with a bigger sensor.
Infrared cameras are a low‑maintenance way to keep an eye on your property around the clock. They add a layer of security that works when the lights go out, and with the right specs you’ll get clear pictures without breaking the bank.
Confused between infrared and night vision? Learn the key differences in how they work, their strengths in total darkness, and which one is best for your security needs.
Struggling to figure out whether you need an infrared camera or a night vision camera? This article breaks down the real differences, showing how each works and when you'd pick one over the other. Learn which camera fits your needs for security, wildlife watching, or late-night adventures. Get interesting details about how these cameras see in the dark and practical advice you won’t find on the box. Make a smarter choice next time you shop.