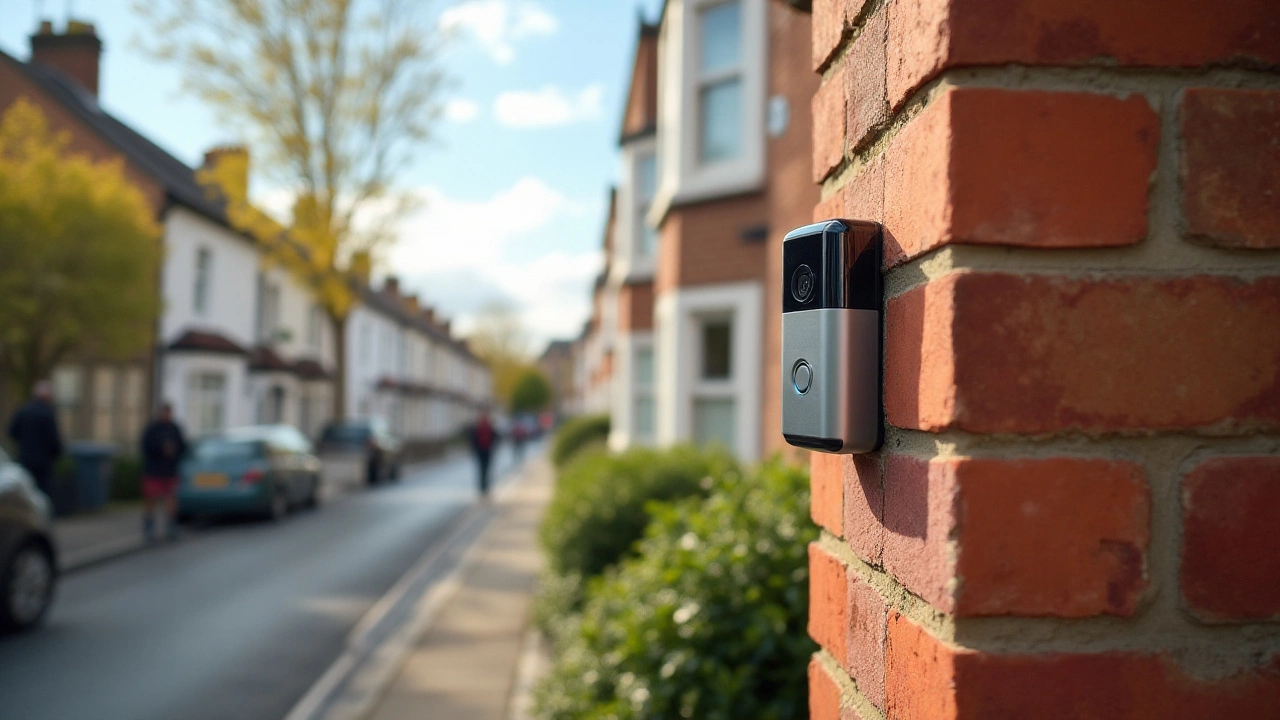
Secure Doorbell Installation: What You Need to Know
Thinking about adding a smart doorbell? You’re not alone – more UK homes are going video‑enabled every year. The biggest decision is whether to run a wire or go battery‑powered. Both work, but the right choice depends on your home’s wiring, budget, and how much hassle you’ll tolerate.
Wired vs Battery: Quick Comparison
Wired doorbells pull power from your existing doorbell transformer (usually 16‑24V). They give you steady video and instant alerts, and you never have to swap batteries. The downside? You need a transformer, a little electrical skill, and sometimes a new chime.
Battery doorbells run on rechargeable packs that last a few months to a year, depending on motion settings. They’re easy to mount – no wires, no drilling into live circuits. The trade‑off is regular charging and a possible drop in performance when the battery dips low.
Step‑by‑Step Installation Guide
1. Check your transformer. Locate the low‑voltage box behind your existing doorbell. Use a multimeter – you should see around 16V AC. If it’s missing or under 12V, you’ll need a new 16‑24V transformer (about £15‑£30).
2. Turn off the power. Switch off the breaker for the doorbell circuit or remove the fuse. Safety first – never work on live wires.
3. Mount the bracket. Most brands include a mounting plate. Hold it up, mark the screw holes, drill pilot holes, and screw the plate in place.
4. Connect the wires. Strip about 5mm of insulation, twist the copper strands, and attach them to the doorbell’s terminals (usually labelled “Live” and “Neutral”). Tighten the screws firmly.
5. Attach the doorbell unit. Hook the unit onto the bracket, secure any clips, and tighten any set‑screws. Most models click into place.
6. Power back on and test. Turn the breaker back on, press the doorbell button, and check the video feed on your phone. Adjust motion zones if needed.
For battery models, skip steps 1‑4. Just mount the bracket, snap the doorbell onto it, and follow the app’s pairing instructions. Remember to set the battery to a high‑capacity mode if you have a lot of foot traffic.
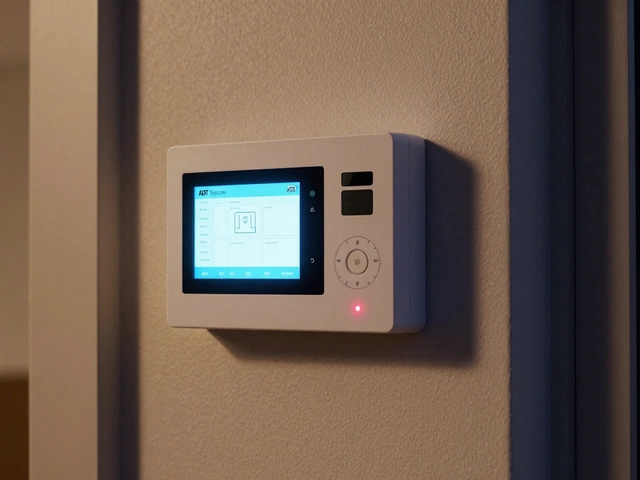
7. Configure Wi‑Fi. A strong 2.4 GHz signal is a must. Place the router within 10‑15 m of the doorbell or use a Wi‑Fi extender. Test the connection by viewing live video for a minute.
8. Set up alerts. Most apps let you customize push notifications, cloud storage, and privacy zones. Turn off recording for areas you don’t want captured – it saves storage and respects neighbour privacy.
9. Secure the device. Use a short‑length screw to lock the doorbell to the bracket; it deters thieves who try to pull the unit off.
10. Register for cloud storage. Free plans often limit video retention to a week. If you need longer, consider a monthly plan – it’s cheaper than hiring a security guard.
That’s it – you’ve got a secure doorbell ready to greet visitors and catch unwanted guests.
Finally, check local regulations. In England and Wales, outdoor cameras must not capture public spaces beyond your property line. If you’re on a shared wall, talk to neighbours before pointing the camera into their garden. A quick chat can avoid complaints and possible legal issues.
With the right choice between wired or battery, solid installation steps, and a bit of Wi‑Fi tweaking, your smart doorbell will be a reliable guard for years to come.