Outdoor Lighting Designer
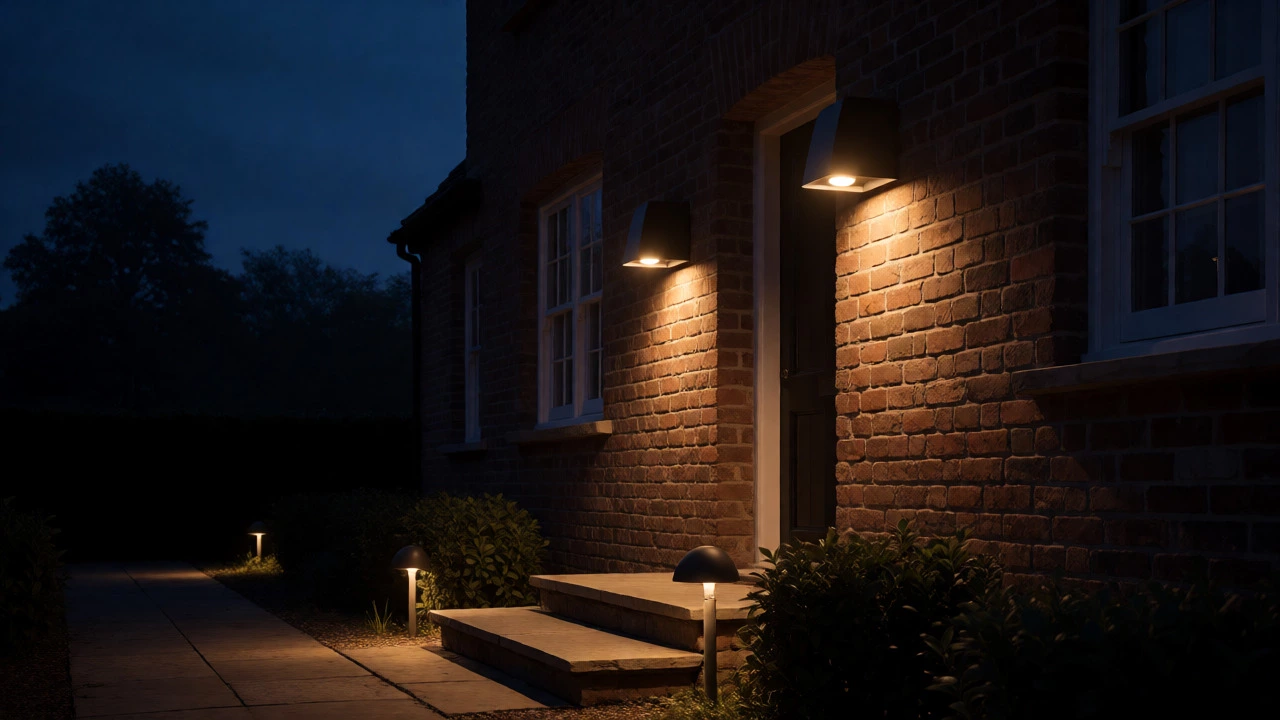
Adjust the sliders below to see how different lighting choices affect the appearance of a home facade. Aim for a warm, inviting glow without harsh glare.
This combination creates a welcoming, sophisticated look that highlights architecture without disturbing neighbors or wildlife.
You know that feeling when you drive up to a house at night and think, "Wow, that looks expensive?" It’s rarely about the size of the mansion or the price of the car in the driveway. It’s usually about the lighting. Most homeowners make the mistake of blasting their facade with bright, blue-white floodlights. The result? A glaring spotlight that feels more like a prison yard than a welcoming home. If you want your house to look its best after dark, you need to stop thinking about brightness and start thinking about warmth, direction, and control.
The secret isn’t finding the brightest bulb in the shop. It’s creating a layered system using warm-white LED fixtures that are fully shielded and carefully aimed. This approach highlights architectural details, guides guests safely to the door, and keeps your neighbours happy by reducing light pollution. Let’s break down exactly how to achieve that high-end look without turning your front garden into an airport runway.
Why Warm Light Wins Over Cool White
Colour temperature is the single biggest factor in how your home feels at night. Many people buy "daylight" bulbs (5000K-6500K) because they seem modern. But on a residential exterior, cool white light often looks harsh, clinical, and uninviting. It emphasizes dirt on brickwork and creates sharp, ugly shadows.
Warm white light (2700K-3000K) mimics the glow of sunset and traditional incandescent bulbs. It flatters brick, stone, and wood textures, making materials look rich and deep rather than flat. The International Dark-Sky Association (DarkSky) actually recommends 2700K or lower for residential areas because it minimizes blue light emissions, which disrupt sleep cycles and wildlife patterns. If you’re aiming for a cozy, upscale vibe, stick to the warmer end of the spectrum. For most homes, 2700K is the sweet spot-it’s warm enough to be inviting but crisp enough to see where you’re walking.
Layering Your Lighting: The Three Zones
Don’t just put one light above the garage. Professional designers use three distinct layers to create depth and interest. Think of it like dressing a room: you have ambient lighting, task lighting, and accent lighting.
- Entrance Lighting: This is your priority. You need clear visibility at the front door so guests can find keys and see steps. Use downward-facing wall sconces or lanterns on either side of the door. Ensure the fixture is sized correctly-too small and it looks toy-like; too big and it overwhelms the entryway.
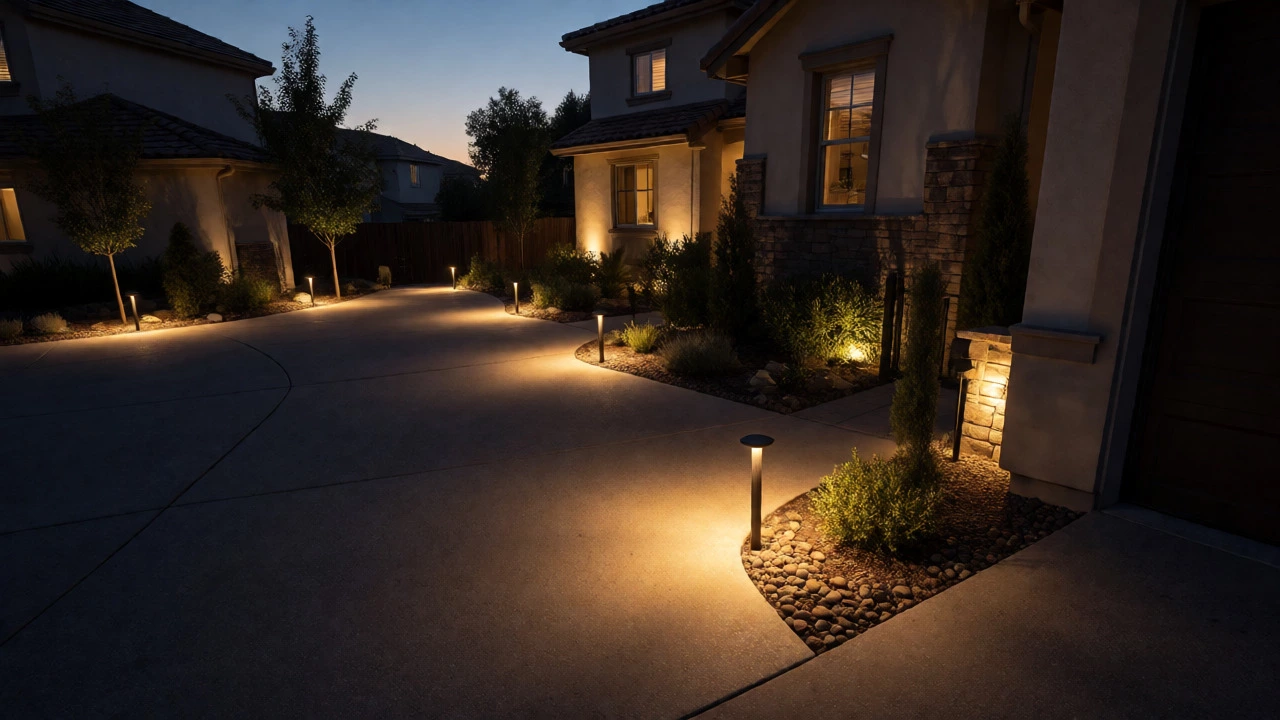
- Circulation Lighting: Paths and driveways need guidance, not glare. Low-voltage LED path lights with hoods or caps are ideal here. They cast light onto the walkway surface rather than into pedestrians' eyes. Spacing them evenly along curved paths helps define the route without creating a "runway" effect.
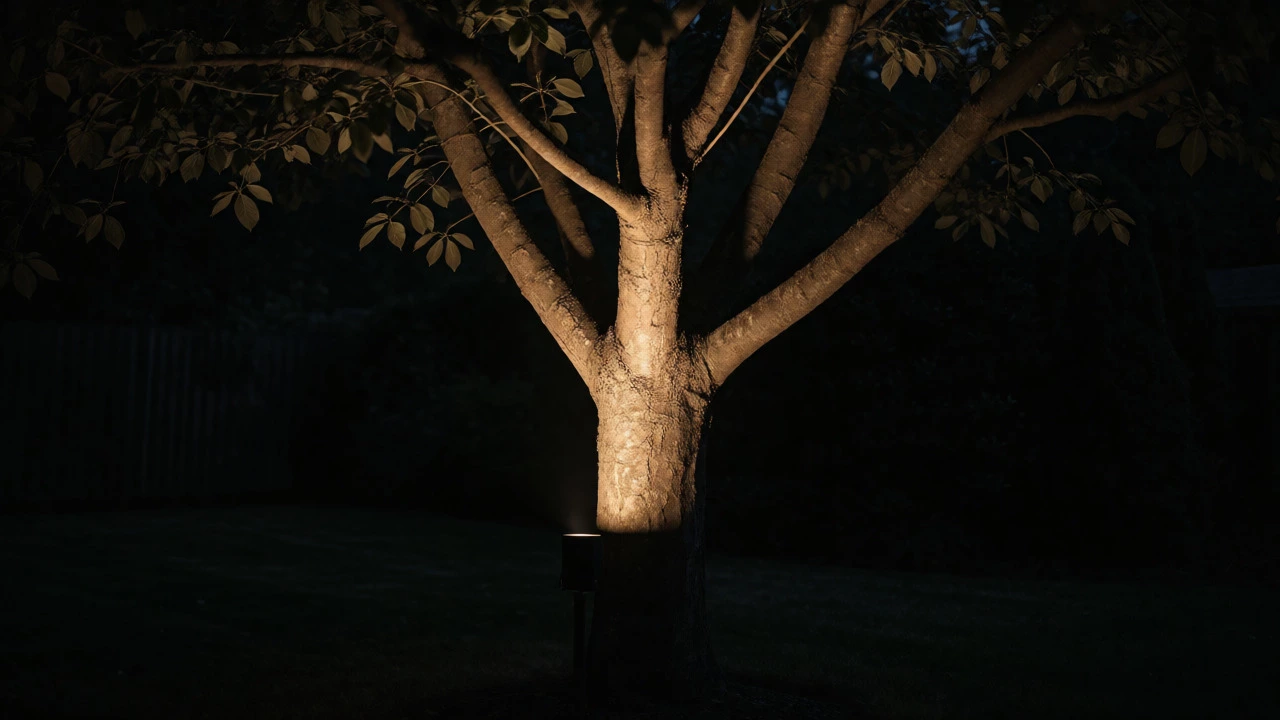
- Accent Lighting: This is where the magic happens. Instead of flooding the whole wall, pick specific features to highlight. A narrow-beam spotlight aimed at a textured column, a well light illuminating a mature tree, or a grazing light washing over a stone wall adds drama. Narrow beams (10-25 degrees) work best for tall trees or columns, while wider beams (60-120 degrees) suit broad walls.
The Importance of Shielding and Direction
Have you ever been blinded by a neighbour’s porch light? That’s unshielded lighting. It’s annoying, wasteful, and actually makes your home look less secure because the glare hides what’s happening in the shadows. Fully shielded fixtures direct light only where it’s needed-downward and outward-and prevent any light from escaping upward into the sky or sideways into neighbours’ windows.
Look for fixtures described as "full-cutoff" or "fully shielded." This means the bulb is hidden behind a hood or lens, and no light emits above the horizontal plane. When you aim your lights, keep them below 80 degrees from nadir (straight down). This reduces disability glare and preserves your view of the stars. If you must use an uplight for a tree, ensure it has a tight beam angle and a shield to cut off spill light. Avoid pointing lights directly toward bedroom windows or the street.
Choosing the Right Technology: LED vs. Others
Gone are the days of halogen floods eating through electricity bills. LED technology is the undisputed king of outdoor lighting today. According to ENERGY STAR, certified LED lighting uses about 90% less energy than traditional incandescent bulbs and lasts up to 25 times longer. But not all LEDs are created equal.
| Feature | LED | Halogen | Solar |
|---|---|---|---|
| Energy Efficiency | High (90% less than incandescent) | Low | Zero (but inconsistent) |
| Lifespan | 25,000+ hours | 1,000-2,000 hours | Battery dependent (1-3 years) |
| Brightness Consistency | Consistent output | Dims as it ages | Fades as battery drains |
| Maintenance | Low (driver replacement rare) | Frequent bulb changes | Regular battery swaps |
| Best For | All permanent installations | Short-term/temporary | Remote spots/no wiring |
For wired systems, choose line-voltage (120V/240V) for wall fixtures and low-voltage (12V) for landscape accents. Low-voltage systems are safer and easier to install yourself, as they don’t require digging deep trenches or hiring a licensed electrician for every connection. However, solar lights are still useful for hard-to-reach spots where running cable is impossible, though they often lack the consistent brightness of wired LEDs.
Controls: Automate for Security and Savings
A great lighting design is useless if you leave everything on all night. That wastes energy and kills the ambiance. You need smart controls to manage when and how your lights operate.
- Photocells: Essential for dusk-to-dawn operation. These sensors turn lights on automatically when the sun sets and off when it rises. Perfect for entrance and path lights.
- Motion Sensors: Best for security-focused areas like side gates or back patios. Set them to trigger only during active hours or when movement is detected, then dim to a lower level otherwise. Be careful with sensitivity settings to avoid false triggers from cats or passing cars.
- Timers and Dimmers: For decorative accent lights, use a timer to turn them off at midnight. No one needs to see your illuminated tree at 3 AM. Dimmers allow you to adjust brightness for different occasions-brighter for parties, softer for quiet evenings.
Durability and Weatherproofing
Your outdoor lights face rain, snow, UV rays, and lawn mowers. If the fixture isn’t built for it, it will rust, fog up, or fail within a year. Check the IP (Ingress Protection) rating. IP65-rated fixtures are dust-tight and protected against water jets, making them suitable for most exposed locations. For ground-level wells or areas prone to flooding, look for IP67 ratings, which handle temporary immersion.
Material matters too. Cheap painted steel will chip and rust quickly. Brass, copper, or high-grade aluminium with powder-coated finishes offer better longevity, especially in coastal or humid climates like Sheffield’s damp winters. Always verify that the fixture is listed for "wet locations" if it’s exposed directly to rain, or "damp locations" if it’s under a covered eave.
Common Mistakes to Avoid
Even with good gear, poor execution ruins the effect. Here are the traps to dodge:
- The Runway Effect: Placing path lights in a perfect straight line with identical spacing looks artificial. Stagger them slightly or vary the height to mimic natural moonlight.
- Over-lighting: More is not better. A facade washed in uniform light looks flat and cheap. Use contrast-darkness is part of the design. Leave some areas in shadow to create mystery and depth.
- Ignoring Glare: If you can see the bare bulb or LED chip from the street, it’s causing glare. Reposition or replace the fixture with a shielded version.
- Wrong Colour Temperature: Mixing 2700K warm lights with 5000K cool lights creates visual chaos. Stick to one colour temperature throughout the property for a cohesive look.
Final Thoughts: Less Is More
Showing off your home’s exterior isn’t about competing with the shopping centre next door. It’s about revealing the character of your architecture and landscaping with subtlety. Start small. Install a few quality, shielded, warm-white LED fixtures at your entrance and along your main path. See how it looks at night. Adjust the angles. Then, add accents to your favourite tree or texture wall. By focusing on warmth, shielding, and control, you’ll create a space that feels safe, sophisticated, and genuinely beautiful.
What colour temperature is best for outdoor home lighting?
2700K to 3000K is widely considered the best range for residential exteriors. It provides a warm, inviting glow that flatters building materials like brick and stone. Darker temperatures (below 2200K) can look too yellow, while higher temperatures (above 4000K) appear harsh and institutional.
Are solar lights good enough for showing off a home?
Solar lights are convenient for remote spots but generally lack the consistency and brightness of wired LEDs. They often fade as the battery drains and struggle in winter or shaded areas. For a high-end look, wired low-voltage LED systems are superior, though solar options have improved significantly in recent years.
How many lumens do I need for my front door?
There is no single number, but a good starting point for entry lighting is 400 to 800 lumens per fixture. The goal is visibility, not illumination of the entire street. Using multiple lower-output fixtures often looks better than one high-lumen floodlight.
What does "fully shielded" mean in outdoor lighting?
A fully shielded fixture prevents any light from being emitted above the horizontal plane. The bulb is completely hidden from view when looking up from the ground. This reduces glare, light pollution, and light trespass onto neighbouring properties.
Do I need an electrician to install outdoor lighting?
For low-voltage (12V) landscape lighting, most DIY enthusiasts can handle installation with basic tools. However, installing new line-voltage (mains) circuits, especially near water sources like pools, should be done by a qualified electrician to ensure compliance with safety codes and regulations.