DIY Burglar Alarm: Build Your Own Home Security System
Want to protect your house without signing a long contract? A DIY burglar alarm can give you solid security for a fraction of the price of a professional system. You’ll need a few basic parts, a bit of patience, and a clear plan. This guide walks you through everything you need, from choosing components to wiring the final sensor.
What You Need
First, gather the kit. Most DIY kits include a control panel, a keypad, a siren, and a handful of sensors (door, window, motion). If you’re buying parts separately, look for UK‑rated voltage (12 V or 24 V), battery backup, and a tamper‑proof case. A good power supply, a screwdriver set, and some thin‑gauge wire are enough tools. You might also want a drill for mounting brackets and a voltage tester to double‑check connections.
When you shop, compare prices on Amazon UK, Screwfix, and local electricians. A basic 8‑sensor kit can run under £150, and you’ll save even more by reusing old batteries or repurposing old phone chargers for the power supply.
Step‑by‑Step Installation
1. Plan the layout. Sketch a quick floor plan and mark where you want doors, windows, and motion sensors. Place the control panel near a power outlet but out of sight—ideally in the hallway or utility room.
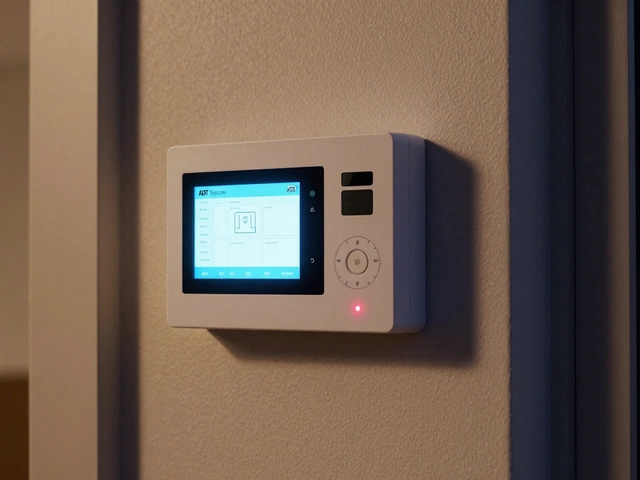
2. Mount the control panel. Follow the manufacturer’s instructions for screws and anchors. Connect the power supply, then press the test button to make sure the panel powers up.
3. Wire the sensors. Run thin‑gauge wire from the panel to each sensor location. Keep wires hidden behind baseboards or inside walls for a clean look. Use the voltage tester to ensure each line carries the correct voltage before attaching the sensor.
4. Install door and window contacts. These are simple magnetic switches. Align the magnet and the contact on the frame, then secure them with the supplied screws. When the door or window opens, the circuit breaks and the alarm triggers.
5. Set up motion sensors. Position them in corners where they can see the whole room. Avoid pointing them directly at heaters or bright windows to reduce false alarms.
6. Connect the siren. The siren should be mounted high on a wall or ceiling for maximum sound coverage. Wire it to the panel and test the loudness—30 dB is a whisper, aim for at least 90 dB.
7. Program the system. Use the keypad to set your code, arm/disarm delays, and any optional features like entry/exit delays. Most panels have a quick‑setup wizard, so you can finish in under ten minutes.
8. Test everything. Close all doors and windows, walk through the motion zones, and trigger each sensor manually. The siren should sound, and the panel should show which sensor went off. If anything doesn’t work, check connections and battery polarity.
Once the system is live, write down the master code and store it somewhere safe. If you ever forget it, most panels have a reset button that restores factory settings.
That’s it—you now have a DIY burglar alarm that works 24/7, even during power cuts thanks to the battery backup. Keep the battery fresh (replace it every 2‑3 years) and test the system monthly. With a little effort, you’ve turned a simple kit into solid protection for your home.