Security Camera Installation Cost Guide: Prices, Factors, and Savings Tips
Find out how much it costs to install security cameras, the factors influencing pricing, and money-saving tips for homeowners and businesses.
If you’re thinking about adding security cameras, you probably want a system that works fast, stays hidden, and doesn’t break the bank. The good news is that installing cameras yourself is easier than most people think. In this guide you’ll get a clear plan, the tools you need, and the exact steps to get your cameras up and running.
Start by deciding what you want to protect. Do you need indoor coverage for a hallway or a living room? Or are you more focused on the garden, driveway, or front door? Write down the spots, then sketch a quick layout on paper. Mark where power outlets are, where Wi‑Fi reaches strongest, and where you can run cables without digging.
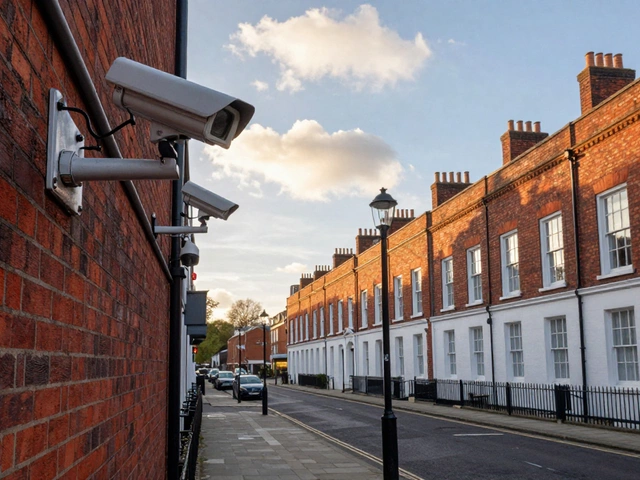
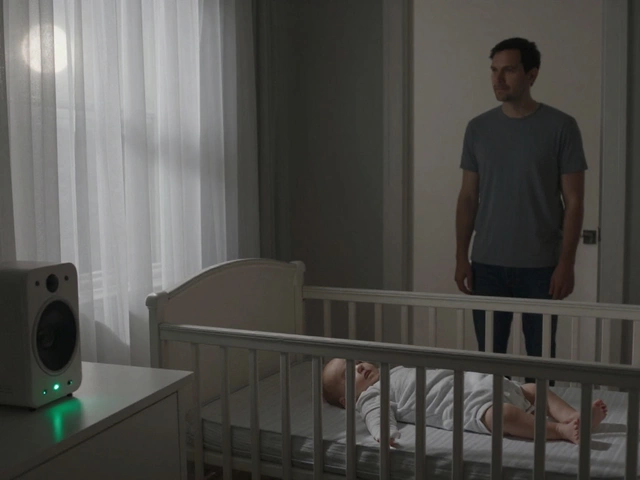
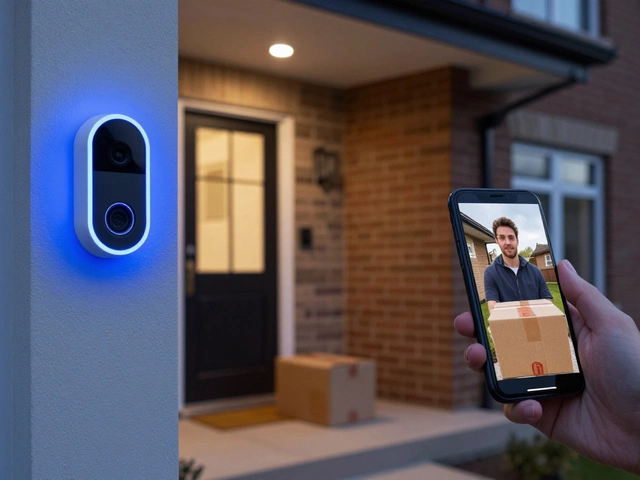
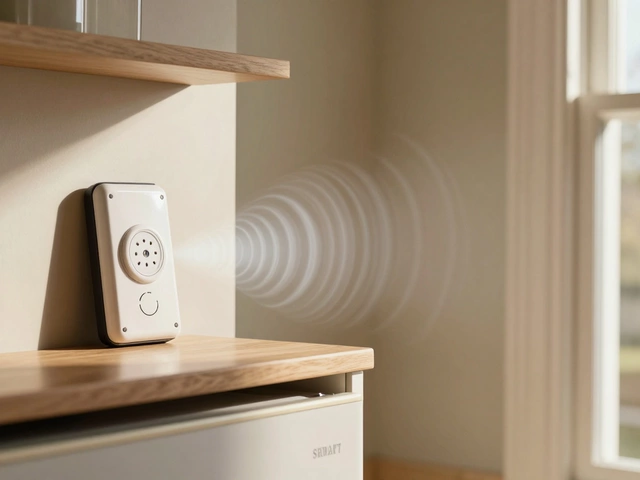
Next, pick the right type of camera. For indoor rooms a small dome or bullet camera with night vision works fine. For outdoor areas you’ll need a weather‑proof model with a wider field of view. If you want to watch live footage on your phone, choose a camera that supports a dedicated app and a reliable 2.4 GHz Wi‑Fi connection.
Think about storage. Most UK users rely on cloud plans, but a local micro‑SD card avoids monthly fees. Decide if you want continuous recording (requires more storage) or motion‑triggered clips (saves space).
1. Gather tools. You’ll need a drill, screwdriver, ladder, cable clips, and maybe a fish‑tape for pulling wires. If you’re using wireless cameras, you can skip the cable work.
2. Mount the brackets. Hold the bracket where you want the camera, mark the screw holes, drill pilot holes, then screw the bracket in place. Make sure the camera will face the area you sketched.
3. Run power. For wired cameras, pull a 12 V power cable from the nearest outlet or your existing alarm panel. Use cable clips to keep the wire tidy along walls or under eaves. If you prefer a battery‑powered camera, skip this step and charge the battery before mounting.
4. Connect to Wi‑Fi. Power on the camera, open the app, and follow the on‑screen prompts to join your home network. Place the camera within a few metres of the router for the first setup, then move it to its final spot.
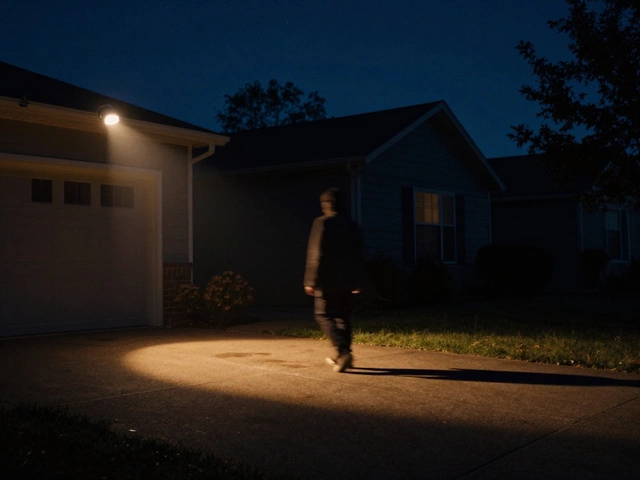
5. Angle and test. Adjust the tilt and rotation so the whole area is covered. Use the app’s live view to check for blind spots. Walk around the scene to ensure motion detection works and that you can see faces clearly at night.
6. Secure the mount. Tighten all screws once you’re happy with the view. Add a small security screw if you want to deter thieves from taking the camera.
7. Set up alerts. In the app, enable push notifications for motion events. Choose the sensitivity level that matches the activity in your area – too high and you’ll get false alarms, too low and you might miss a break‑in.
8. Check storage. If you’re using a micro‑SD card, format it through the app. Set the retention period – most users keep footage for 30 days, which is plenty for most incidents.
After everything’s installed, do a quick test by walking past the camera at night. If the footage records and you get an alert, you’re all set.
Installing security cameras doesn’t have to be a professional job. With a little planning, the right tools, and these simple steps, you’ll have a reliable surveillance system protecting your home. If you run into any hiccups, Birmingham Security Command Center offers a free consultation to help you fine‑tune your setup. Stay safe and keep an eye on what matters most.
Find out how much it costs to install security cameras, the factors influencing pricing, and money-saving tips for homeowners and businesses.