Sensor Lights: The Easy Way to Light Up Your Home’s Safety
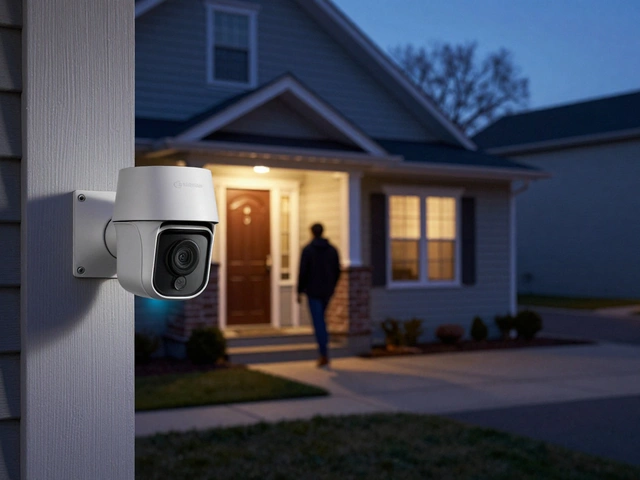
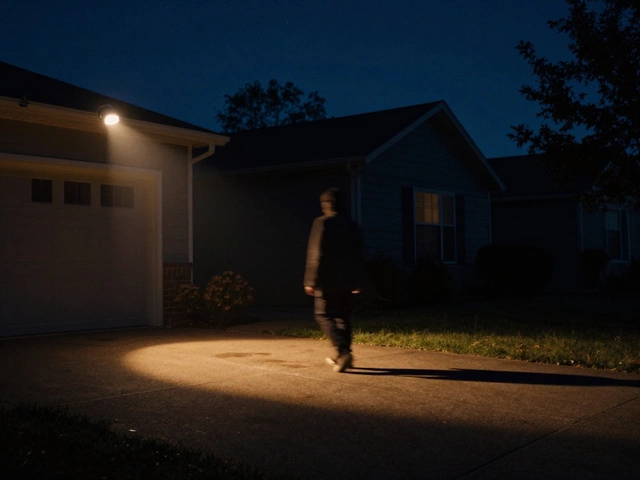
If you’re looking for a simple upgrade that makes burglars think twice, sensor lights are a solid bet. They turn on automatically when they sense movement, so the moment someone walks up to your door or driveway, the area lights up and draws attention. The effect is instant – a bright flash, a startled intruder, and you’ve bought yourself precious time for help.
Most sensor lights run on LED bulbs, which means low power use and a long lifespan. You’ll hardly notice the electricity cost, but you’ll notice the added peace of mind. Below, we break down how they work, what to look for, and quick steps to get them up and running.
How Sensor Lights Work
Sensor lights typically use one of three detection methods: passive infrared (PIR), microwave, or dual‑technology. PIR sensors spot body heat, so they’re great for spotting people but ignore pets if set correctly. Microwave sensors emit a tiny radio wave and watch for disturbances; they’re more sensitive and can detect motion through glass or foliage. Dual‑technology combines both, reducing false alarms caused by wind‑shaken branches.
When the sensor picks up motion, it sends a signal to the LED module, which lights up for a preset period – usually 30 seconds to a few minutes. Most units let you adjust the duration, brightness, and trigger range, letting you fine‑tune the light for a front porch, garden, or garage.
Choosing the Right Sensor Light
Start with the area you want to protect. A wide‑angle floodlight works well for driveways, while a narrow‑beam wall‑mount suits a front door. Look for a light with a decent detection range – 20‑30 feet covers most residential spots. If you have pets, pick a PIR sensor with a pet‑immune setting, or go dual‑technology to avoid constant blinking.
Weather resistance matters. Choose a light with an IP rating of at least IP44 so it can handle rain and dust. Solar‑powered models are handy if you can’t run wiring, but make sure the panel gets enough sun; otherwise, the light may stay dim.
Don’t forget placement. Mount the sensor about 6‑8 feet high and aim it slightly downward to catch movement at ground level. Avoid pointing it directly at streetlights or car headlights – bright sources can blind the sensor and stop it from working.
Installation is usually a breeze. Most sensor lights come with a mounting bracket and a simple screw‑in or plug‑in power option. If you’re using a hard‑wired unit, turn off the circuit, connect the wires according to the colour code, and secure the fixture. For battery or solar models, just snap the light onto the mount, lock the battery in place, and you’re good to go.
After you’ve installed the light, test it. Walk past the sensor at different speeds and angles to see if it triggers reliably. Adjust the sensitivity knob if the light is too jumpy or too lazy. A quick tweak will save you from nighttime surprises.
Maintenance is low – wipe the sensor glass occasionally to keep dust from blocking motion detection. Replace the battery once a year if you have a battery‑run model, or clean the solar panel each season for maximum charge.
Whether you’re protecting a front porch, a garden path, or a garage door, sensor lights give you instant illumination when you need it most. They’re cheap, easy to install, and can deter unwanted visitors without any ongoing subscription fees. So go ahead, pick a style that matches your home, set it up, and enjoy the extra safety boost.