Wireless Alarm DIY Time & Cost Estimator
Plan your weekend project. Adjust the sliders below to match your kit contents and see estimated setup times and professional labor savings.
Your System Configuration
Estimated Project Overview
Installation Tips for Your Kit:
- Test sensors before mounting.
- Ensure Wi-Fi signal reaches hub location.
You’ve probably seen the ads: a sleek hub, some sensors that stick on with tape, and a promise of total home protection in under an hour. It sounds too good to be true, especially if you remember your parents’ old wired systems involving drilling holes and waiting days for a technician. But here is the reality check from someone who has helped neighbors in Sheffield set up their own kits: wireless alarms are genuinely easy to install for most people, but "easy" doesn't always mean "instant." While mainstream DIY packages typically take between 20 minutes and three hours to set up, the experience depends heavily on which specific components you choose.
If you are renting or just hate the idea of permanent wiring, this guide breaks down exactly what to expect. We will look at why these systems work, where they might trip you up, and how to get them running without needing an electrician.
The Short Answer: Yes, But With Caveats
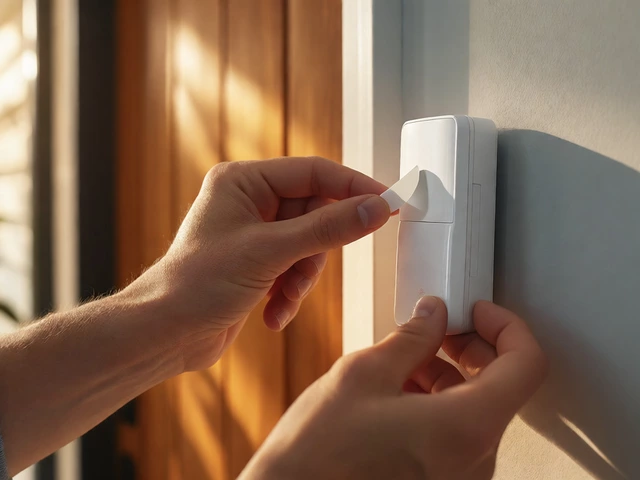
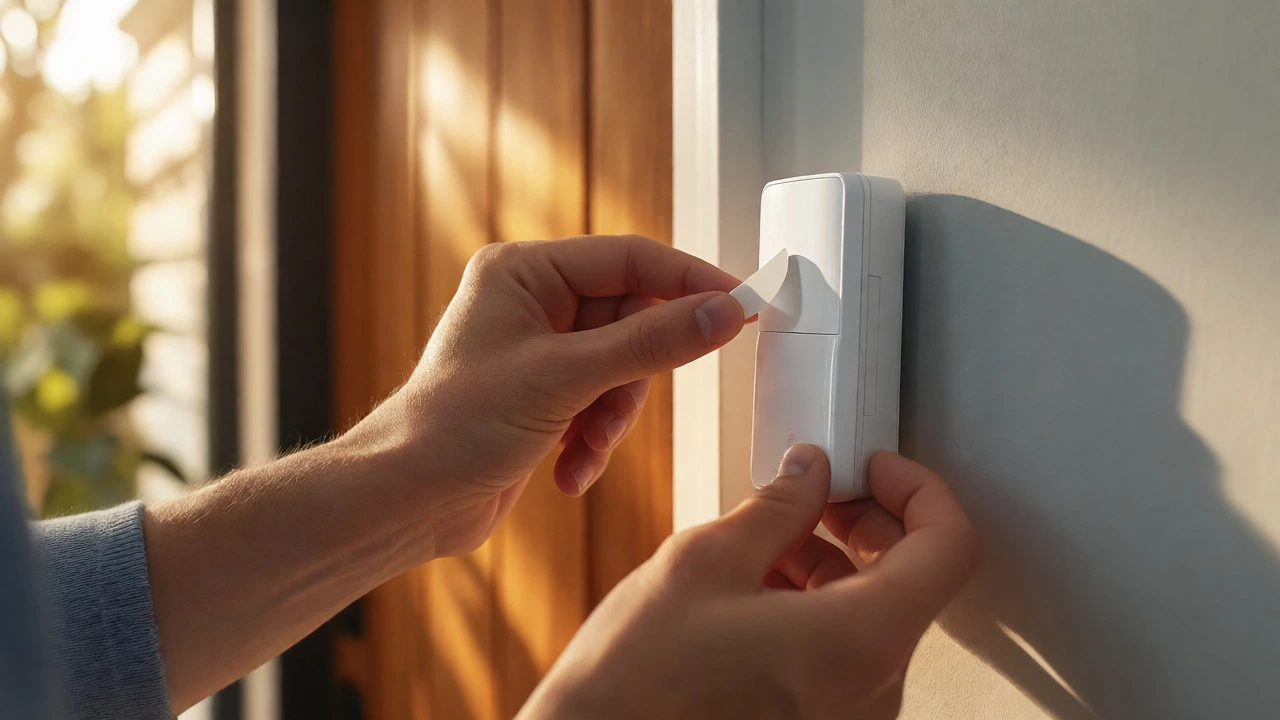
For the vast majority of users, installing a modern wireless alarm system is a weekend project, not a construction job. You rarely need more than a smartphone, maybe a screwdriver, and patience. The core value proposition of brands like Ring, SimpliSafe, or Abode is that they remove the barrier of professional installation. Most sensors use peel-and-stick adhesive backing, meaning no drilling into your walls unless you really want to.
However, ease of installation isn’t uniform across every product. If your kit includes a hardwired video doorbell or a hub that requires a direct Ethernet connection for initial setup, the process becomes slightly more technical. These edge cases add time and require a bit more comfort with basic networking or low-voltage wiring. But for standard motion detectors and window contacts? It’s as simple as peeling off a sticker.
What Is Actually Inside a Wireless Alarm Kit?
To understand why installation is easy, you have to know what you’re handling. A typical wireless home security system consists of four main elements: a central hub, door/window contact sensors, motion detectors, and optional peripherals like cameras. Unlike old-school systems, these components communicate via radio protocols (like Z-Wave or Zigbee) and Wi-Fi rather than physical wires.
- The Hub: This is the brain. It plugs into a power outlet near your main entry point. Some older models required an Ethernet cable for setup, but newer ones connect directly to Wi-Fi via an app.
- Contact Sensors: These go on doors and windows. They consist of two parts: a magnet and a switch. When the door opens, the magnetic field breaks, triggering the alarm.
- Motion Detectors: These use infrared technology to detect body heat movement. They usually mount high on a wall or corner using a small bracket or strong adhesive.
- Keypad: Often part of the hub or a separate device, allowing you to arm/disarm the system manually.
Because each sensor has its own battery and radio link, you don’t need to run cables through your attic or crawl spaces. This architecture is why companies like SafeWise and Security.org consistently rate DIY systems as "extremely easy" to install, often citing zero-tool requirements for basic setups.
Step-by-Step: How Long Does It Really Take?
Let’s talk numbers. Hands-on tests from major review sites show that an eight-piece wireless system can be up and running in around 20 minutes. For larger homes with more sensors, expect 30 minutes to two hours. Even complex setups should rarely exceed three hours for a first-time installer.
Here is the typical workflow you will follow:
- Unbox and Charge: Most devices come with partial batteries, but it’s smart to charge hubs or cameras fully before starting.
- Place the Hub: Find a spot near your main door and a power socket. Avoid placing it behind large metal appliances, which can block signals.
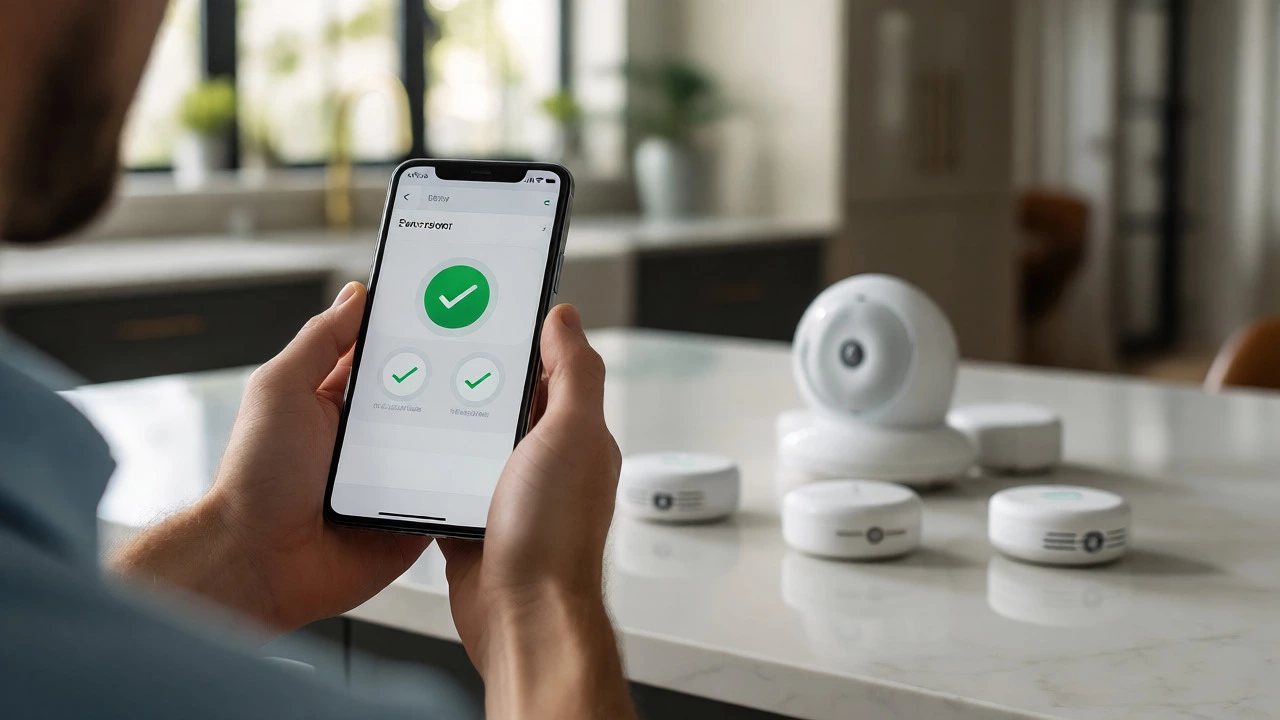
- Connect to Wi-Fi: Download the manufacturer’s app. Follow the on-screen prompts to pair the hub with your home network. Some hubs still ask for a temporary Ethernet cable connection during this step, so keep your router nearby.
- Pair Sensors: Open the back of a sensor, pull the battery tab, and press a pairing button. The app will usually detect it automatically within seconds. Name the sensor (e.g., "Front Door") so you know what triggered the alarm later.
- Mount Devices: Decide on placement. Use the included double-sided foam tape for a clean look, or screws if you prefer permanence. Press firmly for 30 seconds to ensure adhesion.
- Test the System: Walk through your house. Open a window, wave your hand in front of a motion detector. Check the app logs to confirm every event registered correctly.
CNET reviewers noted that systems like Abode offer "speediest setup," where sensors auto-pair once powered on. This removes the tedious manual linking process found in older models.
Where Installation Gets Tricky
While 90% of the process is straightforward, there are specific components that can slow you down. If you are aiming for a truly hassle-free experience, watch out for these potential pitfalls.
| Component | Installation Method | Tools Required | Difficulty Level |
|---|---|---|---|
| Door/Window Sensors | Peel-and-stick adhesive | None | Very Easy |
| Motion Detectors | Adhesive or screw bracket | Screwdriver (optional) | Easy |
| Hub/Control Panel | Power plug + Wi-Fi/Ethernet | None | Easy |
| Wireless Cameras | Mounting plate + Battery/Wi-Fi | Screwdriver, Drill (optional) | Moderate |
| Hardwired Video Doorbell | Existing doorbell wiring | Screwdriver, Wire strippers | Moderate/Hard |
Hardwired Video Doorbells: Many wireless alarm kits include a video doorbell that looks wireless but actually needs to tap into your existing doorbell transformer. If your current doorbell chime works, swapping the unit is quick. If you don’t have a working wired doorbell, you’ll need to run new low-voltage wire, which involves drilling and electrical knowledge.
Ethernet-Only Hubs: Some premium systems insist on a wired internet connection for stability. If your ideal hub location is far from your router, you might need long ethernet cables or a mesh extender. Always check the spec sheet before buying if you want a purely wireless setup.
Signal Interference: Large brick walls or thick concrete can weaken radio signals. In a multi-story stone house in Sheffield, I’ve seen sensors struggle to reach a hub placed on the opposite side of the building. You might need a signal repeater, which adds one extra plug-in device to the mix.
Why Renters Love Wireless Alarms
If you rent, you cannot drill holes in the walls without risking your deposit. Wireless alarms solve this problem entirely. The adhesive pads used by brands like SimpliSafe and Ring are designed to hold firm but remove cleanly. You can reposition sensors if you move furniture or change room layouts.
This flexibility also means you can take your security system with you when you move. Unstick the sensors, pack the hub, and reinstall them in your new place in under an hour. Compare this to traditional wired systems, which are effectively stranded in the property they were installed in.
Cost Savings vs. Professional Installation
Let’s look at the financial angle. Professional installation for a comparable security system typically starts at £150-£200 ($200+), plus ongoing monitoring fees that can lock you into a contract. With a DIY wireless system, you pay nothing for labor. You buy the kit, install it yourself, and choose whether you want professional monitoring (usually £10-£25/month) or self-monitoring via your phone.
Market data supports this shift. By 2024, wireless systems captured 72% of the home security market share, largely because consumers prefer the flexibility and lack of upfront installation costs. The global wireless smart home security market was valued at over $21 billion in 2024 and continues to grow at a double-digit rate, driven by this demand for easy-to-install solutions.
Tips for a Smooth Setup
To avoid common mistakes, follow these rules of thumb:
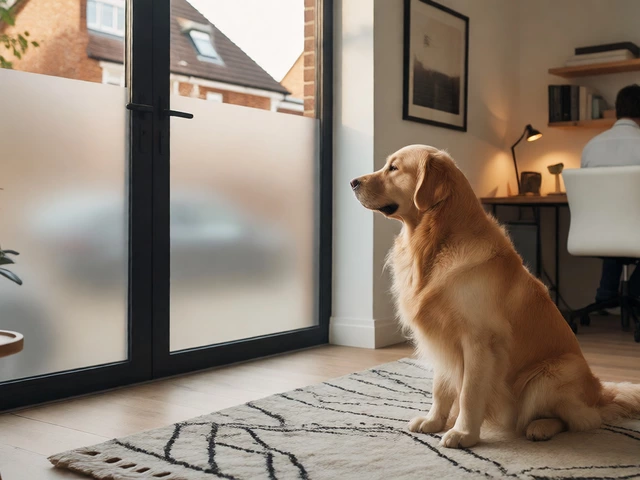
- Plan Placement First: Before sticking anything, walk through your routine. Where do you enter? Where do pets roam? Motion detectors should be angled away from heat sources like radiators or sunny windows to prevent false alarms.
- Test Before You Stick: Pair all sensors while they are still on the table. Once they are connected to the hub and named, then mount them. This saves you from climbing up and down ladders if a sensor fails to pair.
- Check Battery Life: Wireless means batteries. Most sensors last 2-3 years, but cameras drain faster. Set calendar reminders to check levels twice a year.
- Secure Your Wi-Fi: Since your security relies on your internet, ensure your Wi-Fi password is strong. A hacker accessing your network could potentially disable the system remotely.
Frequently Asked Questions
Do I need a drill to install a wireless alarm?
Generally, no. Most sensors and hubs use strong double-sided adhesive tapes that hold well on smooth surfaces like wood, glass, and painted drywall. However, if you have textured walls or want a permanent solution, you may choose to use screws and a drill for brackets, particularly for outdoor cameras.
How long does it take to install a full wireless alarm system?
For a standard starter kit with 5-8 components, expect 20 to 60 minutes. Larger systems with multiple floors and additional cameras may take 2 to 3 hours. The bulk of the time is spent deciding on placement and testing signal strength, not actual assembly.
Can I take my wireless alarm system with me if I move?
Yes, portability is a key advantage. Because there are no wires running through the structure of the house, you can unmount the devices, pack them, and reinstall them in your new home. Just ensure you reset the hub to factory settings before moving to clear old network configurations.
What happens if the power goes out?
Most modern wireless hubs have built-in backup batteries that last 24 hours during a power outage. Additionally, many systems use cellular backups to send alerts to your phone even if your home Wi-Fi is down due to the power cut. Check the specs of your chosen model to confirm backup duration.
Are wireless alarms less secure than wired ones?
Not significantly. Modern wireless systems use encrypted communication protocols to prevent hacking. While wired systems are immune to radio interference, wireless systems are now robust enough for residential use. The main vulnerability is battery failure, which is mitigated by low-battery alerts sent to your app.
Final Verdict
Are wireless alarms easy to install? Absolutely. For the average homeowner or renter, the process is intuitive, tool-light, and fast. The technology has matured to the point where app-guided setup handles the heavy lifting. Unless you are installing complex hardwired doorbells or dealing with severe signal dead zones, you can confidently tackle this project yourself and save hundreds of pounds in labor costs.