Security Camera Setup Recommender
Answer these questions to find out the best network setup for your security system.
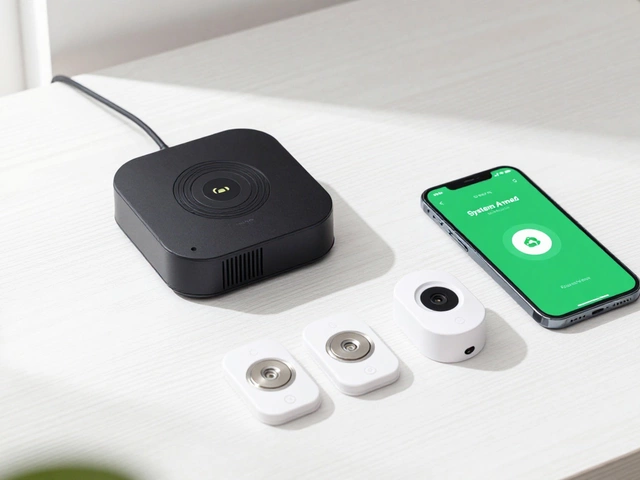
Recommended Hardware:
Key Benefits:
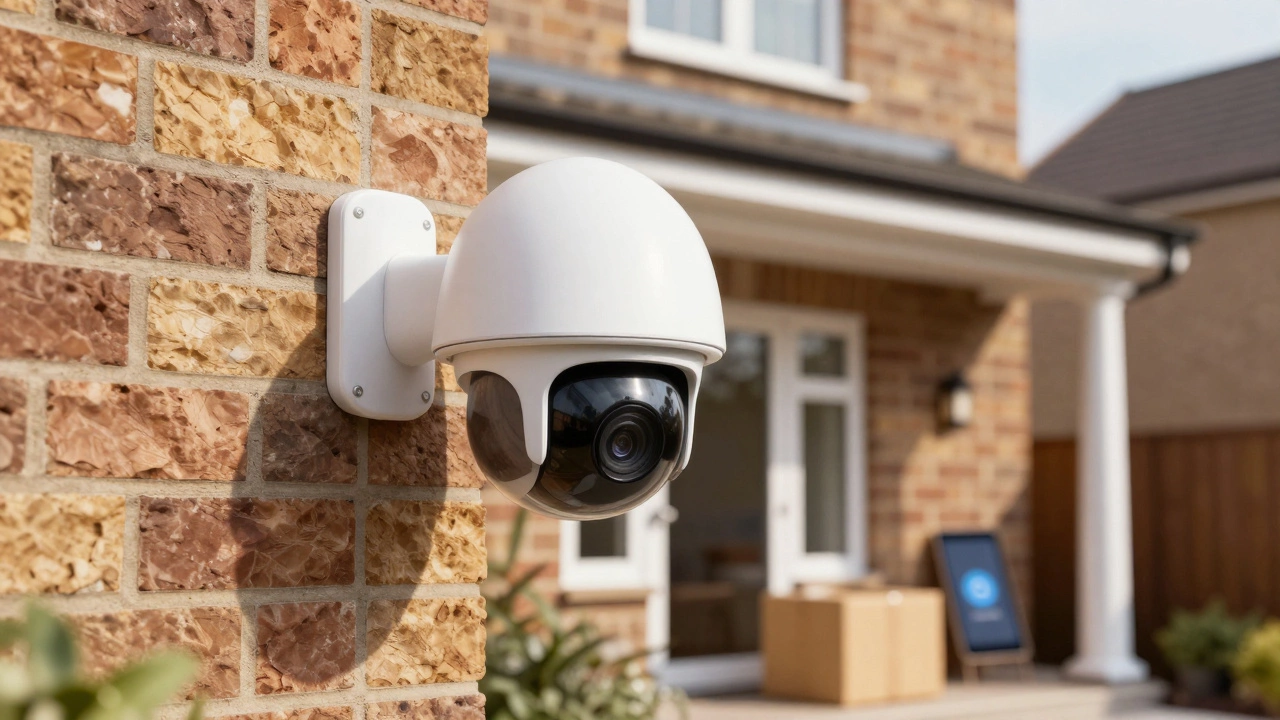
You just bought that sleek new security camera, and now you’re staring at your wall wondering if you actually need to hook it up to the internet. It feels like overkill, right? You just want to see who is on your porch or check if the dog knocked over the vase. Do you really need a whole Wi-Fi router to make this work?
The short answer is: technically, no. But practically? Probably yes, unless you are okay with some serious limitations. Most modern home security setups rely on a router to give you remote access, cloud storage, and instant alerts on your phone. If you skip the router, you lose those features. Let’s break down exactly what works, what doesn’t, and how to set up a system that fits your actual needs.
Why Routers Are Usually Essential
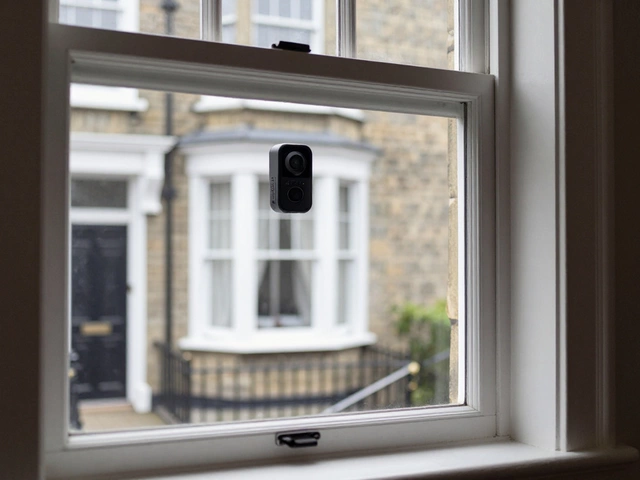
Think of a router as the bridge between your camera and the rest of the world. Without it, your camera is an island. It can record video, sure, but nobody outside your house can see it. For most people, the main reason they buy a security camera is to check in when they aren’t home. You want to get a notification on your phone when someone rings the doorbell while you are at work. That requires an internet connection, which means you need a router.
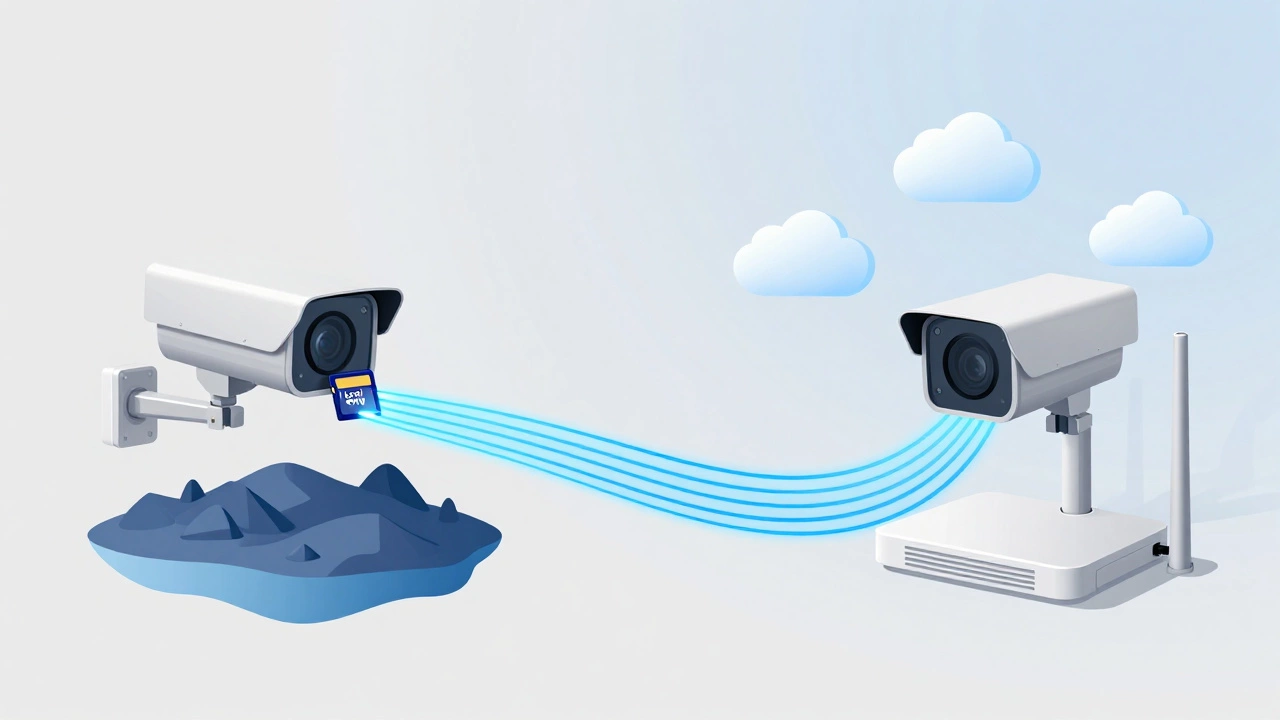
Cloud backup is another big one. If a thief breaks in and steals your camera, having footage stored only on the device is useless. A router connects your camera to cloud servers, saving your videos remotely. This ensures that even if the hardware is gone, the evidence remains. Alfred Camera notes that routers allow homeowners to stream live video and store footage in secure Cloud servers, enabling control from anywhere worldwide. Without that link, you are stuck with local storage only.
When You Can Skip the Router
There are specific scenarios where a router isn’t necessary. If you only care about monitoring your property while you are physically present, you can bypass the internet entirely. This is often called Local Area Network (LAN) operation. In this setup, your camera records to a hard drive or SD card, and you view the footage on a monitor connected directly to the same network.
This approach works well for businesses that have on-site security staff or homeowners who want total privacy and zero risk of hacking via the internet. Reolink points out that IP cameras can operate successfully without routers when connected to personal computers or integrated with Network Video Recorder (NVR) systems. You can view feeds locally and adjust settings like motion sensitivity without ever touching a router.
Alternative Setup Options
If you don’t want to use a traditional Wi-Fi router, there are other ways to connect your cameras. These methods offer different levels of complexity and functionality.
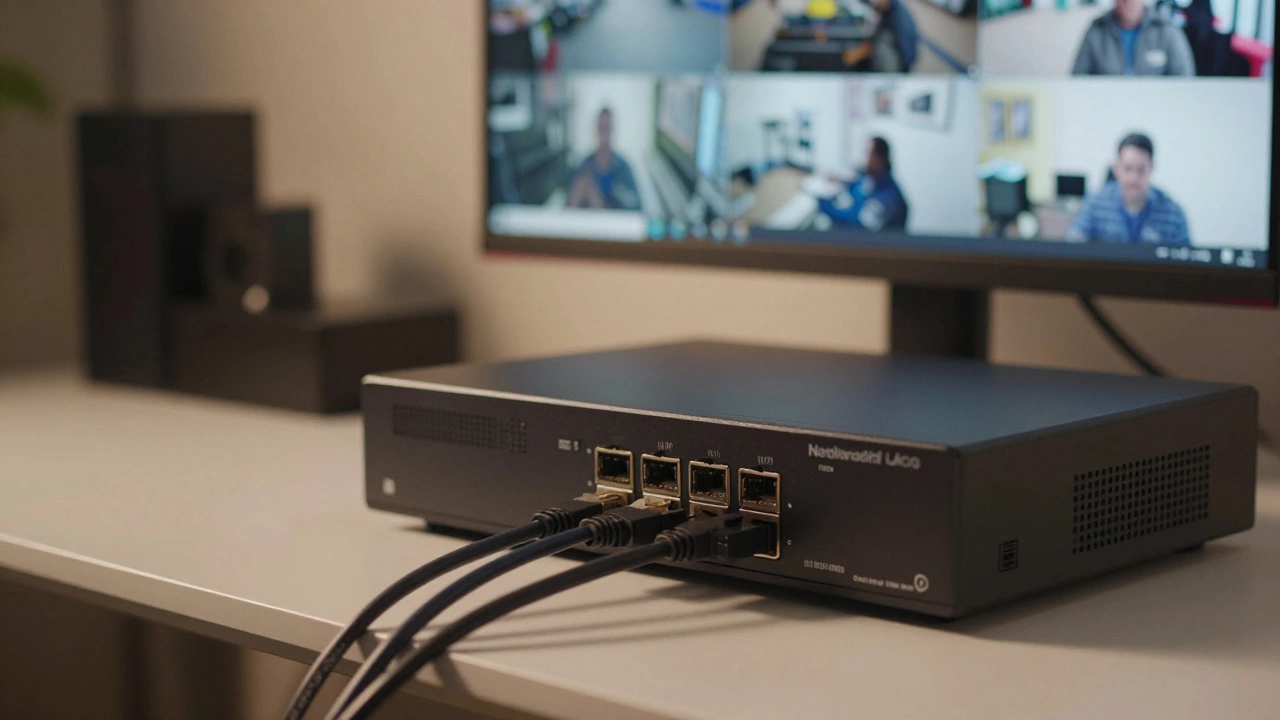
- NVR Systems: A Network Video Recorder is a dedicated box that connects directly to your cameras via Ethernet cables. The NVR handles all the recording and management. You plug the NVR into a monitor, and you’re done. No IP address configuration is needed because the NVR assigns addresses automatically. This is ideal for multi-camera setups where you want reliability without relying on Wi-Fi signals.
- Managed Network Switches: For more advanced users, a managed switch like the Netgear ProSAFE GS108T can serve as the backbone of your network. By setting static IP addresses on each camera, you can create a private network without a router. This requires manual configuration but eliminates dependency on consumer-grade routers.
- Direct PC Connection: The simplest method involves connecting a single camera directly to your laptop using a UTP cable. You configure the camera’s IP address to match your laptop’s network range, then open a browser to view the feed. This is great for testing or temporary setups but impractical for long-term home security.
- Mobile Data (4G/5G): Some cameras support SIM cards. Instead of Wi-Fi, they use cellular data to connect to the internet. This is perfect for locations without broadband, like rural properties or construction sites. You pay for a data plan, but you get full remote access without installing a router.
Choosing the Right Router for Your Cameras
If you decide to go with a router, not all routers are created equal. Security cameras are sensitive to latency and bandwidth issues. A slow or outdated router can cause choppy video, delayed alerts, or dropped connections.
Look for these key features:
- Wi-Fi Standards: Aim for 802.11ac or newer standards operating on 5 GHz frequencies for fast speeds. However, if your cameras are far from the router, 2.4 GHz bands (802.11b/g/n) offer better range and penetration through walls.
- MU-MIMO Technology: Multi-User, Multiple-Input, Multiple-Output allows the router to handle multiple devices simultaneously without slowing down. This is crucial if you have several cameras streaming at once.
- Beamforming: This feature directs the wireless signal specifically toward your cameras rather than broadcasting it equally in all directions. It improves stability and reduces interference.
- Low Latency: Keep latency between 300 and 800 milliseconds for smooth, real-time streaming. High latency causes lag, making it difficult to respond to events as they happen.
Connecting Your Camera Step-by-Step
Setting up a camera with a router is straightforward if you follow a logical process. Here is how to do it properly:
- Check Signal Strength: Use your smartphone to walk around your home and find areas with strong Wi-Fi signals. Position your camera within these zones to ensure stable connectivity.
- Access Settings: Connect your computer to the same network as the camera. Open a browser and type in the camera’s default IP address to access its settings page.
- Configure Network: Go to the network settings menu. Set the IP address to either DHCP (automatic) or Static (manual). If using Static, note the subnet mask and default gateway to avoid conflicts with other devices.
- Connect to Wi-Fi: Enable Wi-Fi on the camera, search for your SSID (network name), and enter your password. Ensure the encryption type matches your router’s settings (usually WPA2).
- Test the Connection: Verify that the camera appears in your mobile app or software. Check for any error messages related to authentication or connectivity.
Limitations of No-Router Setups
Before you ditch the router, consider what you will lose. Operating without internet connectivity means no remote access. You cannot check your cameras from work, vacation, or even another room in the house unless you bring your laptop with you.
You also lose cloud backups. If the camera is damaged or stolen, your footage is gone forever. Local storage on SD cards or NVRs is vulnerable to physical tampering. Additionally, many smart features like AI person detection, package recognition, and two-way audio require constant internet updates to function correctly. Eufy notes that while wireless cameras can work without internet, their features are significantly limited.
Power Considerations
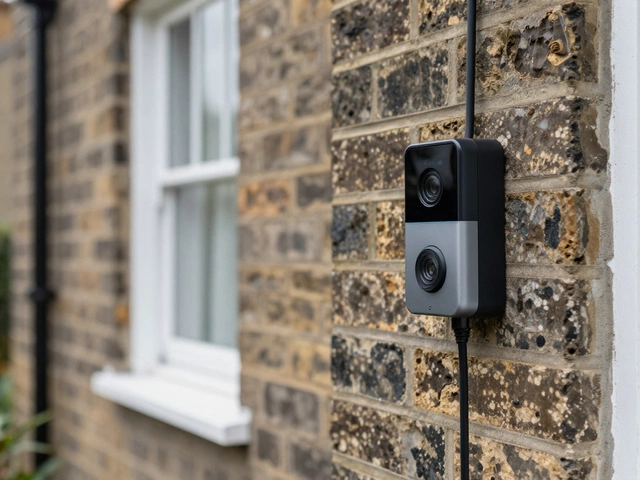
How your camera gets power also affects your setup. Most Wi-Fi cameras need a separate power adapter plugged into a wall outlet. PoE (Power over Ethernet) cameras, however, receive both power and data through a single Ethernet cable. This simplifies installation by reducing clutter and eliminating the need for nearby outlets. PoE systems often integrate seamlessly with NVRs, making them a popular choice for professional installations.
Final Thoughts
Do you need a router for a security camera? If you want the full experience-remote viewing, cloud storage, and smart alerts-then yes, a router is essential. It is the backbone of modern home security. If you only need local recording and are comfortable with the limitations, alternatives like NVRs or direct PC connections work fine. Choose based on your priorities: convenience and accessibility demand a router; privacy and simplicity might not.
Can I use my existing home router for security cameras?
Yes, most standard home routers work fine for a few security cameras. However, if you have many cameras or other heavy internet users, consider upgrading to a router with MU-MIMO and beamforming to prevent bandwidth bottlenecks.
Will my security camera work if the internet goes down?
It depends on the setup. If you have local storage (SD card or NVR), the camera will continue recording. However, you won’t be able to view the footage remotely or receive alerts until the internet is restored. Cloud-only cameras may stop functioning entirely.
Is it safer to not connect my camera to the internet?
From a hacking perspective, yes. A camera isolated from the internet cannot be accessed remotely by attackers. However, this also prevents you from accessing it legally. To mitigate risks, use strong passwords, enable two-factor authentication, and keep firmware updated.
What is the best way to connect outdoor cameras without running long Wi-Fi ranges?
Use Power over Ethernet (PoE) cameras connected via Ethernet cables to a central NVR or switch. This provides reliable power and data transmission regardless of distance, avoiding Wi-Fi signal dropouts common in outdoor environments.
Can I add more cameras later if I start with an NVR system?
Yes, most NVRs have multiple ports available for additional cameras. Check your NVR’s specifications to see how many channels it supports. Adding cameras is usually as simple as plugging them into the empty ports.