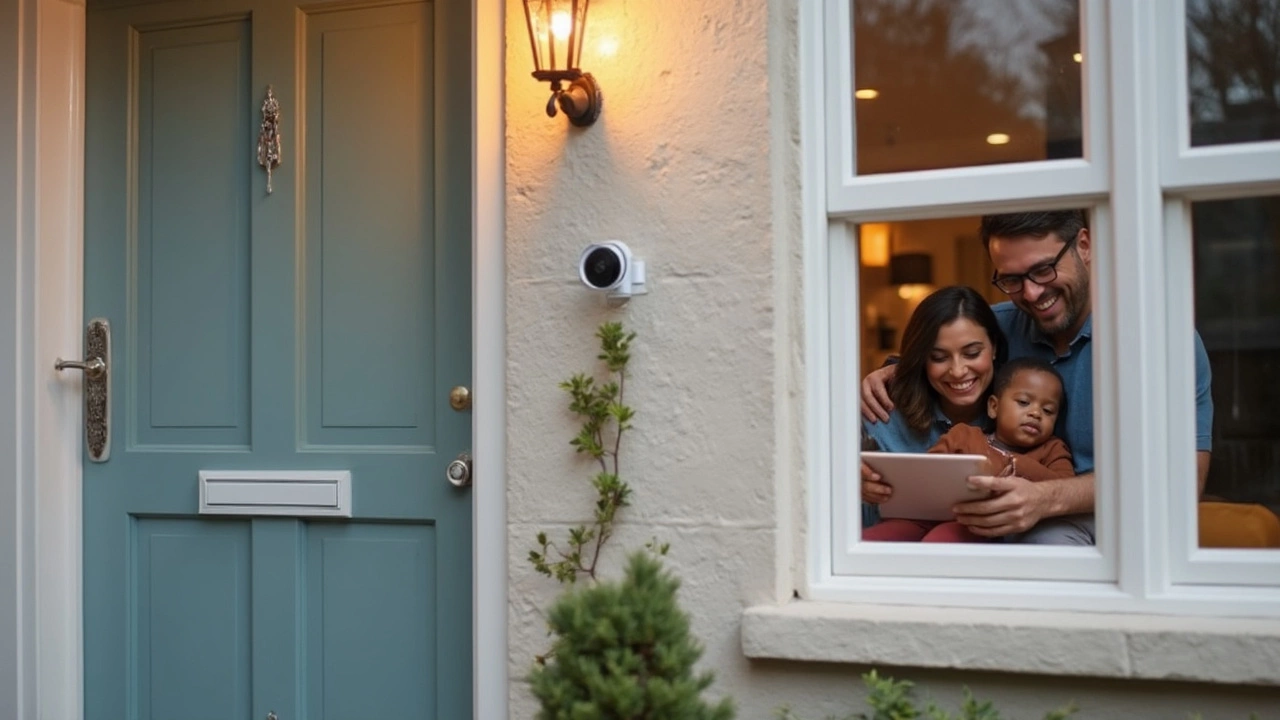
Local Storage for Home Security: Why It Matters and How to Set It Up
Most people think cloud is the only way to store video from doorbells and cameras. But keeping footage locally can save money, boost privacy and give you control. In this guide we’ll look at the best local storage options, what they can do, and when cloud still makes sense.
Top Local Storage Choices
There are three common ways to store video on‑site: micro‑SD cards inside the device, a network video recorder (NVR) that connects to multiple cameras, and a network‑attached storage (NAS) box you can use for all smart home data. An SD card is cheap and easy – just pop it in and the camera saves clips automatically. An NVR gives you a central place to view live feeds and review recordings, perfect for a whole house. A NAS is the most flexible; you can store security video, smart‑home logs, and even family media in one place.
Pros and Cons Compared to Cloud
Local storage cuts monthly fees. You don’t pay for a subscription to keep footage for 30‑days or more. It also removes the risk of your video being hacked from a remote server – the files stay inside your home network. The downside is you need to manage the hardware. SD cards can fill up fast and need regular swapping. NVRs and NAS devices require power, a stable Wi‑Fi or Ethernet connection, and occasional firmware updates.
If you travel often or have a busy schedule, cloud’s remote access might still be handy. With a cloud plan you can watch live video from anywhere without setting up port forwarding or VPN. But many modern NVRs and NAS devices offer mobile apps that let you stream the same footage securely, so you don’t have to rely on a third‑party service.
Another factor is data retention. Local storage lets you decide how long to keep clips – you could keep a year’s worth on a large hard drive, something most cloud plans won’t allow without extra cost. If privacy is a top priority, keeping video off the internet is the safest bet.
When you choose a storage method, think about your camera’s resolution. A 1080p camera needs about 1 GB per hour of continuous recording. If you record only when motion is detected, the file size drops dramatically. This means an 32 GB SD card can hold several days of footage for most homes.
Installation is straightforward. For an SD card, just power off the doorbell, insert the card, and power back on. For an NVR or NAS, connect the device to your router with Ethernet, plug in the hard drives, and follow the setup wizard in the companion app. Most apps let you set motion zones, recording schedules, and alerts without any coding.
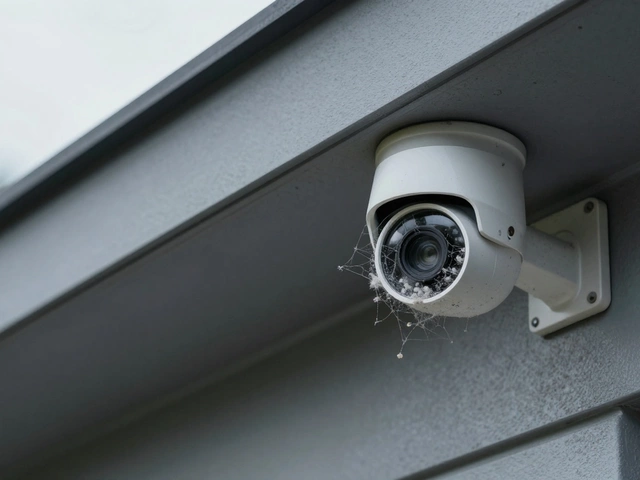
Maintenance tip: schedule a monthly check. Look at the storage usage and delete old footage you no longer need. Some devices let you automate this – set a rule to erase videos older than 30 days. This way you never run out of space and keep the system running smoothly.
Finally, protect your local storage from power outages. A small UPS (uninterruptible power supply) can keep an NVR or NAS online for a few minutes, enough to avoid corrupted files. If you rely on an SD card, consider a battery‑backed camera that can finish saving a clip before shutting down.
Local storage gives you control, cuts costs, and keeps your video private. Choose the method that fits your budget and tech comfort level, set it up once, and you’ll have reliable footage whenever you need it.