Camera Installation Made Simple for UK Homes
Got a new security camera and wondering where to start? You don’t need a technician for a solid DIY install. In the next few minutes you’ll know how to pick spots, run cables, mount brackets and get live footage on your phone.
Planning Your Camera Layout
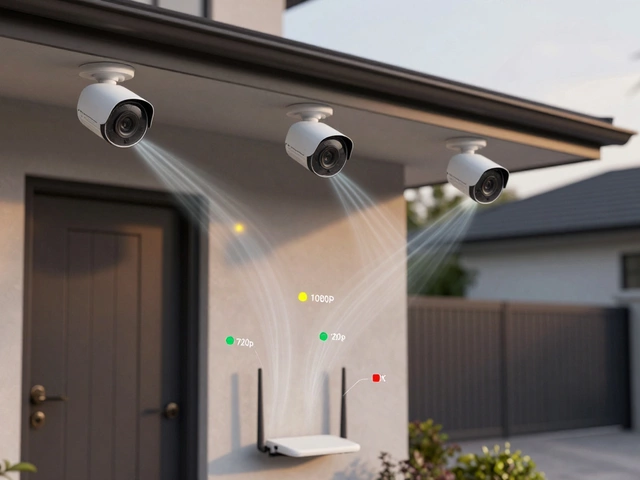
First, walk around your property and note the areas you want to watch. Front doors, driveways and back gardens are the usual suspects. Look for places with power outlets nearby – a camera that needs a hard‑wired connection will be easier to install if you can plug it in nearby. If you’re using battery‑run cameras, aim for spots that stay out of direct sunlight (to avoid overheating) and are high enough to stay out of reach.
Next, check your Wi‑Fi signal. Open the router’s app, stand where you plan to mount the camera and see if the signal strength is strong. Weak Wi‑Fi means choppy live view and missed alerts. If the signal is low, consider a Wi‑Fi extender or a wired Ethernet run.
Installation Steps Made Easy
1. Mount the bracket. Hold the bracket up to the wall and mark the drill holes with a pencil. Use a drill with a masonry bit for brick or stone, and a standard wood bit for timber. Screw the bracket in tightly – a loose mount will wobble and affect video quality.
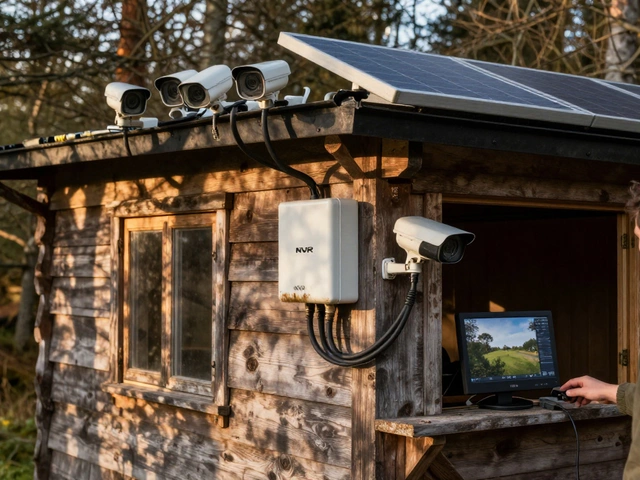
2. Run the cable. If you have a wired camera, pull the power cable through the drilled hole and into a nearby socket. For PoE (Power over Ethernet) cameras, run a single Ethernet cable from your router or PoE switch to the camera location. Use a cable clip to keep the wire neat and away from foot traffic.
3. Attach the camera. Slide the camera onto the bracket and tighten the set screw. Adjust the angle so the field of view covers the intended area without too much glare. Most cameras have a swivel head – lock it in place once you’re happy with the view.
4. Power up and test. Plug the camera in or turn on the PoE switch. Open the camera’s app on your phone, follow the on‑screen pairing steps and check the live feed. Look for clear video, motion alerts and proper night vision. If the picture is blurry, tighten the focus ring or clean the lens with a soft cloth.
5. Secure your setup. Hide any loose cables behind trim or inside conduit. Use a small padlock on the bracket if you’re in a high‑crime area – it deters thieves from stealing the camera.
6. Fine‑tune settings. Set motion zones so you only get alerts when something moves where you care about. Adjust brightness and contrast for daylight versus night‑time. Most apps let you set a schedule – turn cameras off during periods when you don’t need monitoring to save battery.
That’s it – you’ve got a working camera system without calling in a pro. If you run into trouble, the Birmingham Security Command Center can help with remote monitoring, professional installation or a quick check‑up. Enjoy the peace of mind that comes with knowing you can see what’s happening around your home, 24/7.


