Install Guide – Smart Doorbells, Alarms and Home Security Made Simple
Getting a new security gadget shouldn't be a headache. Whether you're hanging a smart doorbell, setting up a motion sensor, or wiring an alarm, the right steps make the job quick and safe. Below are the most common install questions and clear, practical answers that work for most UK homes.
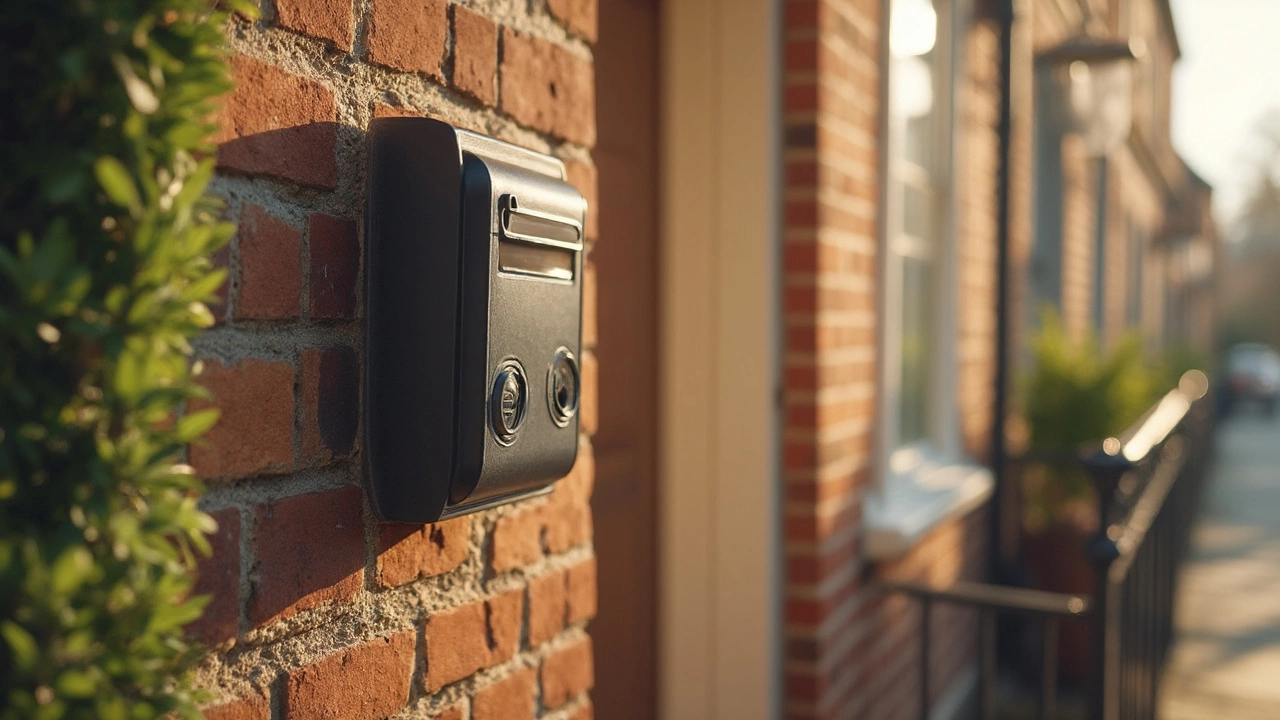
Smart Doorbell Installation: Wired vs Battery
The first choice is power. A wired doorbell draws from the existing transformer, usually 16‑24 V AC. If you already have a doorbell, you can tap into that supply with a simple screwdriver and a voltage tester. Most UK homes have a 12 V or 24 V transformer, so check the label before you start. If you prefer a battery model, look for a unit that promises at least 12 months on a single charge. Battery doors sit on a base plate, need no wiring, and can be moved later if you rearrange your front door.
Steps for a wired install:
- Turn off the power at the consumer unit.
- Remove the old button and note which wires are live and neutral.
- Connect the new doorbell's two wires to the same terminals.
- Secure the mounting plate, attach the faceplate, and restore power.
If you go battery‑powered, just mount the plate with screws or adhesive, snap the doorbell onto it, and follow the app instructions to pair it with your Wi‑Fi.
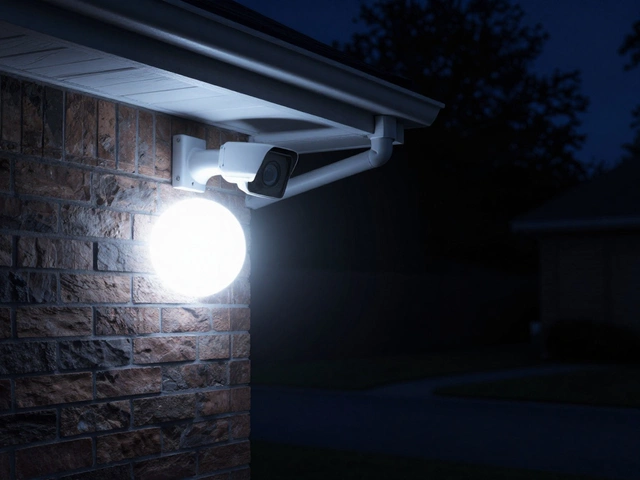
Home Alarm and Motion Sensor Install
Modern alarms run on cellular or Wi‑Fi, so you rarely need a phone line. The biggest decision is where to place motion sensors. PIR sensors detect heat, while microwave sensors sense movement through walls. Dual‑tech units combine both for fewer false alarms.
Installation basics:
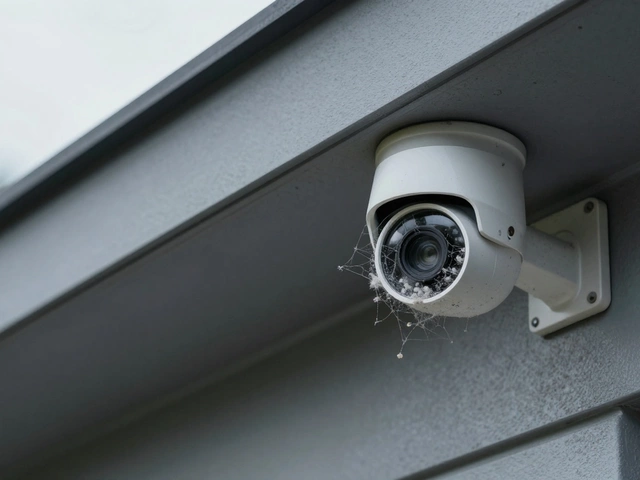
- Pick a spot 6‑8 ft high, away from direct sunlight or heat vents.
- Mount the sensor on a flat surface using the supplied brackets.
- Power the sensor with the included AA batteries or connect to a low‑voltage transformer if the kit supports it.
- Sync the sensor with your main alarm panel via the app or a simple button press.
When you add a keypad or siren, run the low‑voltage wires through the wall using a fish tape. Keep the wires away from power cables to avoid interference. Test the system after every connection – a quick press of the test button should trigger the alarm sound and send a notification to your phone.
Need a quick checklist? Here it is:
- Read the manual – every brand has a tiny quirk.
- Gather tools: screwdriver, drill, voltage tester, and a level.
- Turn off power where applicable.
- Mount hardware securely.
- Connect wires exactly as labelled.
- Restore power and run the app setup.
- Test every component before finalizing.
Following these steps saves you a call to a professional and gives you confidence that your new gear will work when you need it. If anything feels unclear, pause and double‑check the wiring diagram – a small mistake now prevents bigger headaches later.
Ready to start? Pick the device you want, gather the tools, and take it one step at a time. You’ll have a smarter, safer home in no time.