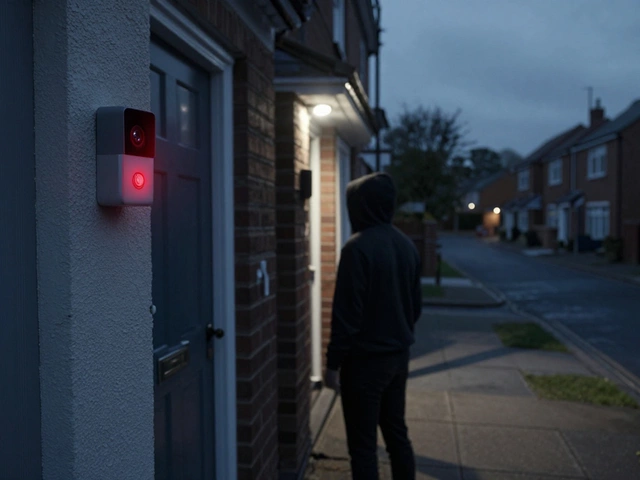
Install a Doorbell Camera: Quick Guide for UK Homes
Thinking about adding a video doorbell? It’s one of the easiest upgrades you can make to boost security and see who’s at the door before you open it. In the UK most houses already have a transformer for the existing doorbell, so you can often use that same supply for a wired camera. If you prefer a battery‑run model, the job is even simpler – just mount and pair.
Wired vs Battery – Which Is Right for You?
A wired camera pulls power from the doorbell transformer, usually 12‑16 V AC. That means no regular recharging and a constant video feed, which is great for live alerts. The downside is you’ll need a screwdriver, a voltage tester, and maybe a short run of low‑voltage wiring if the existing cable is too short.
Battery‑powered cameras run on rechargeable packs that last anywhere from 3 months to a year, depending on motion settings. They’re perfect for flats or historic homes where running new wires is a hassle. Just remember to check the battery life regularly and have a spare on hand.
Step‑by‑Step Installation Walkthrough
1. Gather your tools. You’ll need a flat‑head screwdriver, a drill (if you’re mounting on brick), a voltage tester, wire strippers, and the mounting plate that comes with the camera.
2. Turn off the power. Switch off the fuse for your doorbell circuit. Use the voltage tester on the existing wires to confirm they’re dead before you touch anything.
3. Remove the old doorbell. Unscrew the faceplate, note where the two wires connect, and set the old unit aside. If you’re installing a battery model, you can skip the wiring step.
4. Connect the new camera. For a wired unit, attach the two wires to the terminals on the camera’s base – polarity usually isn’t an issue for low‑voltage AC, but follow the manufacturer’s guide. Tighten the screws and double‑check the connection.
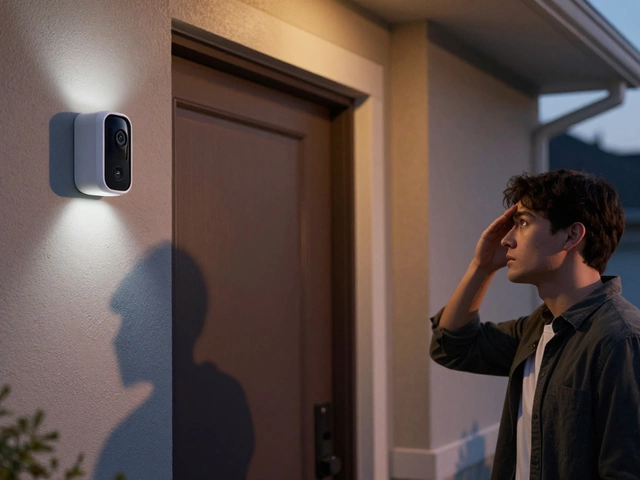
5. Mount the camera. Align the mounting plate on the wall, drill pilot holes, and secure it with the provided screws. Most cameras have a swivel hinge; tilt it so the lens points directly at the door.
6. Power up and pair. Turn the fuse back on. The camera should light up or buzz to indicate power. Open the companion app on your phone, follow the in‑app instructions to connect to Wi‑Fi, and name your device.
7. Test the feed. Walk up to the door, press the button, and check the live view on your phone. Adjust motion zones and notification settings so you only get alerts when someone actually approaches.
That’s it – you’ve turned a regular doorbell into a smart security hub. If you run into any hiccups, most brands offer a quick‑start video that walks you through troubleshooting.
Finally, remember to register the device with your home insurance if they offer discounts for video surveillance. A doorbell camera not only scares off burglars but also gives you peace of mind when you’re away. Happy installing!


