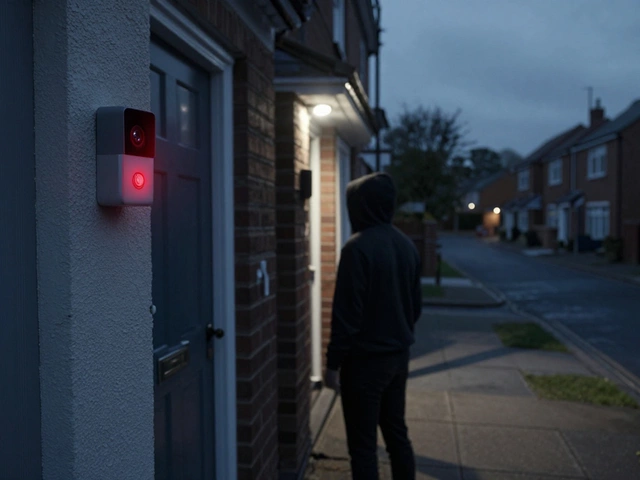
UK Doorbell Installation – Practical Guides for 2025
Installing a smart doorbell can feel a bit daunting, especially if you’ve never dealt with wiring or transformers before. The good news? You don’t need an electrician’s degree to get a video doorbell working at your front door. In this guide we’ll break down the basics, compare wired and battery models, and give you a checklist you can follow the next time you pick up a doorbell.
Wired vs Battery Doorbells – Which Is Right for You?
Most UK homes already have a low‑voltage transformer that powers the traditional chime. If that transformer outputs 8‑12 V AC and is rated for at least 1 A, you can hook up a wired video doorbell directly to it. Wired units give you constant power, so you never have to swap batteries and you’ll get the best motion‑detect range.
Battery‑run doorbells are great for renters or for those who don’t want to touch the existing wiring. Modern batteries last anywhere from 6 months to a year, depending on how often you get motion alerts. The trade‑off is that you’ll need to recharge or replace them and you might lose some advanced features like continuous video recording.
When you decide, ask yourself two simple questions: Do you have a compatible transformer already installed? And are you comfortable checking a voltage with a multimeter or using a simple plug‑in tester? If the answer is “yes”, a wired model will probably serve you better. If you’re not sure about the transformer or you plan to move soon, go battery.
Step‑by‑Step Installation Checklist
1. Check your transformer: Locate the box behind your wall plate or in the boiler cupboard. Look for a label that reads something like “8‑12 V, 1 A”. If you can’t find it, a quick online search for your property’s wiring diagram or a call to the utility company will help.
2. Turn off power: Flip the relevant fuse or breaker to avoid any shocks while you’re working.
3. Remove the old button: Unscrew the faceplate, gently pull the button out, and disconnect the wires. Keep a note of which wire was on which screw – a quick photo does the trick.
4. Connect the new doorbell: Most smart doorbells come with a “Live” (often red) and “Neutral” (often black) terminal. Match them to the wires you just removed. If you’re using a battery model, you can skip this step entirely.
5. Mount the bracket: Use a drill to secure the mounting plate to the wall, making sure it’s level. A screw‑in level works fine.
6. Attach the doorbell: Clip or screw the unit onto the bracket, then restore power at the breaker.
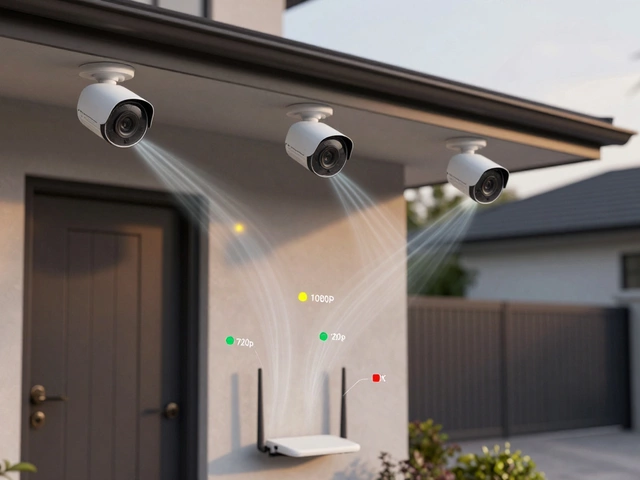
7. Set up Wi‑Fi: Open the doorbell’s app, follow the on‑screen prompts, and connect it to your home network. For best performance, place the router within 10‑15 m of the doorbell and avoid metal walls.
8. Test the chime: Press the button and listen for a sound from your indoor speaker. If you hear nothing, double‑check the transformer voltage and the wire connections.
9. Adjust settings: In the app, set motion‑zone limits, notification preferences, and whether you want cloud storage or local recording.
That’s it – you’re ready to see who’s at the door from anywhere on your phone.
Our tag page pulls together the most useful posts on this topic, from the deep dive into “Do Smart Doorbells Need Wiring? Wired vs Battery, Install Options (UK 2025)” to the quick guide “Are Doorbell Cameras Hardwired? Battery and Wireless Options Explained”. Each article adds a piece of the puzzle, whether you need to understand transformer specs, compare battery life, or learn how Wi‑Fi outages affect recording.
Keep this page bookmarked. As new models launch and regulations change, we’ll add fresh posts so you always have the latest, UK‑specific advice at your fingertips. Happy installing!


