Night Vision Troubleshooting Guide
What are you seeing?
Select the symptom that best describes your night vision footage:
Please select a symptom from the left to see the cause and the fix.
Likely Cause
Recommended Fix
You check your security feed at 2 AM, expecting a crystal-clear view of your driveway, but instead, you see a murky, black void with a few ghostly white blobs. It's frustrating, especially when the box promised a 65-foot range. You might think your camera is broken, but in most cases, the hardware is actually doing exactly what it was designed to do-it's just fighting against the physics of light and your specific installation setup.
The biggest misunderstanding with night vision camera systems is how the range actually works. If a camera is rated for 60 feet, that doesn't mean everything at 60 feet is perfectly lit. Usually, the first 20 to 30 feet are bright, and the image fades into darkness the further away you look. If you're trying to monitor a massive backyard with a single camera, the distance is simply eating your light.
The Culprit: Infrared Light Reflection
One of the most common reasons for a dark background is a phenomenon called overexposure. Your camera uses infrared lights invisible light sources that illuminate the area for the sensor to see in the dark. If you mount your camera too close to a wall, a leafy shrub, or a roof eave, those IR lights hit the nearby object and bounce straight back into the lens.
Here is where the camera's "brain" gets confused. The light sensor sees that bright, white reflection on the nearby wall and thinks, "Wow, it's way too bright here!" To compensate, it automatically drops the overall exposure. The result? The nearby wall looks like a glowing white orb, and the rest of your yard becomes a pitch-black void. To fix this, you need to move the camera away from reflective surfaces or tilt the angle so that walls and eaves are out of the frame.
Is Your IR-Cut Filter Stuck?
Inside your lens is a tiny mechanical part called the IR-Cut filter a physical filter that blocks infrared light during the day to keep colors accurate. During the day, this filter stays in place so your images don't look pink or distorted. When the sun goes down, the camera is supposed to physically slide that filter out of the way to let infrared light hit the sensor.
You can usually hear this happen-it's a distinct "click" sound. If that filter gets stuck, your night vision will either look incredibly grainy or stay dark despite the IR lights being on. You can test this yourself: during the day, cup your hand over the lens to block the light. If you don't hear that click and don't see the red glow of the IR bulbs activating, your filter is likely jammed or faulty.
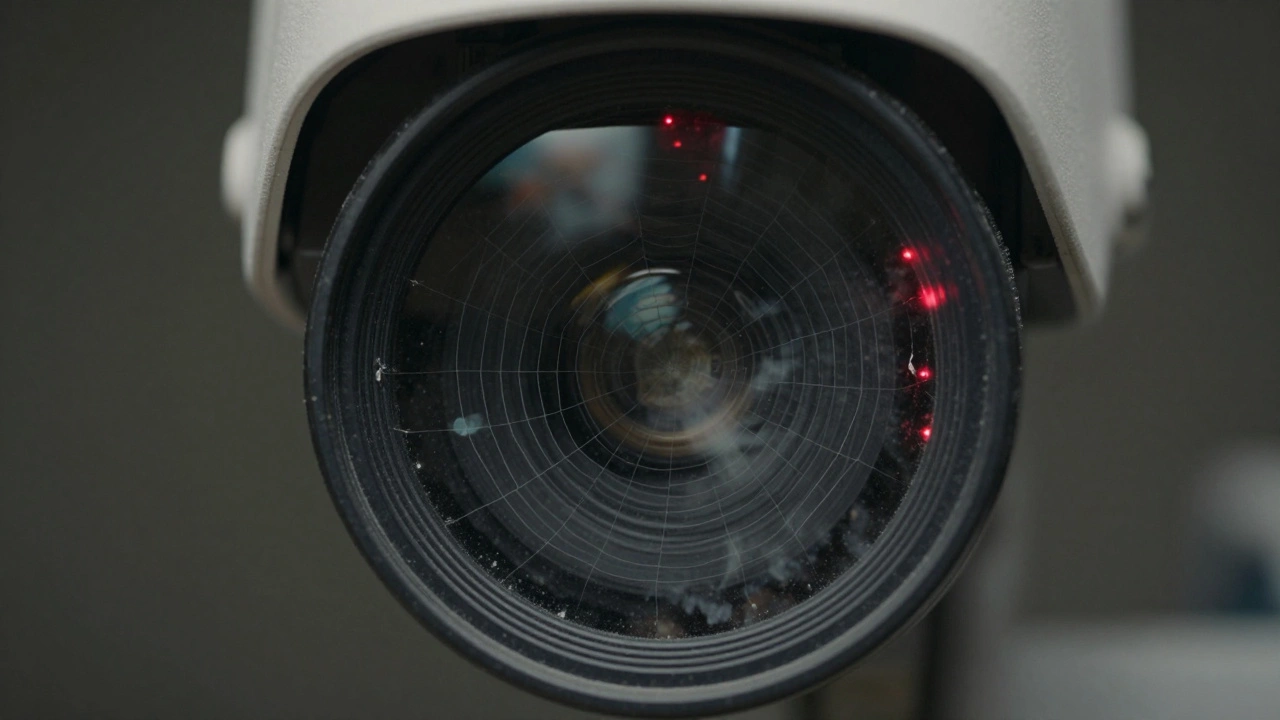
The "Invisible" Problem: Dirty Lenses
You might think a little dust doesn't matter, but infrared light is incredibly sensitive. A single spider web, a smudge of finger oil, or a few dried water spots on the glass can act like a mirror. When the IR lights turn on, the light hits those particles on the lens and scatters, creating a cloudy, blurry, or dim image. This reflection often tricks the sensor into thinking the environment is brighter than it actually is, leading to the same overexposure issue mentioned earlier.
| Symptom | Likely Cause | Quick Fix |
|---|---|---|
| Bright nearby object, black background | IR Reflection/Overexposure | Reposition camera away from walls |
| Cloudy, milky, or blurry image | Dirty Lens / Cobwebs | Clean with a microfiber cloth |
| Grainy image; no "click" sound | Stuck IR-Cut Filter | Restart or replace camera |
| Completely black image | IR Lights Off / Power Issue | Check power supply and IR settings |
Power Struggles and Lighting Interference
Not all power adapters are created equal. Infrared LEDs require a consistent surge of power to operate. If your power supply is failing or the cable is too long (causing voltage drop), the IR lights might look dim or not turn on at all. If you see a ring of red lights around the lens, they're working; if they're dark, you've got a power or setting problem.
Another strange issue is "light pollution." If a streetlamp or a porch light shines directly into the lens, the camera may think it's still daytime. This prevents the camera from switching to night mode, meaning the IR lights never activate, leaving you with a dark, muddy image because the sensor is trying to use color mode in a low-light environment.
Fine-Tuning Your Settings
If your hardware is fine, it's time to look at the software. Most modern systems allow you to tweak the image. Look for settings like "Night Vision Sensitivity" or "Exposure." If your images are too dark, try increasing the brightness or adjusting the exposure time. Some cameras even let you choose between "Near" and "Far" IR settings-"Far" will push the light further out, reducing the chance of a nearby wall causing a blackout.
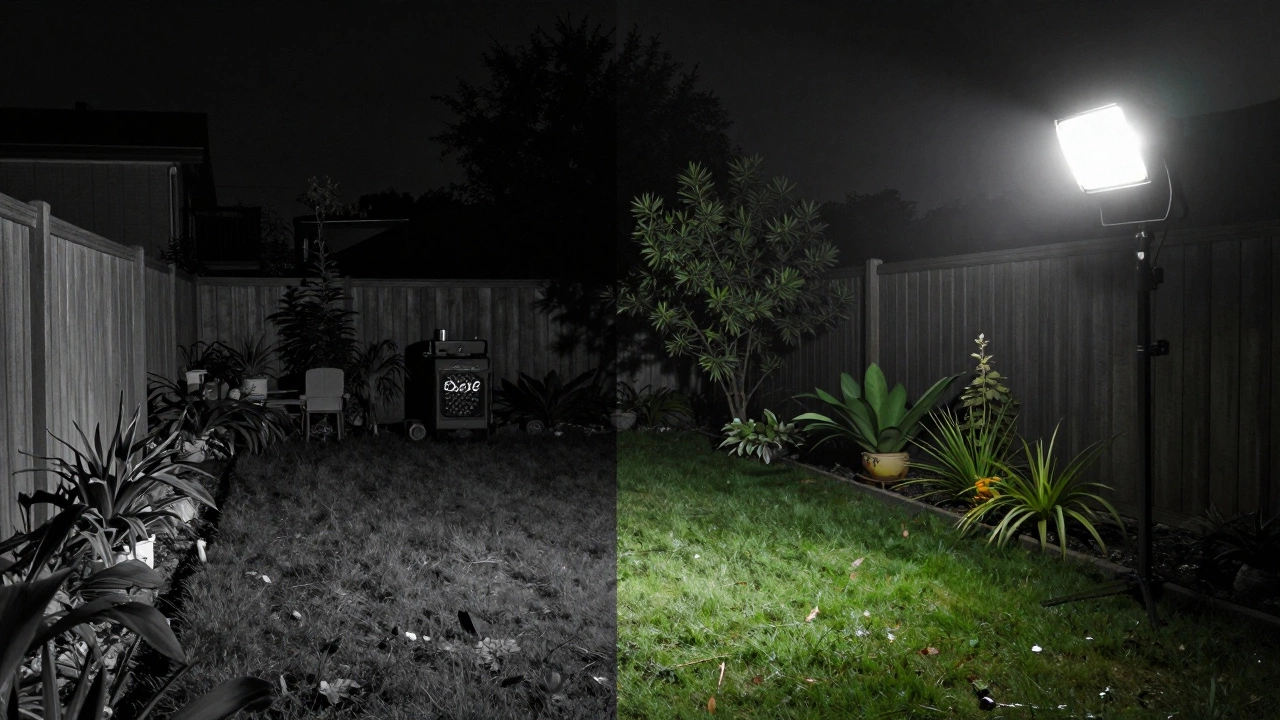
If you've tried everything and the image is still too dark, the reality is that your camera's sensor might simply be too small for the area you're monitoring. In these cases, the best solution isn't a setting-it's a motion-activated floodlight. Adding a bit of actual white light to the scene will give any camera the boost it needs to produce a clear, high-contrast image.
Why does my camera look black and white at night?
This is normal. Most cameras switch to grayscale because image sensors are much more sensitive to light intensity than to color. By removing color, the camera can "see" much better in near-total darkness.
Can I make my night vision look like a movie?
Not without hardware upgrades. To get a "clear" look, you need a camera with a larger sensor or a wider aperture (f-stop), or you need to add external infrared illuminators to the area.
What is the "red glow" around the lens?
Those are the infrared LEDs. While the light they emit is mostly invisible to humans, the LEDs themselves glow a faint red when active. If you don't see this glow at night, your IR lights are likely off.
Will cleaning the lens actually help?
Yes, significantly. Dust and oil reflect IR light back into the lens, which creates a haze and tricks the camera into lowering the brightness of the rest of the image.
Does a higher megapixel count mean better night vision?
Actually, not necessarily. Sometimes higher megapixel sensors have smaller individual pixels, which can actually capture LESS light. For night vision, sensor size and aperture are more important than raw megapixels.
Next Steps for Better Footage
If you're still struggling with dark images, start with the easiest fix: wipe the lens with a clean microfiber cloth. Next, check your mounting position. If the camera is within two feet of a wall, try moving it or angling it downward to avoid the "white-out" effect on the wall. Finally, if you have a massive dark zone, don't rely solely on the camera's built-in lights-invest in a separate IR illuminator or a smart floodlight to brighten the area.