Installation Tips & Guides for Home Security in 2025
Whether you’re fitting a new smart doorbell or swapping out an old alarm panel, getting it right the first time saves time, money and headaches. Below you’ll find the most asked‑about installation topics, straight‑to‑the‑point steps and a few insider tricks that the pros at Birmingham Security Command Center swear by.
Quick Starts for the Most Common Devices
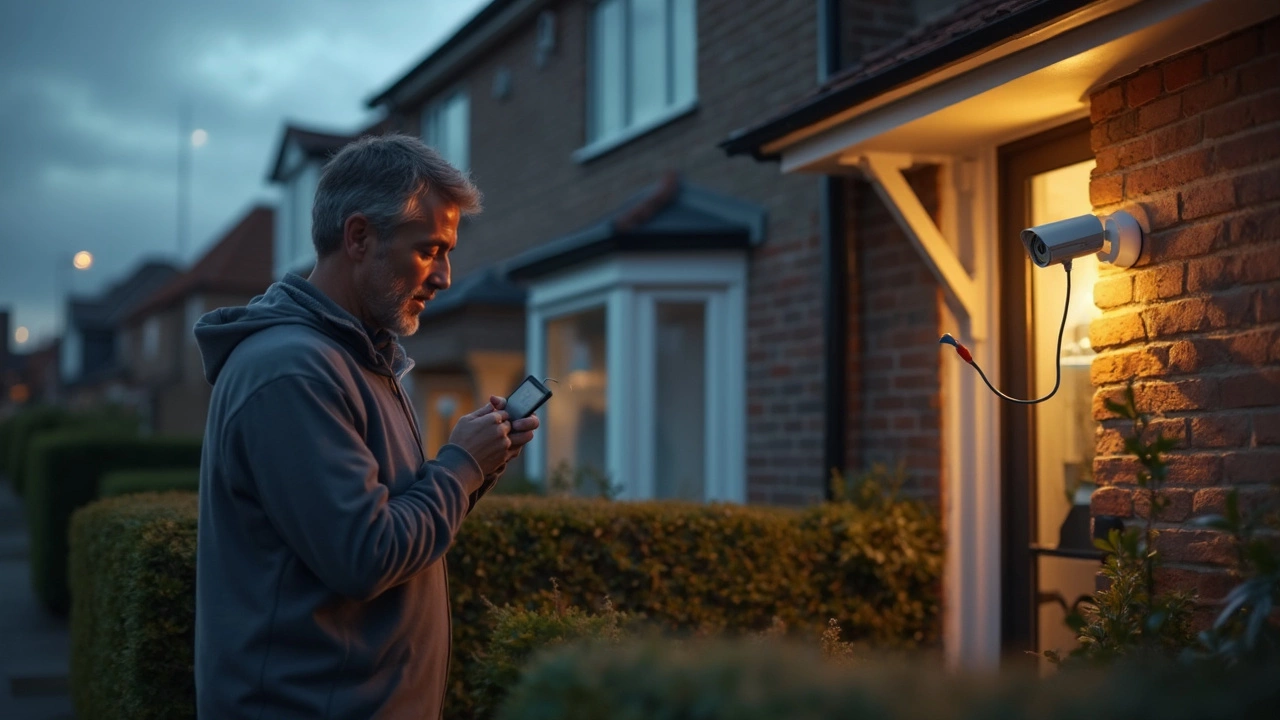
Smart Doorbell (wired vs battery) – First, locate your existing doorbell transformer. In the UK it’s usually a 12‑24V supply hidden behind a plate near the mains. If you have a solid transformer, go wired – it gives consistent power and eliminates the need to recharge. If the transformer is old or missing, a battery‑powered model works fine; just make sure you buy a high‑capacity battery and set a reminder to swap it every year.
Next, turn off the power at the consumer unit, remove the old button and connect the new doorbell’s terminals to the same wires. For battery units, simply mount the holder, pair it with your Wi‑Fi, and you’re set. Test the chime and live video before sealing everything up.
Home Alarm Without a Phone Line – Modern systems rely on cellular or IP (internet) connections. If you choose cellular, install the SIM card, place the module near a window for better signal, and link it to the main control panel. For IP, run an Ethernet cable or use a Wi‑Fi bridge. The key is to verify signal strength with the companion app before activating the monitoring service.
Pro Tips to Avoid Common Mistakes
1. Check voltage before you wire. A multimeter can quickly tell you if the transformer output matches the device’s requirements. Over‑voltage can fry a doorbell; under‑voltage will cause choppy video.
2. Secure your Wi‑Fi. Use a separate SSID for security devices and enable WPA3 encryption. This keeps hackers out of your camera feeds and stops your doorbell from dropping the connection.
3. Plan cable routes. Hide wires inside existing conduit or under carpet to keep the look tidy and protect them from accidental snags. If you’re running new cables, label each end – it saves a lot of guesswork later.
4. Test before you finish. Power up every device, trigger a motion event on a camera, press the doorbell button, and set off the alarm. If any component doesn’t respond, troubleshoot now rather than after the walls are closed up.
5. Document the install. Take photos of where each wire connects and note any settings you change in the app. This documentation makes future upgrades or service calls a breeze.
At Birmingham Security Command Center we offer professional installation for all the gear covered in our blog posts. If DIY isn’t your style, our certified technicians can handle the wiring, configuration and testing for a flat fee, leaving you with a fully protected home and a warranty on the work.
Got a specific device you’re not sure how to fit? Browse the posts under the “installation” tag – each article breaks down the steps, tools you need and common pitfalls. From baby monitor range checks to motion sensor placement, you’ll find everything you need to keep your home safe without the guesswork.
Remember, a solid install is the foundation of a reliable security system. Follow these guidelines, double‑check the basics, and you’ll enjoy peace of mind knowing your tech won’t let you down when it matters most.