Night Vision Camera: What You Need to Know for Home Security
Ever wonder how some cameras can see in total darkness? That’s night vision, and it’s a game‑changer for protecting your home when the lights are off. In this guide we’ll break down the tech, show you what to look for, and give you practical steps to get the right unit installed fast.
How Night Vision Works
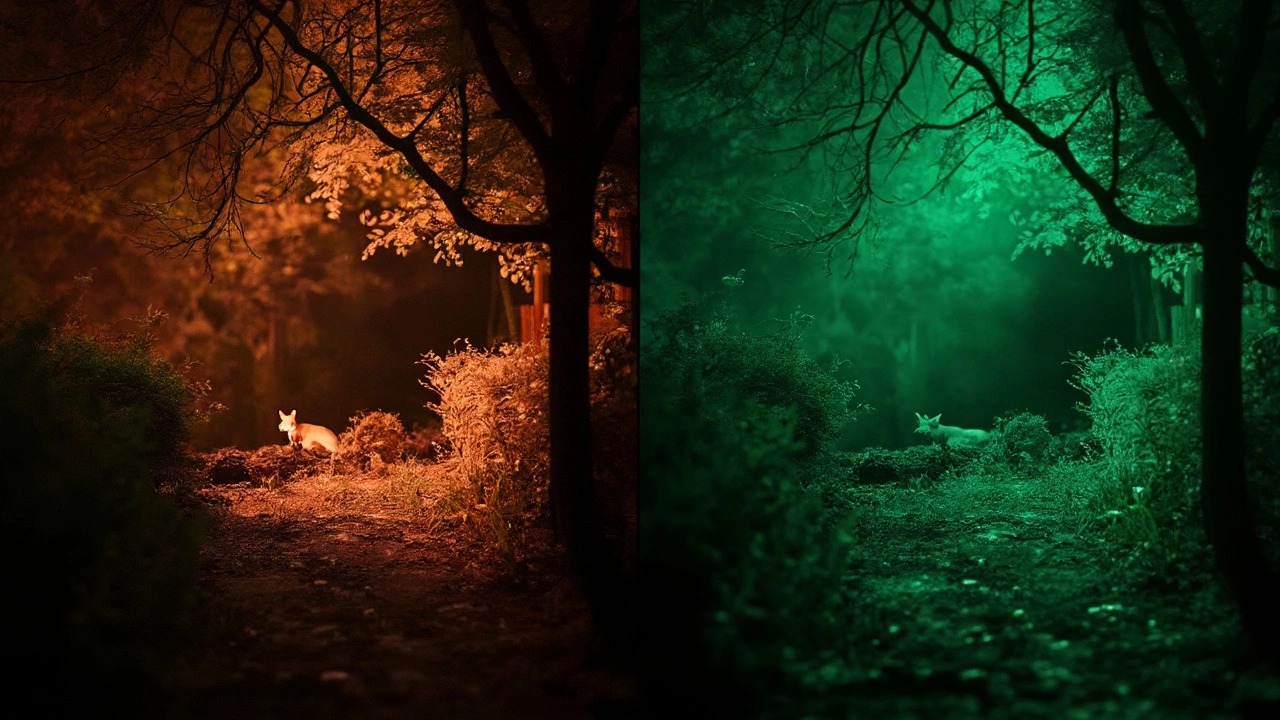
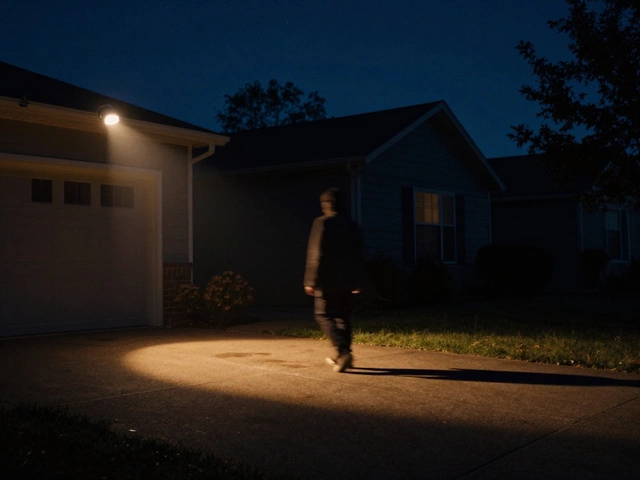
Night vision cameras use infrared (IR) light that’s invisible to the human eye. Tiny LEDs flood the area with IR, and a special sensor picks up the reflected glow. The result is a clear black‑and‑white (or sometimes color) image even in pitch‑dark rooms. Most modern units switch IR on automatically when they detect low light, so you don’t have to flip a switch.
Picking the Right Night Vision Camera
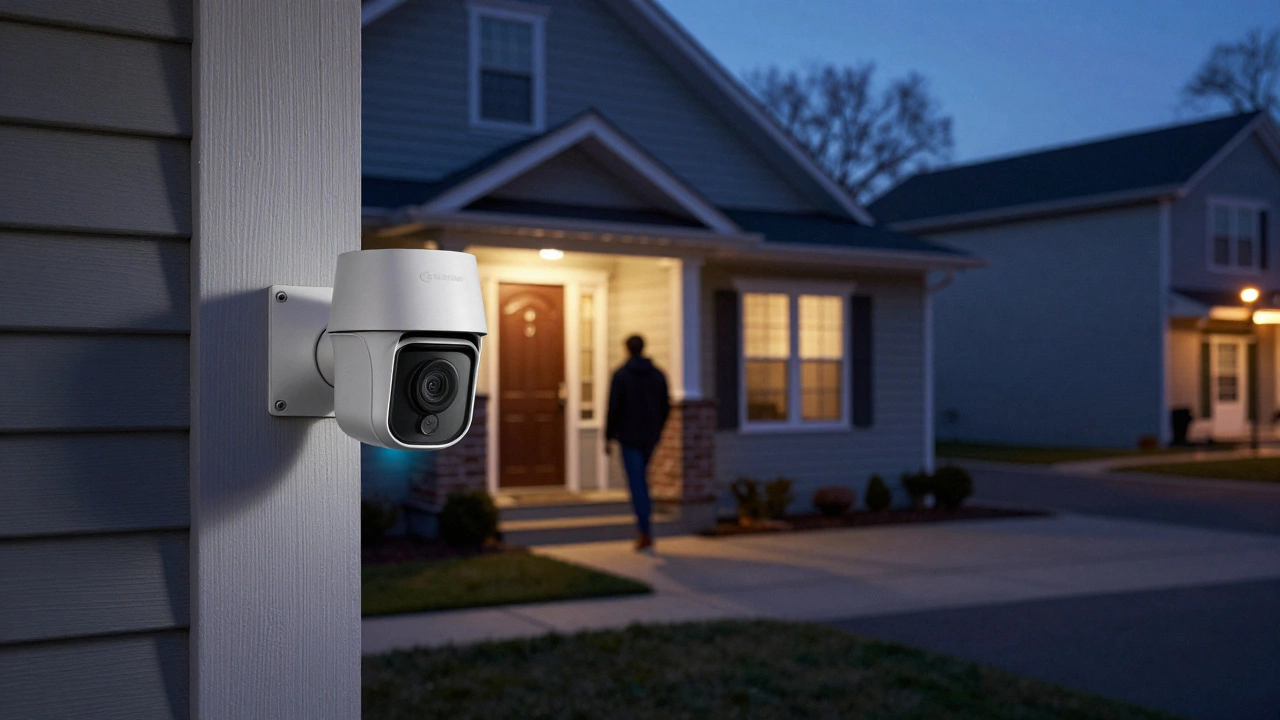
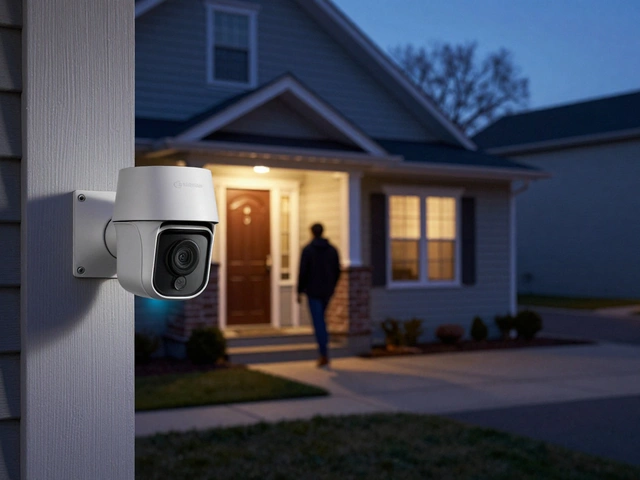
First, think about where you’ll mount it. Outdoor spots need weather‑proof housings and a longer IR range—look for at least 30‑metre reach. Indoor cameras can get away with smaller ranges but should still have a wide viewing angle to cover doorways and hallways.
Second, check the resolution. A 1080p sensor gives sharp details that help spot a face or a license plate. If you need ultra‑clear images for evidence, consider a 2K or 4K model, but remember higher resolution can need more bandwidth.
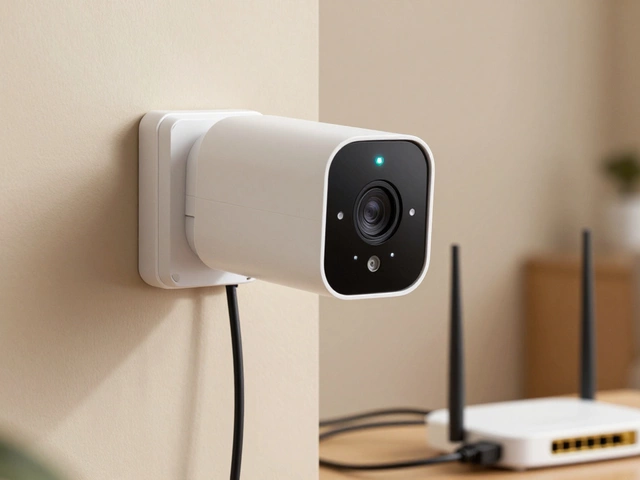
Third, consider connectivity. Wi‑Fi cameras are easy to set up, but they can drop the signal if your router is far away. A wired PoE (Power over Ethernet) camera offers stable video and power over a single cable, which is ideal for critical spots.
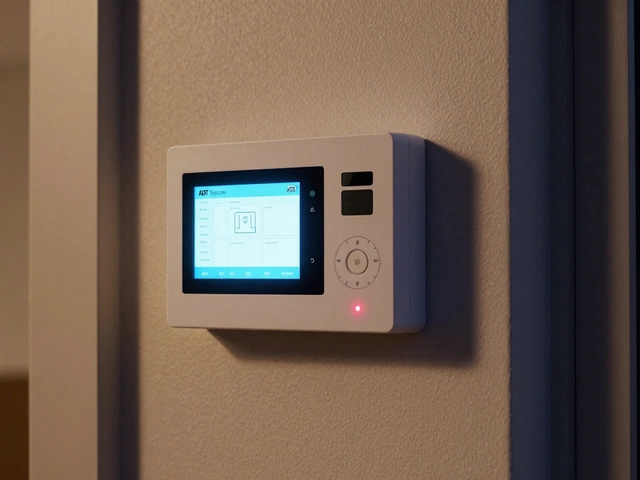
Finally, think about storage. Most cameras stream to the cloud, but a local SD card or a NAS (Network Attached Storage) gives you control and avoids monthly fees. If you’re on a budget, an SD‑card option might be the sweet spot.
Now that you know what to look for, here’s a quick checklist before you buy:
- IR range matches your room size.
- Resolution 1080p or higher.
- Weather‑proof rating (IP65 or better for outdoors).
- Power source – PoE for reliability or battery for flexibility.
- Storage – cloud, SD card, or NAS.
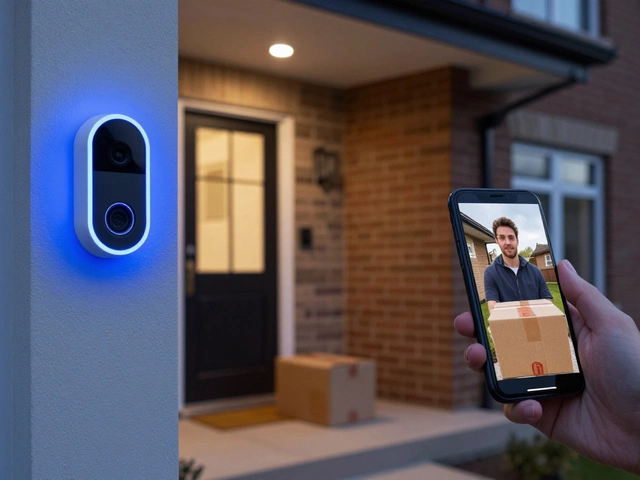
When you’ve picked a model, installation is usually a breeze. Mount the bracket at eye level for indoor cameras, or higher for outdoor units to avoid tampering. Run the power cable if you’re using PoE, then connect the camera to your Wi‑Fi or network. Most apps will walk you through the pairing process, and you’ll be able to see live footage in seconds.
One tip many overlook: angle the IR LEDs away from reflective surfaces like windows. Otherwise you’ll get a glare that washes out the picture. A small piece of matte tape can soften the reflection if you can’t adjust the angle.
After everything’s set, test the night vision mode. Turn off the lights and watch the feed—if the image looks grainy, try moving the camera a bit closer or adding a second IR light for extra boost.
That’s it. With the right night vision camera, you’ll have eyes on your property 24/7, even when the sun goes down. Keep this guide handy, and you’ll avoid common pitfalls while getting solid, low‑light coverage for your home.