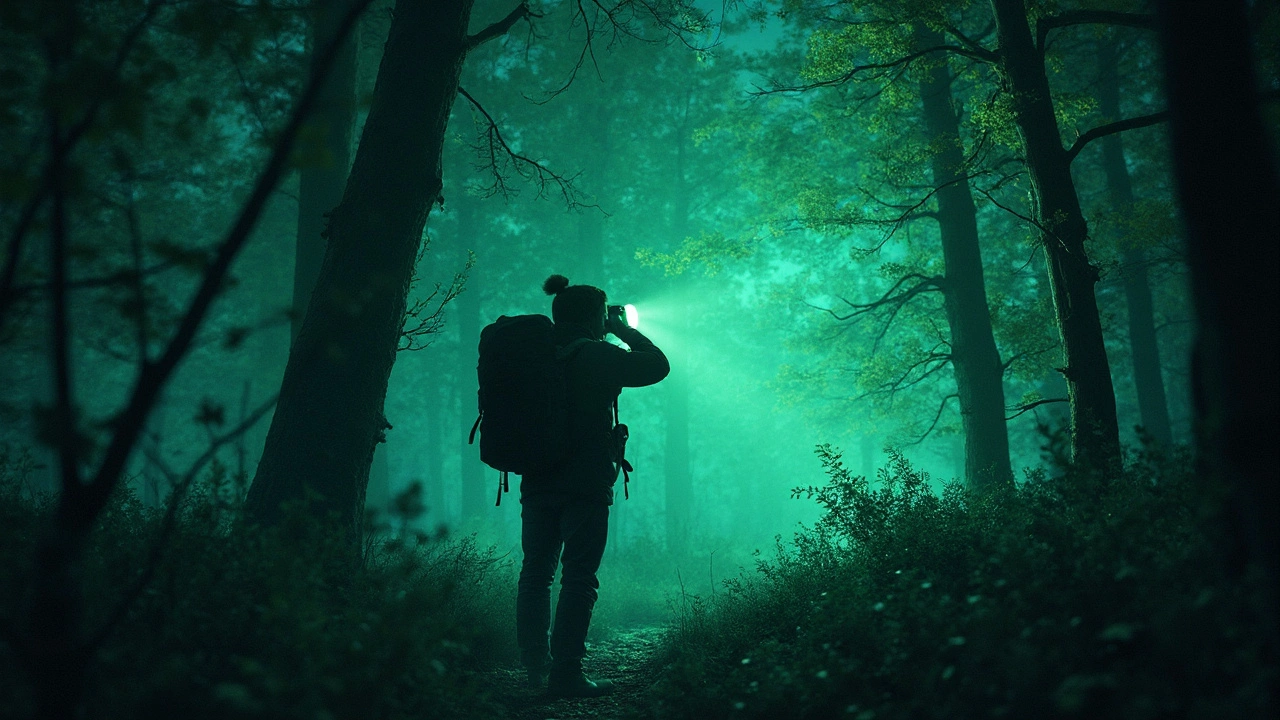
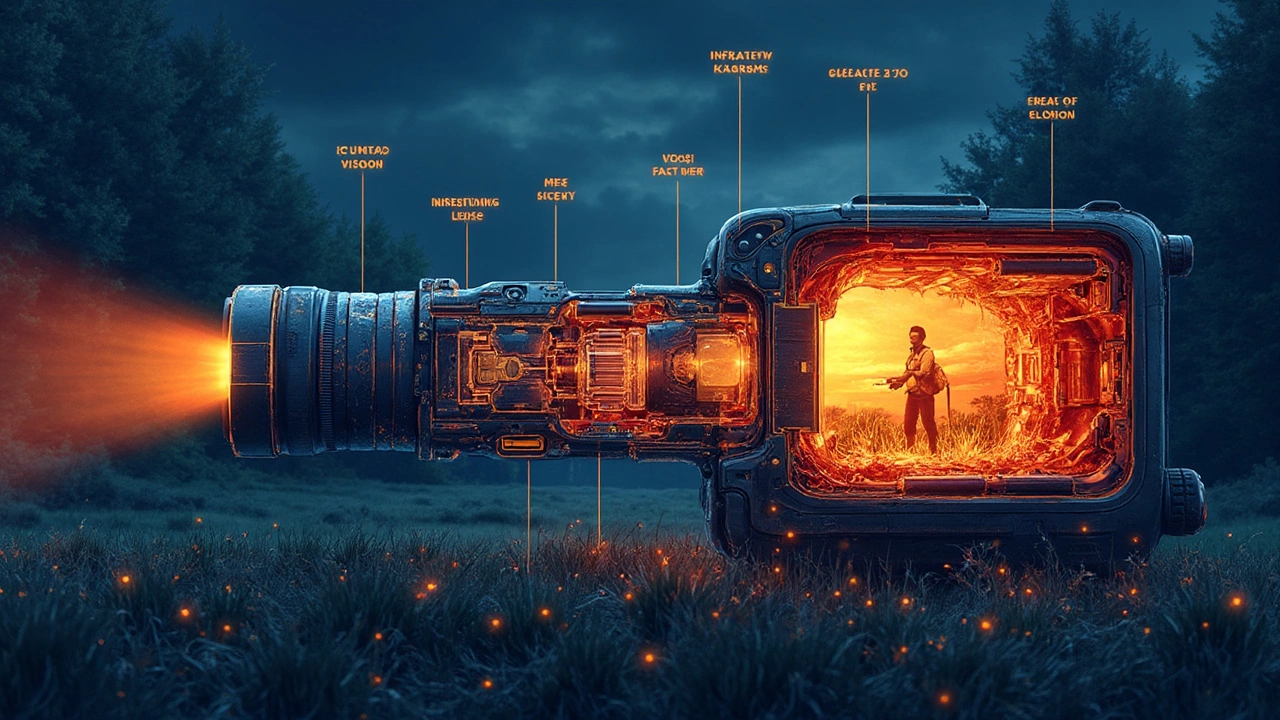
Ever wondered how one could possibly see in complete darkness? The secret lies in night vision cameras, and trust me, these gadgets are game-changers whether you’re an adventurer or just concerned about home security. These cameras come packed with cool tech like infrared lights and thermal sensors, letting you see things your eyes just can't.
Let's dig into some nifty details. At the heart of most night vision cameras is infrared technology. It's like giving your camera its very own flashlight that only it can see! What's cool is that infrared light is invisible to us but perfect for cameras to capture in low-light conditions.
Then there's thermal imaging, which picks up heat instead of light. It's amazing for spotting living creatures since we're all basically walking heaters. Whether you're hunting, photographing nocturnal critters, or boosting your home security system, understanding how these cameras work can make all the difference.
- Understanding Night Vision Technology
- Infrared Cameras: The Basics
- Thermal Imaging Explained
- Choosing the Right Camera for Your Needs
- Practical Tips for Night Photography
Understanding Night Vision Technology
Alright, let's break down night vision magic. Most folks think night vision is some futuristic superpower, but it's all about clever tech. The core idea is simple: grabbing more light or using heat to 'see' what our eyes can't in the dark.
How Does It Work?
The most common night vision tech revolves around infrared cameras. These utilize infrared light—something our eyes can't naturally see, but cameras can. They pick up and amplify tiny amounts of light and transform it into images or video.
Then you've got thermal imaging—pretty neat! This technique measures heat instead of capturing light. Every living thing emits heat, and thermal cameras visualize that. It's great for spotting warm bodies in pitch-black areas.
Key Technologies in Night Vision Cameras
- Image Intensification: Basically boosting the existing light. This tech is commonly used in night vision goggles and many cameras.
- Active Illumination: Adding infrared light that the camera picks up, not visible to naked eyes, for enhanced vision.
- Thermal Imaging: Identifies heat signatures, which is perfect for wild animal observation or security when light isn't available.
Why Does It Matter?
Having a solid grasp of night vision tech lets you choose the right gear for your adventures, security setups, or wildlife explorations. Ever tried taking a photo in the dark? That's where understanding tech options pays off. You can pick a camera that suits your exact needs, ensuring you're set for all your nighttime endeavors.
Here's a quick glimpse of how different cameras work under absolute darkness conditions:
| Camera Type | Light Source | Usability |
|---|---|---|
| Infrared Cameras | Infrared LEDs | Great for low-light conditions |
| Thermal Cameras | Heat (No light required) | Perfect for complete darkness |
Now that we've pulled back the curtain on these nifty devices, you're equipped with the basics to pick a night vision camera that fits your needs like a glove.
Infrared Cameras: The Basics
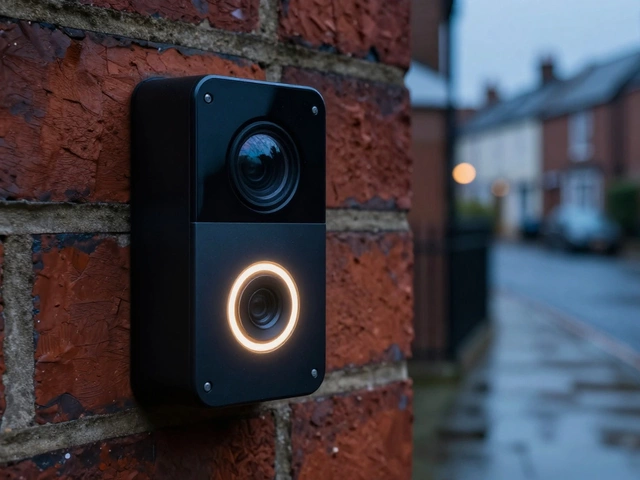
Infrared cameras have a fantastic trick up their sleeves: they capture images using infrared light, which is invisible to our naked eye. You've probably come across infrared in TV remotes or motion sensors—it’s pretty versatile, just like a secret superhero power for cameras!
So, how do these cameras work their magic in the dark? They rely heavily on infrared LEDs that surround the camera lens. These LEDs flood the scene with infrared light, allowing the camera to 'see' even when you can’t. The result? Crisp, clear images or videos as if the place was lit up just for you.
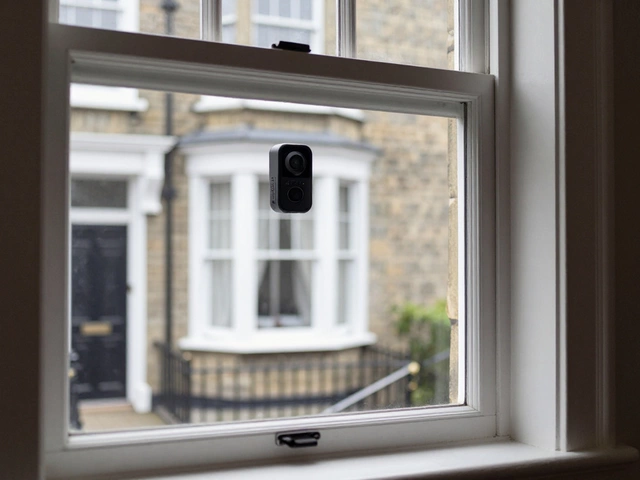
Let’s get a bit technical here for a second. Infrared cameras are generally divided into two categories: near-infrared (NIR) and thermal infrared. The NIR cameras are commonly used in security solutions because they offer detailed images and can switch between regular and night vision seamlessly. Ever noticed security cameras at a mall showing clear images at midnight? That’s NIR tech in action.
The Wonders of Thermal Imaging
While thermal infrared cameras also utilize IR technology, they differ slightly by not needing visible light at all. Instead, they detect heat. This makes them unbeatable in capturing living beings (think humans or animals) since everything with a higher temperature than absolute zero emits heat, regardless of how dark it is.
But what does that mean for you? With these cameras, sudden noises or movements in the night no longer need to be mysteries. Whether you're monitoring your backyard at night or exploring dark caves for fun, an infrared camera can be your best ally.
Choosing an Infrared Camera
When selecting an infrared camera, consider a few key features:
- Range: Check how far the infrared light can reach. Some cameras can illuminate up to 30 meters!
- Resolution: Higher resolution equals better detail. Go for at least 1080p if you want clear images.
- Durability: Especially for outdoor cameras, you’ll want something weatherproof and sturdy.
To wrap things up, these cameras offer the superpower of seeing in darkness. They’re a great investment if you’ve got something worth keeping an eye on when the lights go out.

Thermal Imaging Explained
If you've ever been curious about how those Predator movies show heat signatures, you're basically thinking of thermal imaging. These cameras don't need any light to work because they detect heat instead. That means, who needs sunlight when you can see the glow of warmth from a mile away?
So, here's the lowdown. Thermal imaging cameras sense heat emitted by objects. Everything with a temperature above absolute zero gives off heat. It's this heat, or infrared radiation, that thermal cameras pick up. Using special sensors, these cameras convert heat energy into a visible image, showcasing different temperature ranges in various colors. Usually, reds and oranges mean hotter areas, while blues and purples indicate cooler zones.
How Thermal Cameras Work
The magic happens thanks to microbolometer sensors found in thermal cameras. These sensors detect infrared radiation and process it to create a visual image. They're completely unaffected by visible light, which makes them perfect for spotting warm bodies in the dark—whether that's wildlife at night or intruders sneaking around.
Benefits and Uses
Thermal imaging is super versatile, which is why you'll find these cameras in pretty diverse settings. From helping firefighters see through smoke to military use for night operations, their applications are vast. Even casual nighttime explorers might find them handy to spot animals or navigate dark terrains.
Fun Fact
If you're into cool gadgets, check this out: some personal devices like smartphones now offer thermal imaging attachments. You can literally turn your phone into a thermal camera for your next adventure or DIY home inspection.
Thermal Vs. Infrared: What's the Deal?
It might sound a bit tricky, but stick with me. Both thermal and infrared cameras use infrared light, but here's the kicker: thermal imaging cameras look at infrared from heat emissions, while infrared cameras use built-in infrared LEDs to light up a scene. Think of infrared as a spotlight and thermal as a heat radar!
| Application | Infrared Cameras | Thermal Cameras |
|---|---|---|
| Visibility | Limited by distance and fog | Effective through fog and smoke |
| Mode | Active (needs infrared light) | Passive (detects natural heat) |
In short, thermal imaging packs a punch for seeing what the naked eye—or even regular cameras—miss. Whether you're tracking down heat leaks in your house or keeping an eye out for nocturnal critters, these cameras are incredibly powerful tools for navigating in total darkness.
Choosing the Right Camera for Your Needs
Picking the perfect night vision camera can feel a bit overwhelming, but no worries—let’s break it down together. First up, think about what you need it for! Are you aiming to capture cool wildlife shots, or perhaps you need something robust for surveillance? The answer will greatly influence your choice.
Consider Your Environment
Where you plan to use your camera matters a lot. If it’s for outdoor adventures, you'll want something rugged and weather-resistant. On the other hand, for indoor surveillance, a sleek, compact design might be preferable.
Understand Infrared vs. Thermal
When it comes to infrared cameras, they’re usually less pricey and quite effective for capturing images with some ambient light. But if you’re going to be in absolute darkness or are looking to detect heat patterns (like spotting critters at night), then thermal imaging could be your best bet.
Resolution and Range
Resolution is crucial for clear quality images, so aim for higher resolutions if details matter—especially for security. Also, check the effective range of the night vision; you don't want to miss anything crucial by miscalculating how far your camera can see into the night.
- Short Range: Great for indoor use, peering outside the front door.
- Mid Range: Suitable for medium-sized yards or campsites.
- Long Range: Important for covering large, open areas.
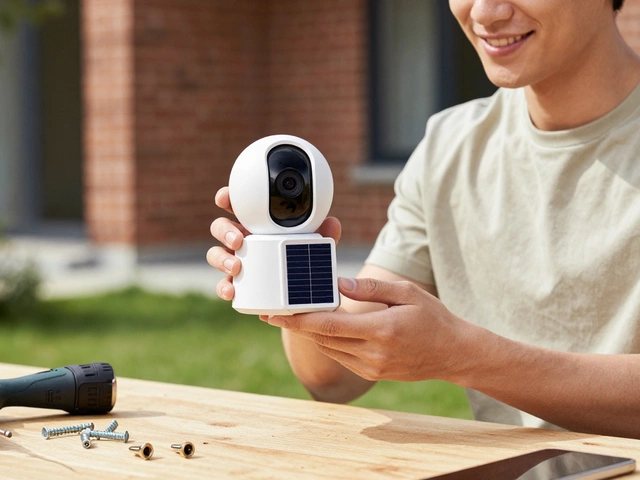
Additional Features
Features like Wi-Fi connectivity, motion sensors, and storage options (cloud or local) can make a big difference. Look for cameras with good battery life if portability is a factor, or make sure they can easily be plugged in for continuous use.
Do a bit of research—check user reviews and maybe even some video tests online. It’s always wise to see what others are saying before you spend your hard-earned money on a device that should ideally serve you well for years.
Practical Tips for Night Photography
Capturing stunning pictures in the dead of night can feel tricky, but with some helpful tips, you can master it with any night vision cameras. Think of photography in darkness as a fun challenge rather than a hurdle!
Use a Tripod
First off, you'll want to make friends with a sturdy tripod. Low light means using slower shutter speeds, and even the steadiest hands can shake a little. A tripod keeps your camera still and your shots crisp.
Play with ISO Settings
The ISO setting on your camera adjusts its sensitivity to light. While cranking up the ISO helps capture more details in low light, it can also introduce noise. Find a good balance by testing different settings on your camera.
Experiment with Manual Focus
Auto-focus can struggle in the dark, often hunting back and forth without locking properly. Switching to manual focus gives you control and ensures your subject is sharp. Especially useful with infrared cameras, manual adjustments can make a huge difference.
Leverage Long Exposure
Try long exposure to capture more light over time. This technique is brilliant for artistic effects like light trails and can bring out details you might not see otherwise. Just remember, you’ll need that trusty tripod!
Scout the Location
Familiarize yourself with the shooting location during daylight hours. Knowing the terrain can help you compose shots more easily at night and navigate safely once darkness falls.
Use a Remote Shutter
A remote shutter release minimizes camera shake when pressing the button. No fancy tech? No worries! A self-timer can work just as well to avoid blurry shots.
| ISO Setting | Noise Level |
|---|---|
| 100-400 | Low |
| 400-1600 | Moderate |
| 1600+ | High |
With these tips in your toolkit, snapping brilliant night shots is totally doable. Dive in, experiment, and watch your night photography skills light up quickly!