The Hidden Downsides of CCTV: Is It Really Worth the Cost?
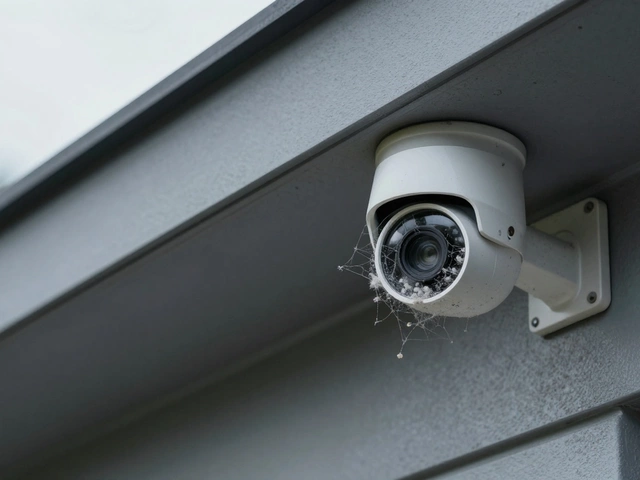
Discover the hidden disadvantages of CCTV, from high installation costs and privacy risks to technical failures and the danger of false security.
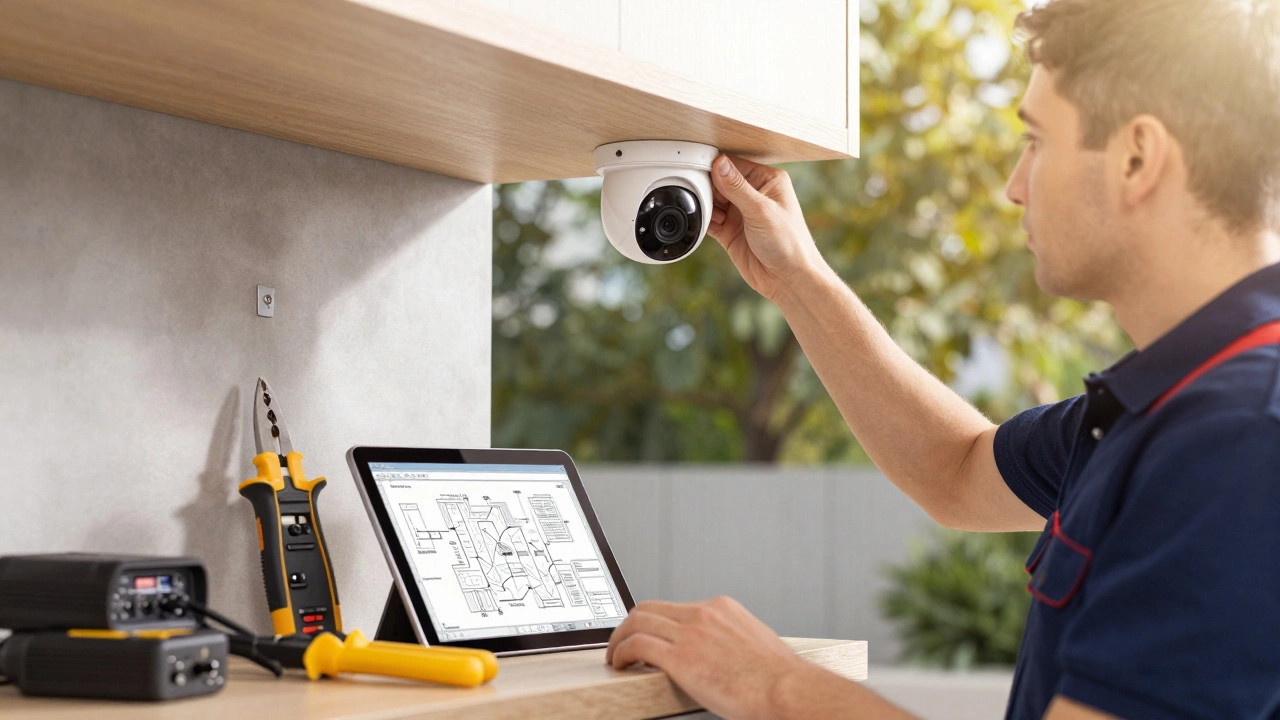
Thinking about adding CCTV to your property? You’re not alone. Most people want solid security without blowing their budget. The first step is to understand what drives the price—hardware, wiring, and labor all play a role. Knowing the basics helps you decide if a DIY setup will work or if a professional installer is worth the extra cost.
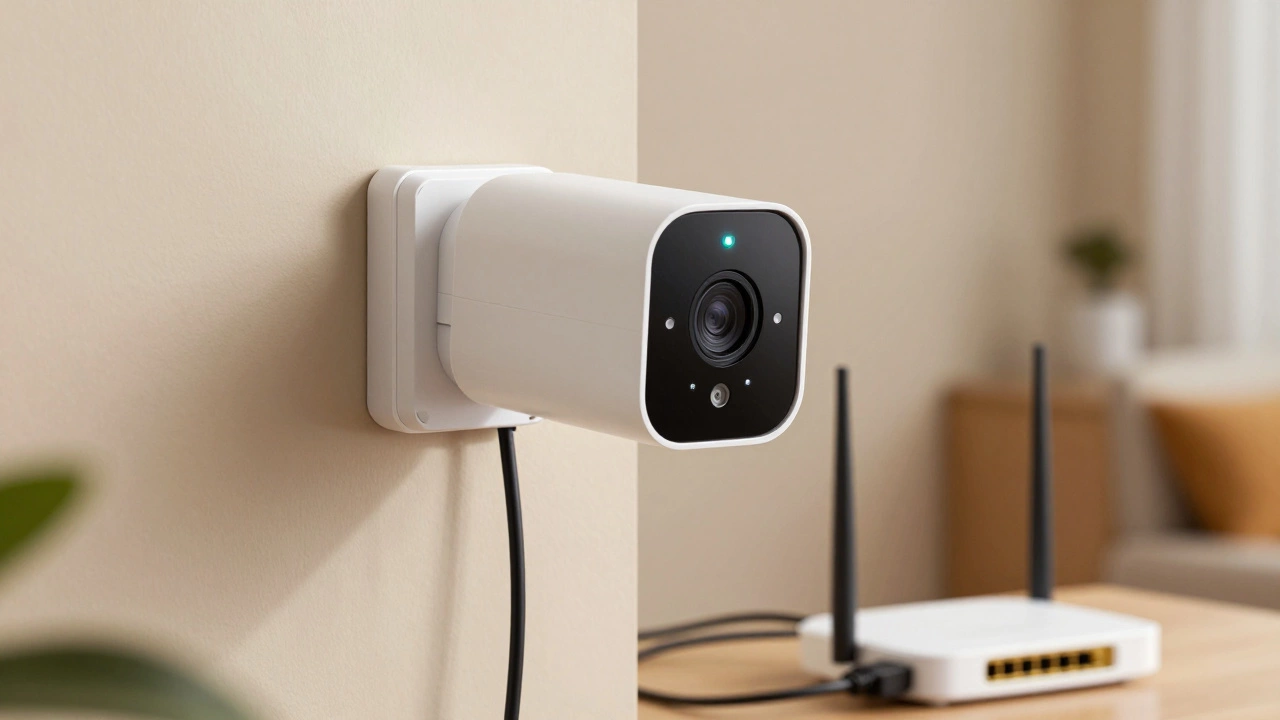
There are two main system types: wired and wireless. Wired rigs usually cost more up front because you’ll need cables, conduit, and sometimes a professional to run them safely. The upside is reliable video feed and no worries about signal drops. Wireless cameras, on the other hand, are easier to set up; they often mount with just a screw and connect to your home Wi‑Fi. But they can be vulnerable to interference and may need a stronger internet connection, which adds to the monthly bill.
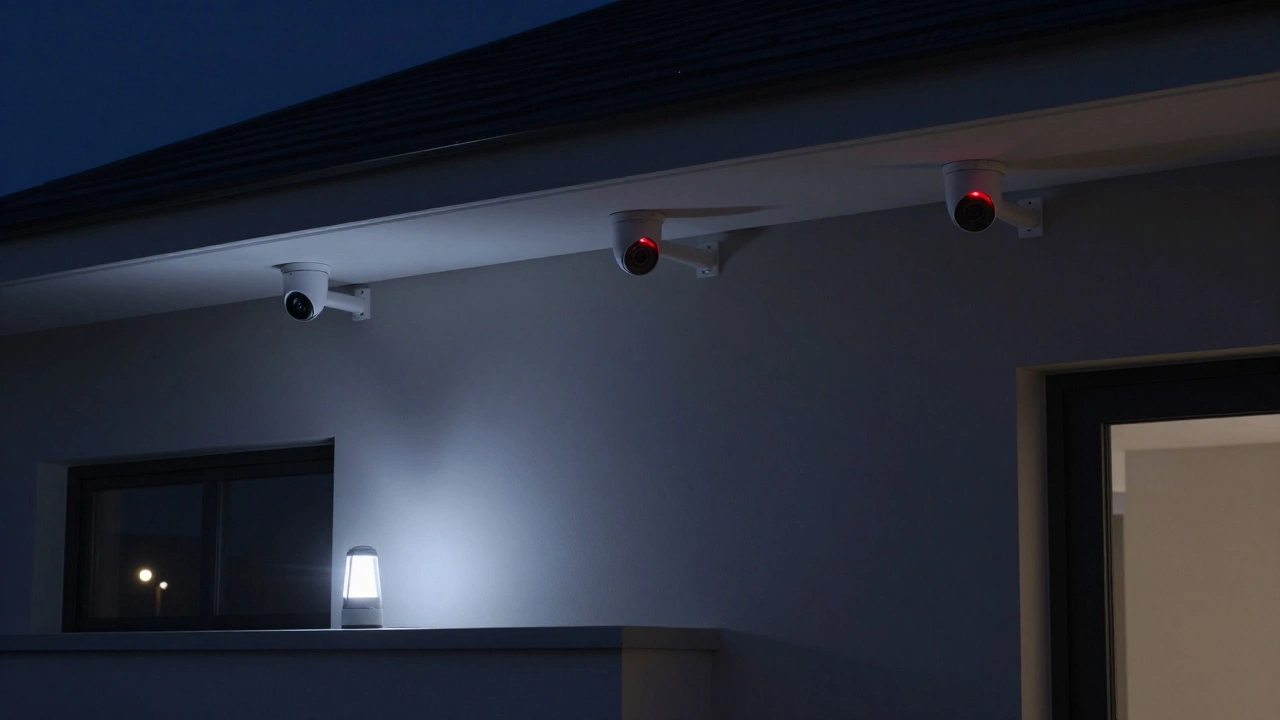
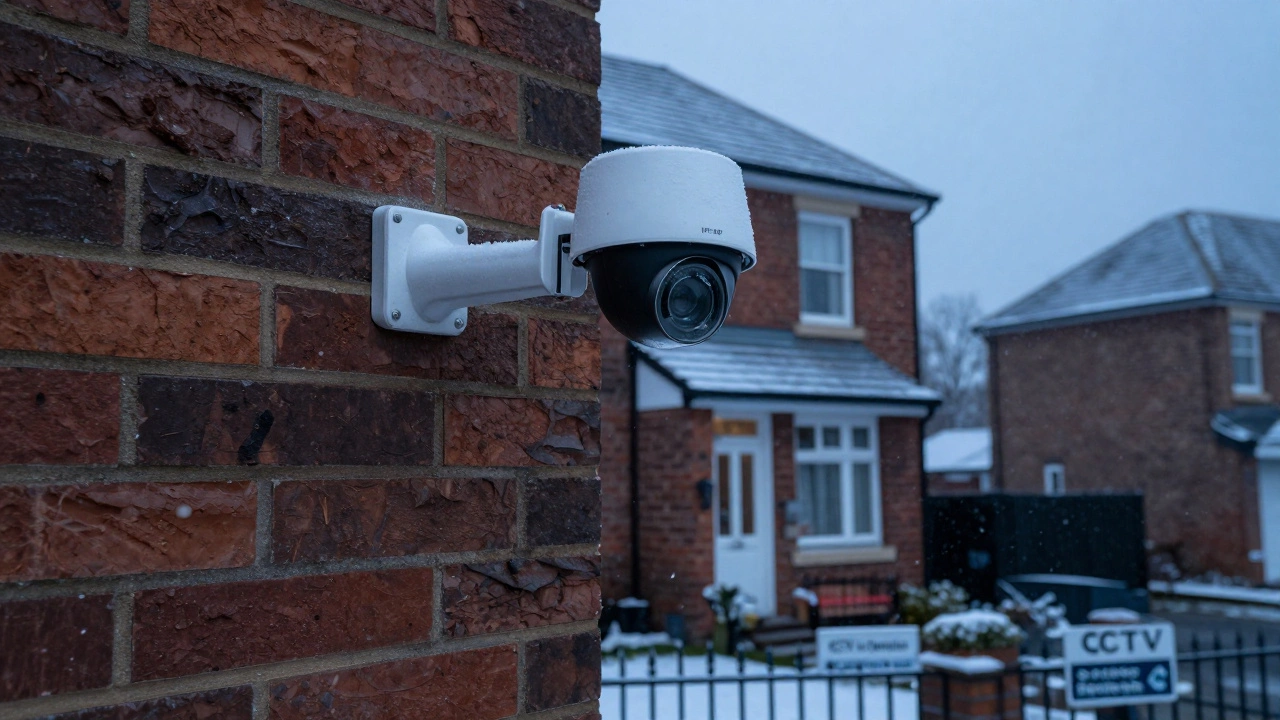
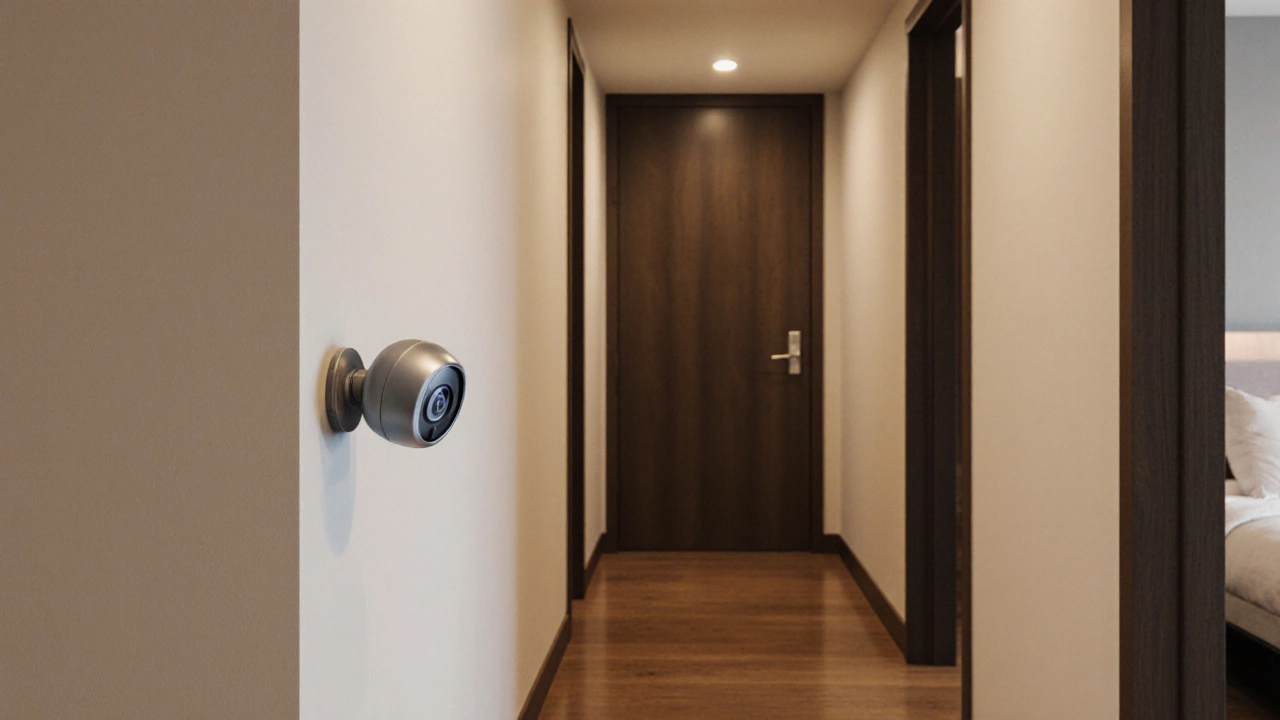
Prices vary widely. A single basic indoor camera can run as low as £40, while a robust outdoor unit with night vision and motion alerts may top out at £150. Installation fees follow a similar spread: a DIY job might be free beyond the equipment cost, whereas a professional installer typically charges £50‑£100 per camera plus a travel fee. Expect a full‑home system of four to six cameras to sit between £400 and £1,200, depending on brand, features, and whether you go wired or wireless.
Don’t forget hidden expenses. You might need a DVR or NVR for recording, a power supply upgrade, or a small UPS to keep cameras running during power cuts. Some installers bundle these items, while others list them separately. Asking for an itemised quote helps you see where the money goes and where you can cut back.
If you’re comfortable with a drill and basic networking, a DIY install can save you £200‑£500. Many manufacturers ship with step‑by‑step guides, and online videos walk you through mounting, wiring, and app setup. Just make sure your Wi‑Fi signal reaches each camera’s spot; a weak signal means choppy video and missed alerts.
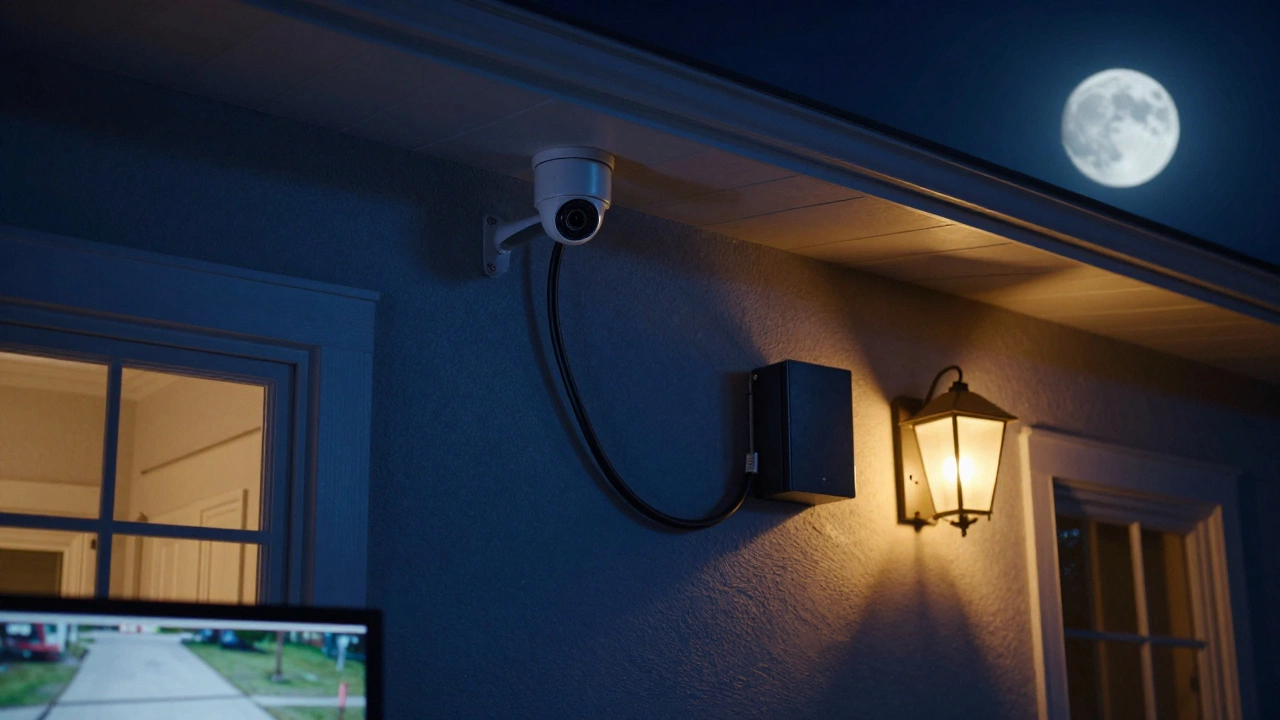
Professional installers shine when you need hidden wiring, multiple floors, or integration with existing alarm systems. They also handle permits if you’re installing cameras in public or shared spaces—something DIY installers often overlook. In most cases, hiring a pro for the first camera and then expanding yourself gives you a balance of expertise and cost control.
Here are three quick tips to keep the project cheap and effective:
Finally, think about future upgrades. A system that lets you add more cameras or swap to a higher‑resolution model will save you money down the line. Stick to a brand with a good app and straightforward firmware updates, and you’ll keep your security sharp for years.
Whether you go DIY or hire an expert, understanding the cost drivers and system options makes the whole process less stressful. With the right plan, you’ll get solid surveillance that fits your budget and gives you peace of mind.
Discover the hidden disadvantages of CCTV, from high installation costs and privacy risks to technical failures and the danger of false security.
Learn how to connect a CCTV camera wirelessly without running cables. Step-by-step guide for home and business use, covering Wi-Fi setup, signal strength tips, power options, and common mistakes to avoid.
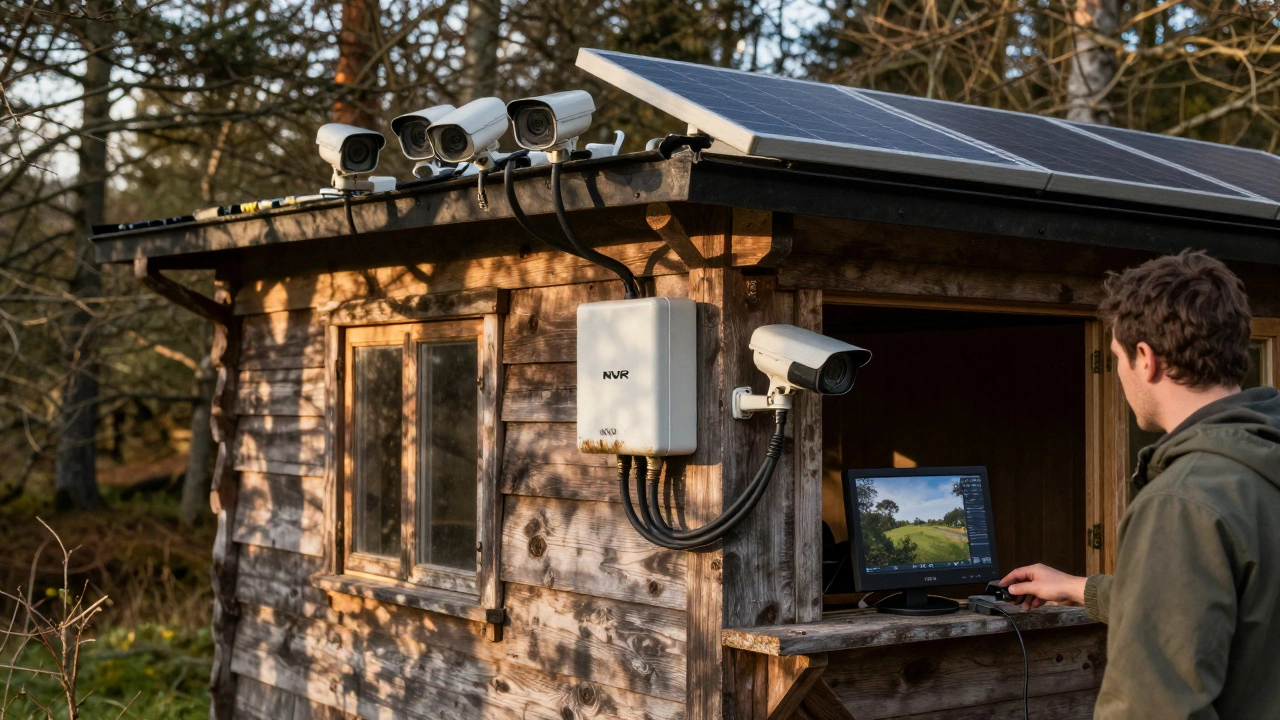
Security cameras add very little to your electricity bill-typically less than £1.50 per camera per month. Even full systems with recorders cost under £20 monthly. Solar and motion-activated models slash costs further.
Wired CCTV offers unmatched reliability and video quality, while wireless is easier to install but relies on Wi-Fi and cloud subscriptions. Learn which is truly better for your home or business in 2026.
You can't view CCTV remotely without any network, but you don't need internet to record or view footage onsite. Cellular cameras, NVRs, and local networks let you stay secure even off-grid.
CCTV installers in the U.S. charge $20-$30/hour on average in 2026, but rates vary by location, certification, and system complexity. Learn what affects pricing and how to avoid overpaying.
In 2025, a basic CCTV system costs between $125 and $3,500. Learn what's included, hidden fees, DIY vs. professional costs, and the real sweet spot for home security without overspending.
Yes, you can install CCTV outside your house in the UK - but only if you follow privacy laws. Learn where to mount it, which cameras work best, legal rules, and how to avoid fines or neighbor complaints.
Learn the real cost of CCTV installation in 2025 for homes and businesses. Get clear breakdowns of equipment, labor, hidden fees, and what actually delivers security - not just cameras.
Learn the exact locations where installing security cameras can lead to legal trouble, privacy breaches, and technical failures, plus a checklist to stay compliant.
Want to know CCTV installation costs in 2025? This detailed guide covers prices, what affects costs, DIY vs pro install, and how to save money.
Trying to figure out if CCTV needs internet before you spend a dime? This article cuts through the tech jargon to explain when you actually need an internet connection for security cameras, what it means for your setup cost, and how it affects daily use. Get honest information on wired vs wireless CCTV, remote access, and the hidden expenses you might face. By the end, you'll know what’s right for your home or business—whether you want peace of mind for your kids or your business assets.