Why is My Night Vision Camera So Dark? Common Causes and Fixes
Wondering why your security camera is so dark at night? Learn about IR reflection, stuck filters, and easy fixes to clear up your night vision footage.
Ever wonder why some cameras seem to catch everything while others miss the obvious? The answer isn’t magic – it’s about picking the right gear and setting it up right. In the next few minutes you’ll learn how to choose a camera that fits your space, budget, and peace‑of‑mind needs, plus simple steps to get it working fast.
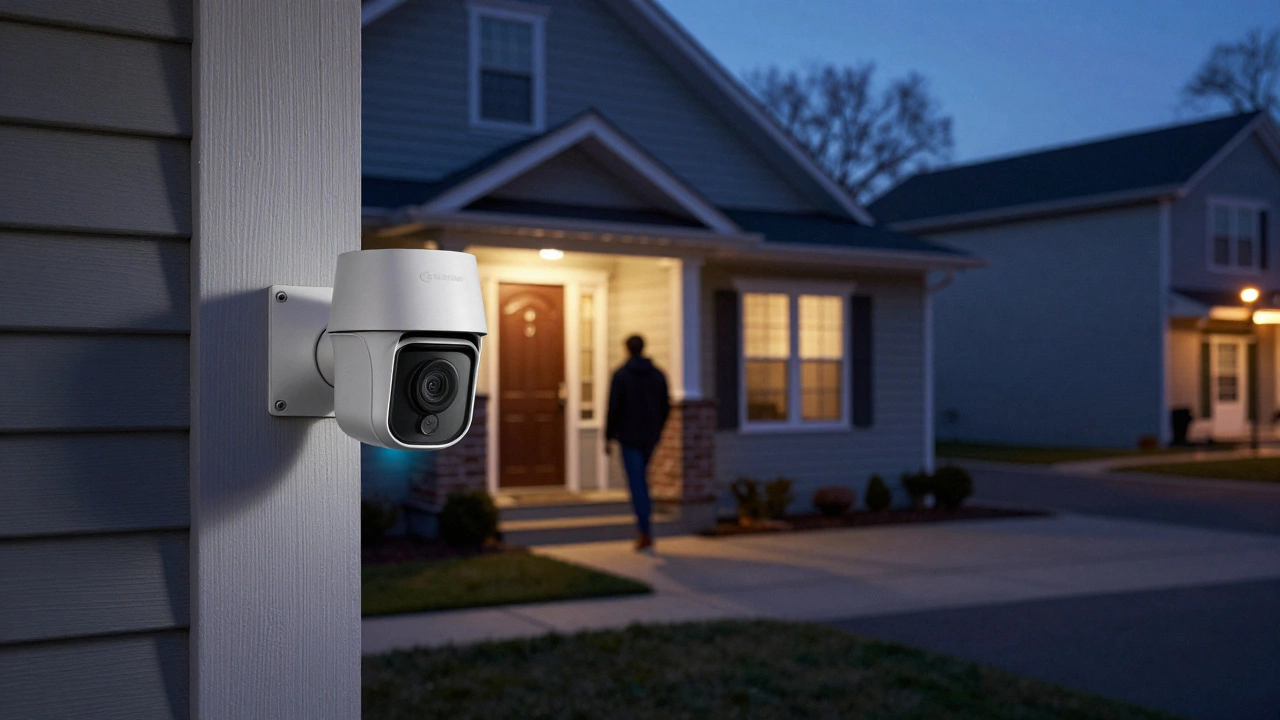
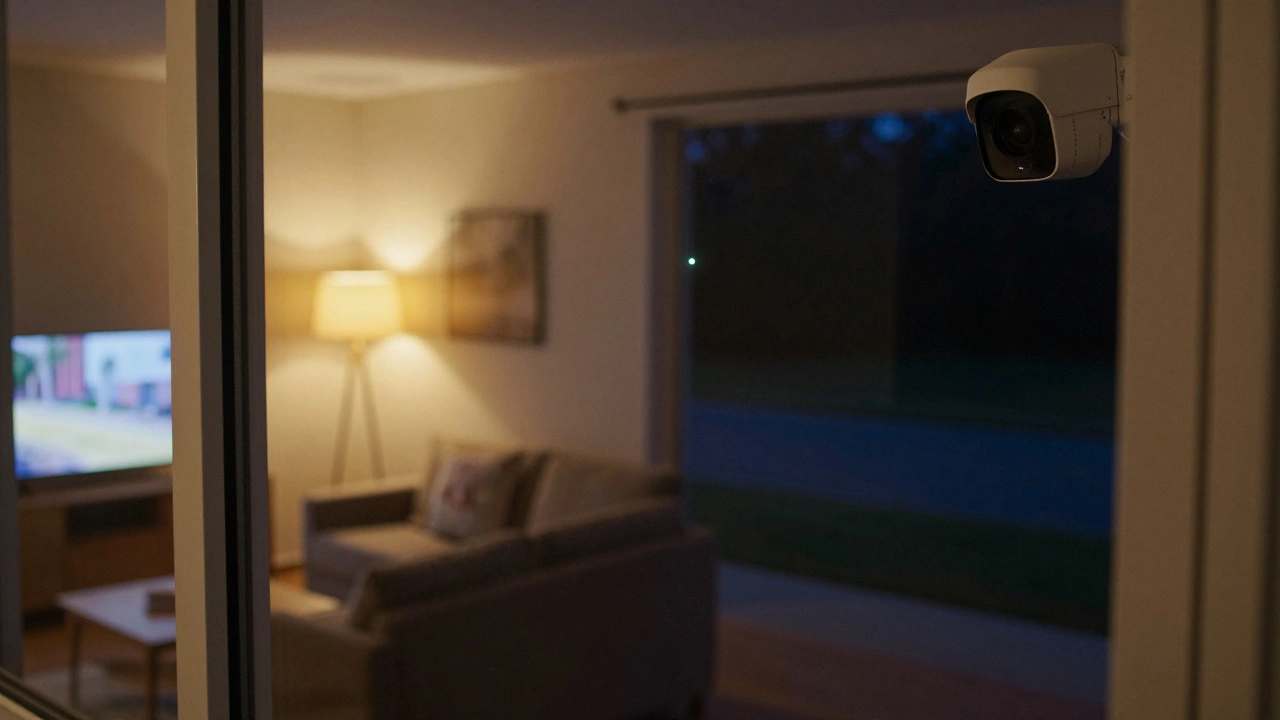
First, decide where the camera will live. Indoor units need a clear view of doors, windows or hallways and should blend with décor. Outdoor models must handle rain, heat and night‑time darkness, so look for weather‑proof ratings and infrared night vision.
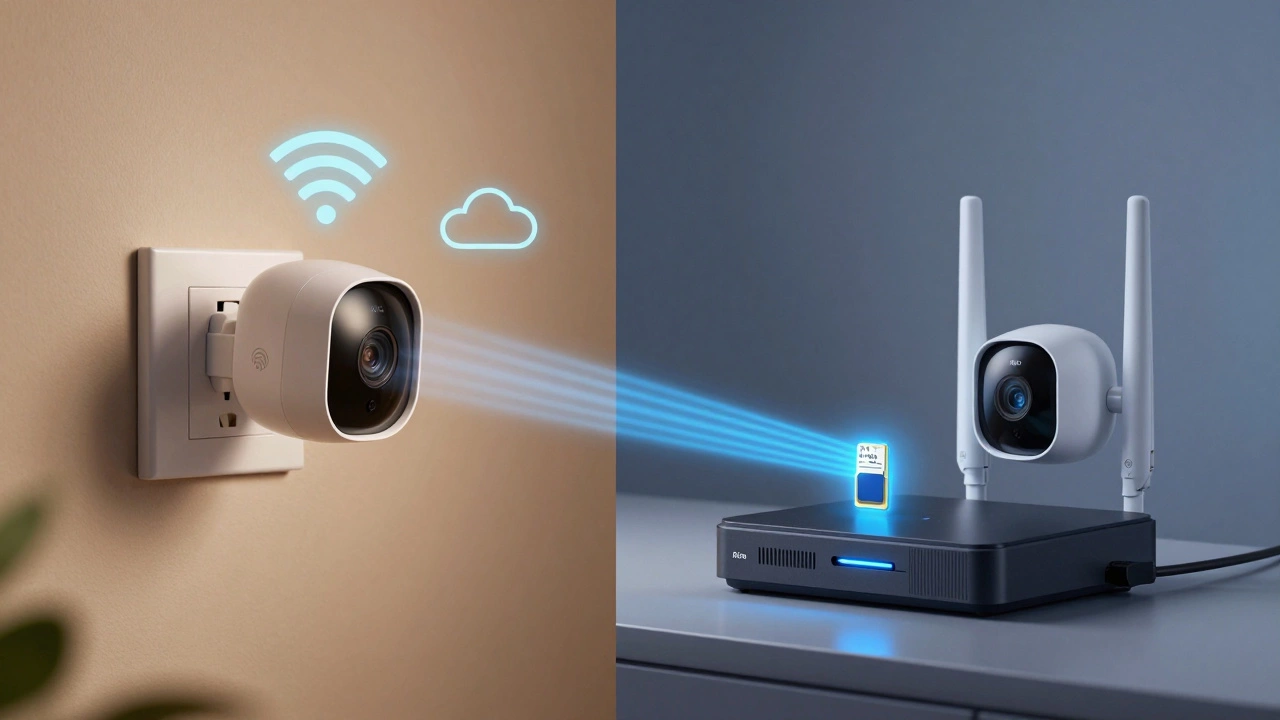
Next, think about wiring. Wired cameras give steady power and reliable video, but they require drilling and cable runs. Wireless (or Wi‑Fi) cameras are quick to mount, yet they rely on a strong network and a power source – many still need a plug or battery. If your Wi‑Fi is spotty, a wired or hybrid system will save you headaches.
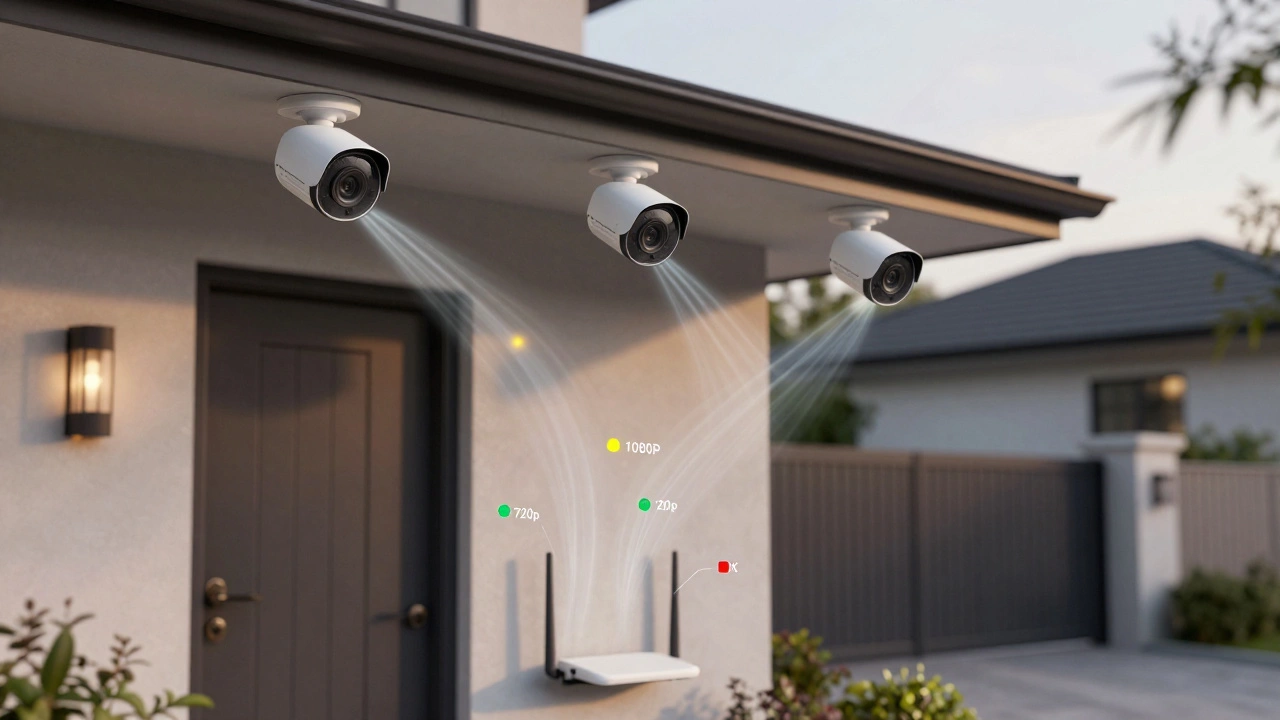
Resolution matters for identifying faces or license plates. 1080p is the sweet spot for most homes; go higher only if you need zoomed‑in detail. Motion detection and smart alerts cut down on footage you never watch – set zones so the camera only pings you when something moves where it matters.
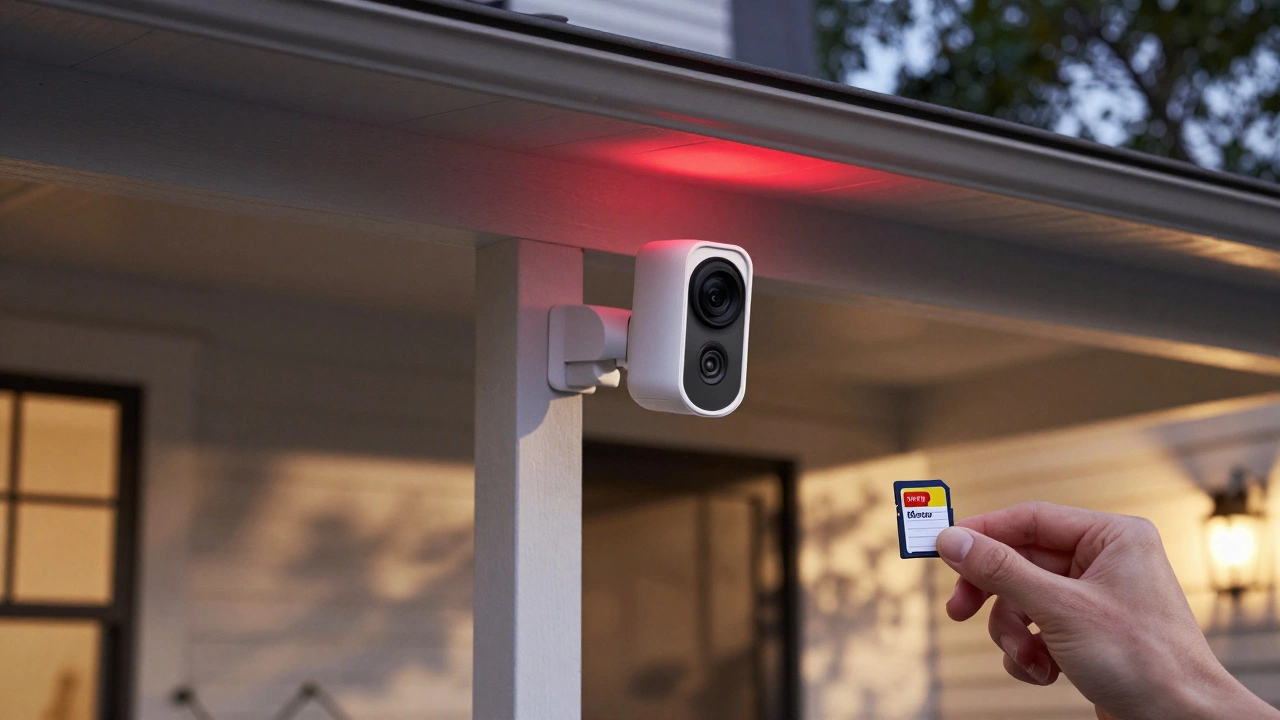
Privacy is a real concern. Choose cameras with encrypted streams and change default passwords right away. Some brands let you keep footage locally on a micro‑SD card, avoiding cloud fees and reducing hack risk.
Start with a power source. For wired units, run a low‑voltage cable from the nearest outlet or use a PoE (Power over Ethernet) switch if you have a network cable already in place. For wireless, position the camera within 30‑40 feet of the router to keep the signal strong.
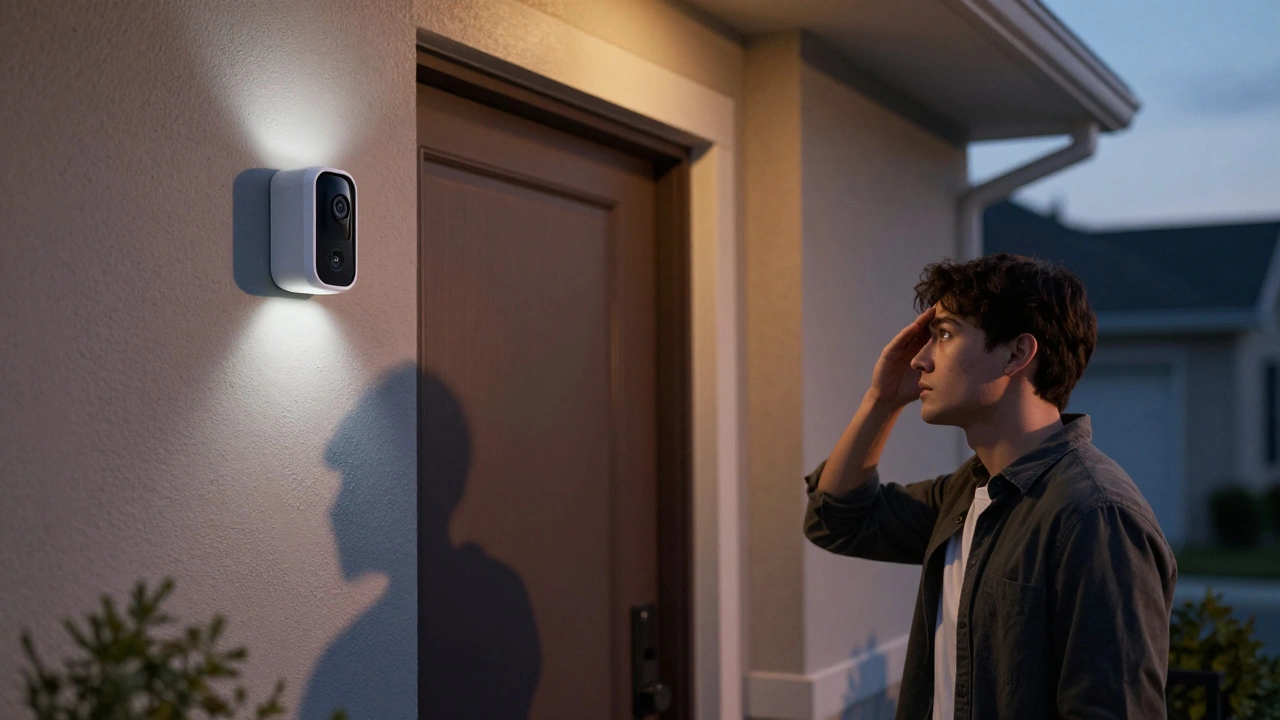
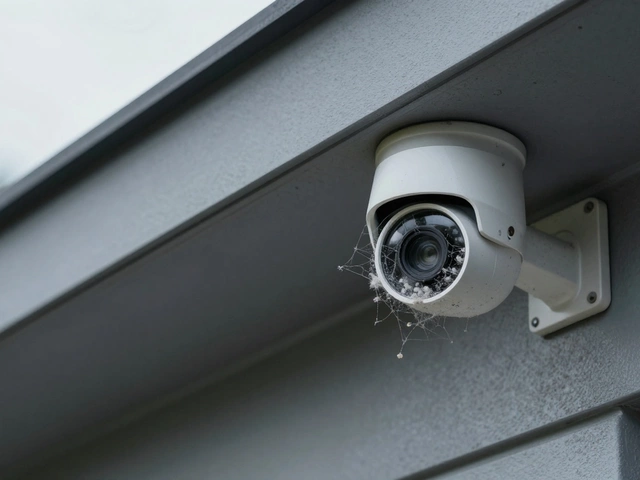
Mount the camera high enough to avoid vandalism but low enough to capture faces. Angles of 30‑45 degrees usually cover a doorway without blind spots. Test the view on a phone before tightening the screws – you can adjust the field of view in the app later.
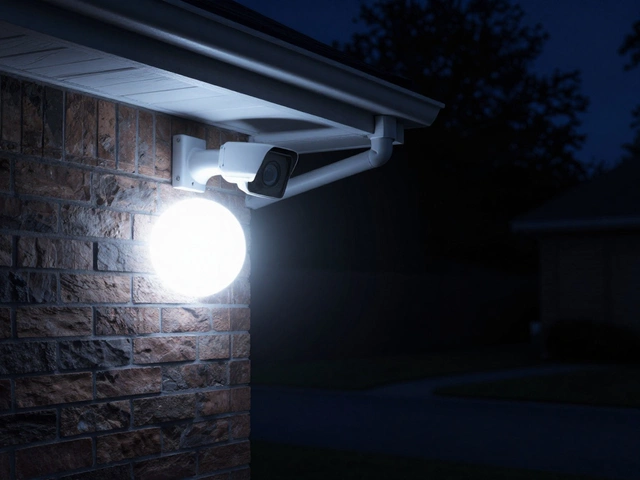
Don’t forget lighting. Even the best night‑vision sensors need some ambient light or infrared LEDs. Trim overhanging trees that cast shadows and consider adding a small floodlight for extra clarity.
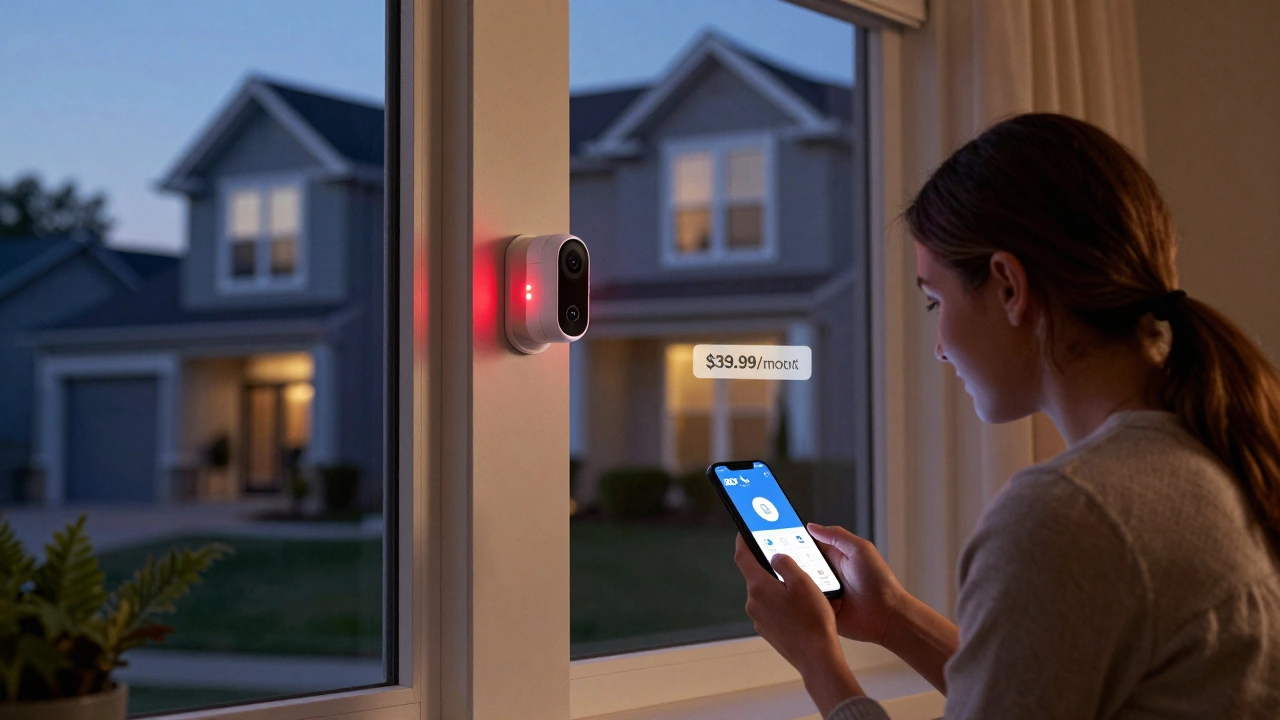
Finally, run a quick test after installation. Trigger motion, check the live feed on both Wi‑Fi and offline modes, and verify that alerts reach your phone. If the camera stores to the cloud, confirm the subscription works; if you use local storage, make sure the SD card is recorded properly.
With these basics, you’re ready to pick a camera that actually works for you and set it up without a tech‑support nightmare. Keep an eye on firmware updates – manufacturers often release security patches that keep your footage safe. When the system runs smoothly, you’ll notice the real benefit: peace of mind, not just a blinking light on the wall.
Wondering why your security camera is so dark at night? Learn about IR reflection, stuck filters, and easy fixes to clear up your night vision footage.
We compare wired CCTV and wireless cameras to help you decide. Learn about reliability, power sources, costs, and security risks for your home.
Discover the best security cameras without monthly fees in 2026. From budget-friendly Wyze to premium Eufy and professional PoE systems, learn how to get full control over your home surveillance without recurring charges.
Learn how to choose a wireless security camera in 2026 by focusing on resolution, night vision, storage, power, and smart features. Get real-world advice on what actually matters for your home.
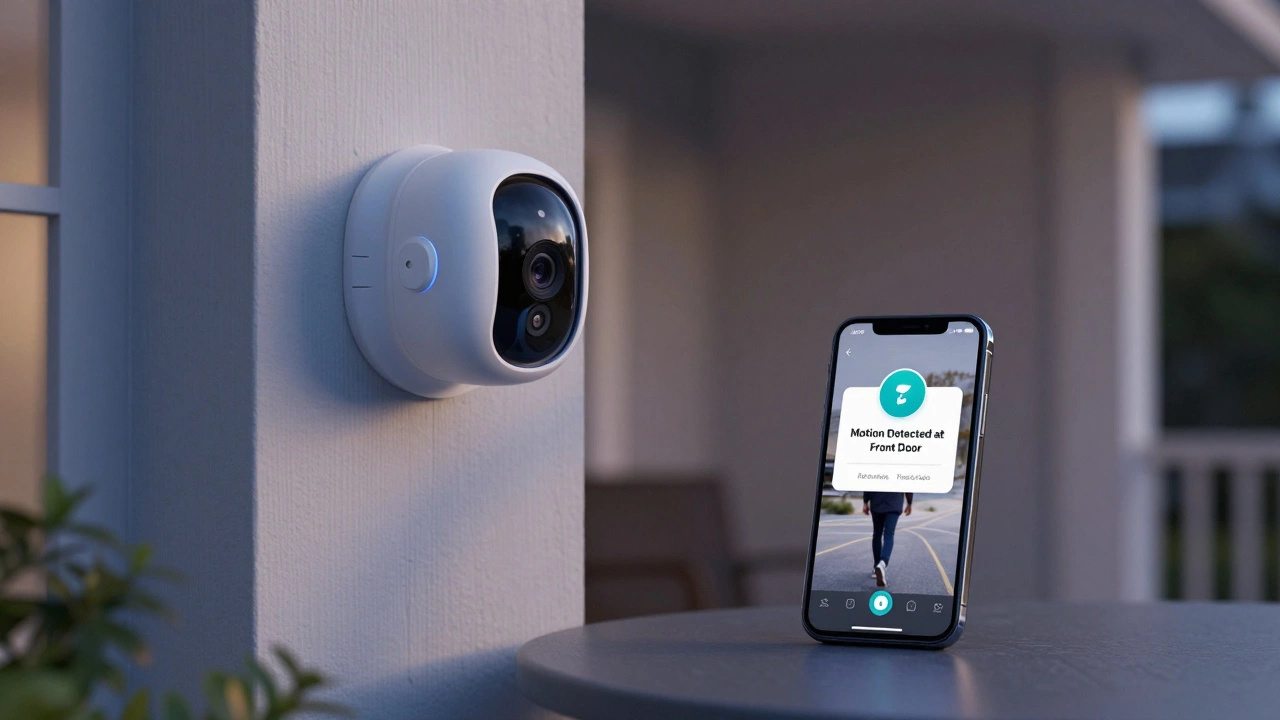
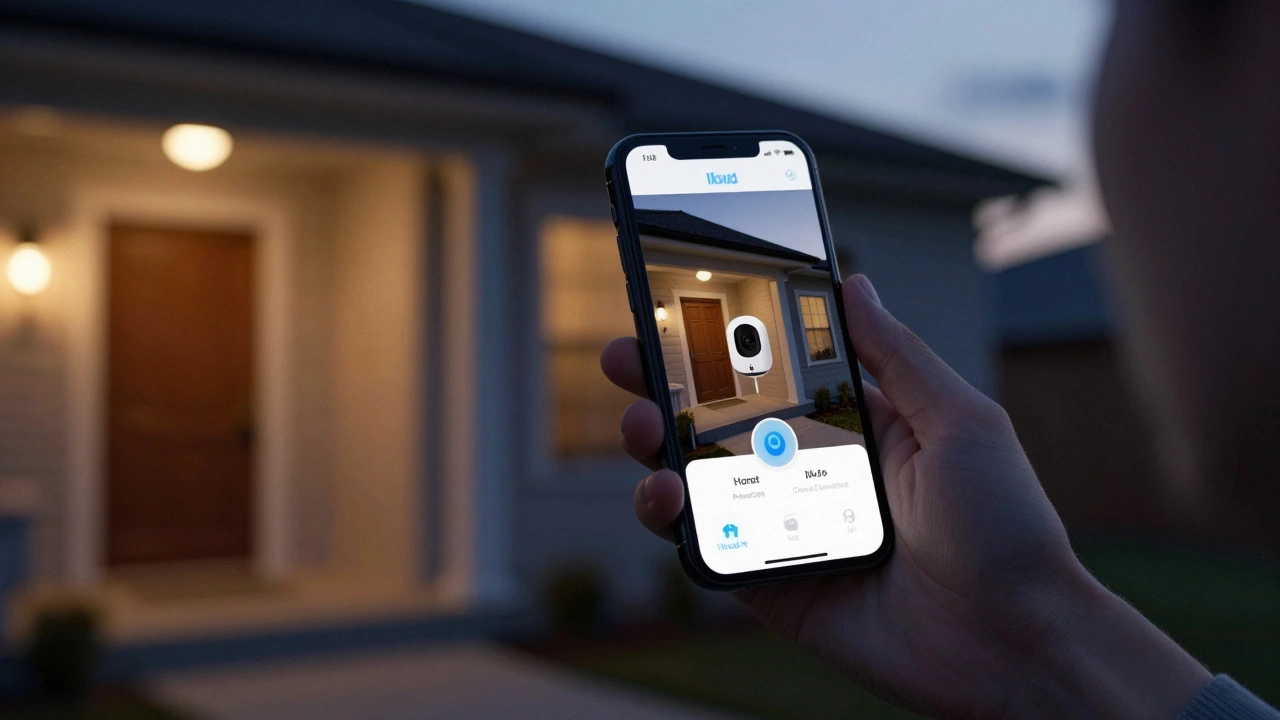
Security cameras can alert your phone instantly when motion is detected. Learn how push notifications work, how to set them up, and why they're more reliable than email. Get real-time alerts, live video, and two-way talk on your iPhone or Android.
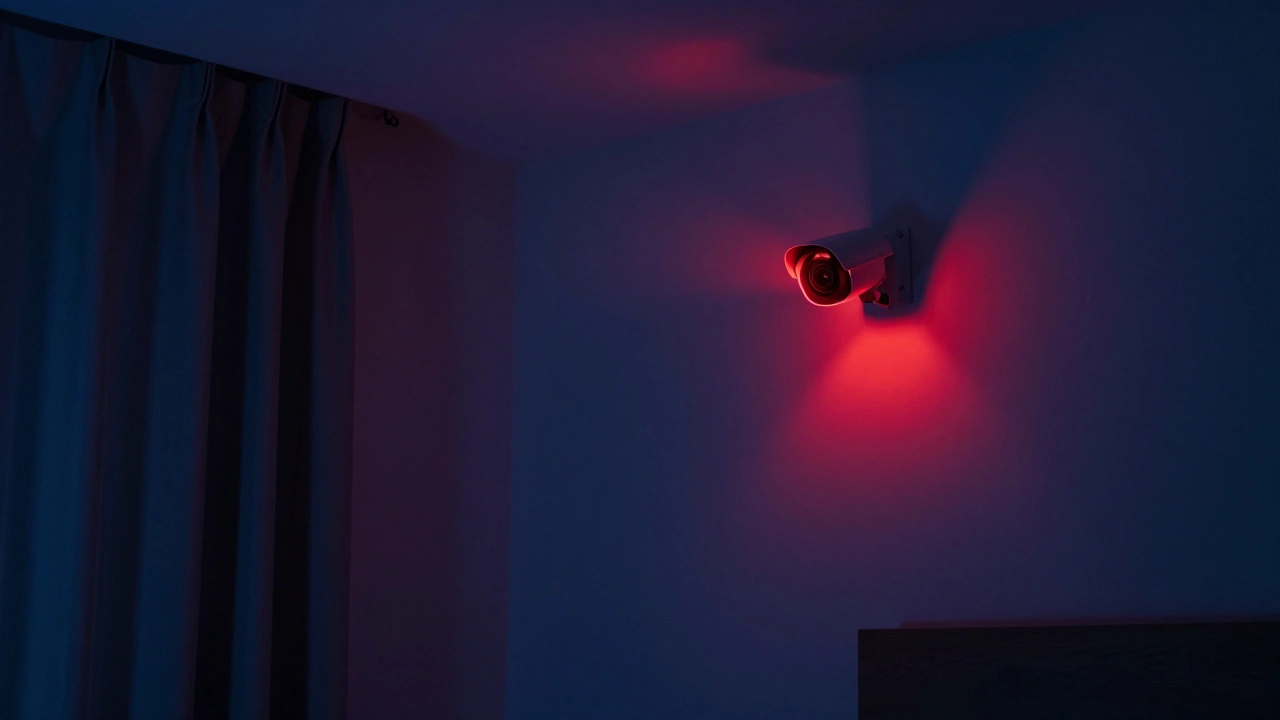
A red light on your security camera doesn't mean someone is watching you live - it's just a status indicator. Learn what the light really means, how to spot fake cameras, and how to protect your privacy.
Can night vision see through windows? Thermal cameras can't-they only see the glass. Image intensifiers can, but reflections often ruin the view. Learn the real science and how to actually use night vision cameras effectively.
Ring cameras don’t show any visual sign when someone is watching the live feed. Learn why this design choice exists, how to check who’s accessing your camera, and what you can do to protect your privacy.
Wireless security cameras can use 60 GB to over 1 TB of WiFi data per month depending on settings. Learn how resolution, recording type, and WiFi band affect usage-and how to cut bandwidth without losing security.
Adding a camera to ADT costs more than the hardware-monthly monitoring fees and installation charges push the first-year cost over $500. Here's what you really pay and whether it's worth it in 2026.
Learn how to watch your security camera on iPhone using HomeKit Secure Video, manufacturer apps, or third-party tools. Compare privacy, cost, and setup for each method in 2026.
You don't need internet for wireless security cameras to record, but you do need it for remote viewing and alerts. Learn how offline cameras work, bandwidth requirements, and the best setup for privacy and reliability in 2025.